Strictly speaking, the paint job is done- I just have to finish putting the car back together. I found the stainless steel windshield trim, and got it all clean and shiny with my buffing wheel. I need to put some sealing compound around the rubber windshield seal, and as soon as it is dry, I can re-install the trim.
I also fixed an orange-peely area on the front part of the bonnet (i.e. hood). I wet-sanded the top surface of the hood with 2000-grit sandpaper, and then used a rotary buffer and polishing compound to get it shiny again.
Month: May 2013
Replaced the windshield
I visited a nearby place that restores and sells parts for British sports cars, and I picked up a used Spitfire windshield for $75. I took it home and cleaned it up, removing all the old grime and sealant around the edge. Then I cut away the gasket to remove the original windshield, which I had managed to bust after I had successfully re-installed it after painting the car. By now I’ve gotten pretty good at installing these windshields, and I got the new one in place in about 30 minutes.
Once the windshield was installed, I visited the Motor Vehicles office to get a replacement Collector Car inspection sticker (the old one was of course on the old windshield, and was about to expire anyway). But they told me that my car was no longer eligible for the “Collector Car” program, and I would have to apply for the standard “QQ” historical license plates. So I went home, filled out the correct form, and sent it (with a couple of photos of the car and a check) to Trenton.
Did the headlight trim rings
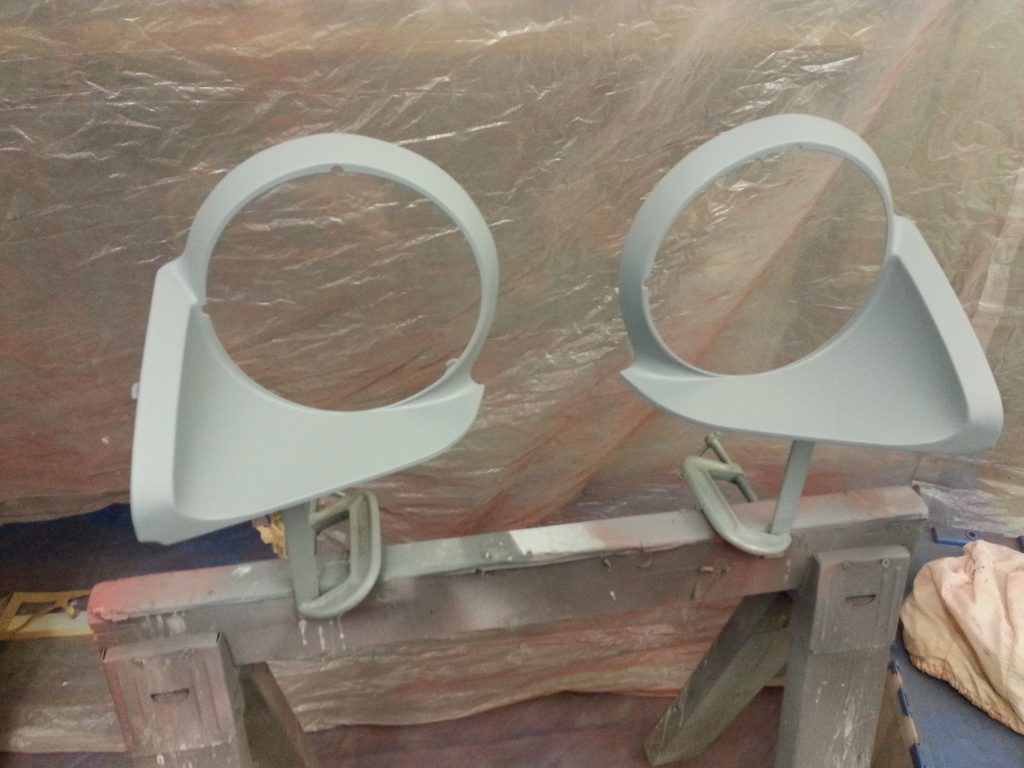
I bead-blasted the cast aluminum headlight trim rings. Then I gave them the standard treatment of a couple of coats of epoxy primer and several coats of filler-surfacer. The next day I sanded them and sprayed the color coats. It was an easy paint job- I only had to mix a couple of ounces of each paint. As soon as the paint was dry, I bolted them in place.
The last remaining task is to replace the windshield. I ordered a new rubber seal- I busted the existing windshield by trying to remove it without damaging the seal, so I will probably not try that again, and just cut out the old seal.
Re-installed stuff in the interior
Last winter I bought new door panels, since the originals were crumbling. I took the mounting clips from the old panels, attached them to the new panels, and mounted the panels to the insides of the doors. Then I was able to re-install the window crank handles and some door latch trim. The new panels look nice and fit properly. I also put the front floorwell carpet pieces back where they belong. Now the interior is 100% re-assembled, and better-looking than before!
Bolted on more stuff
I cleaned up the front bumper (which was in my attic for the last year), touched up the silver paint on the un-chromed inside surface, and bolted it back on the car. I also re-attached the black plastic grille, the front license place holder, and the plastic bumper overriders. Then I re-attached the convertible top and its folding frame. So now the only things that still need to be installed are the windshield wipers and those headlight trim pieces, which I still need to paint. And of course the windshield still needs replacing…
Getting close to the end!
The front valences are all done! I applied the filler, sanded them, and painted them just like I did the rest of the body: a couple of coats of epoxy primer, three coats of filler-surfacer, some wet-sanding, and finally the finish coats. As soon as the paint was dry, I mounted them on the body and attached the front turn signal lights. Then I hooked up their wiring, and the electrical system was 100% complete! Now that the turn signals are working, the car is road-worthy.
The only disappointment is that I still need to paint the headlight trim rings. They will need some bead-blasting and sanding, and then the same primer, filler, sealer, finish coat paint job as everything else. Each coat will need about an ounce of paint and 30 seconds of spraying, but I will still have to mix it and clean up everything for each coat. But before I start on that, I will re-attach the front bumper and the grille.
