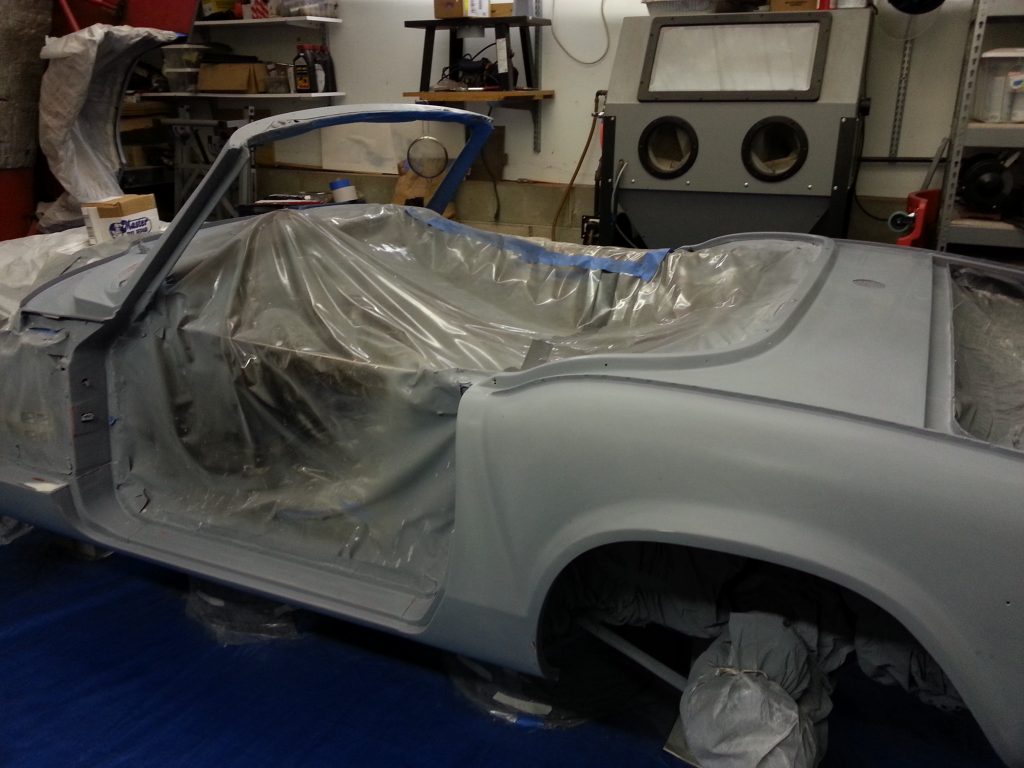
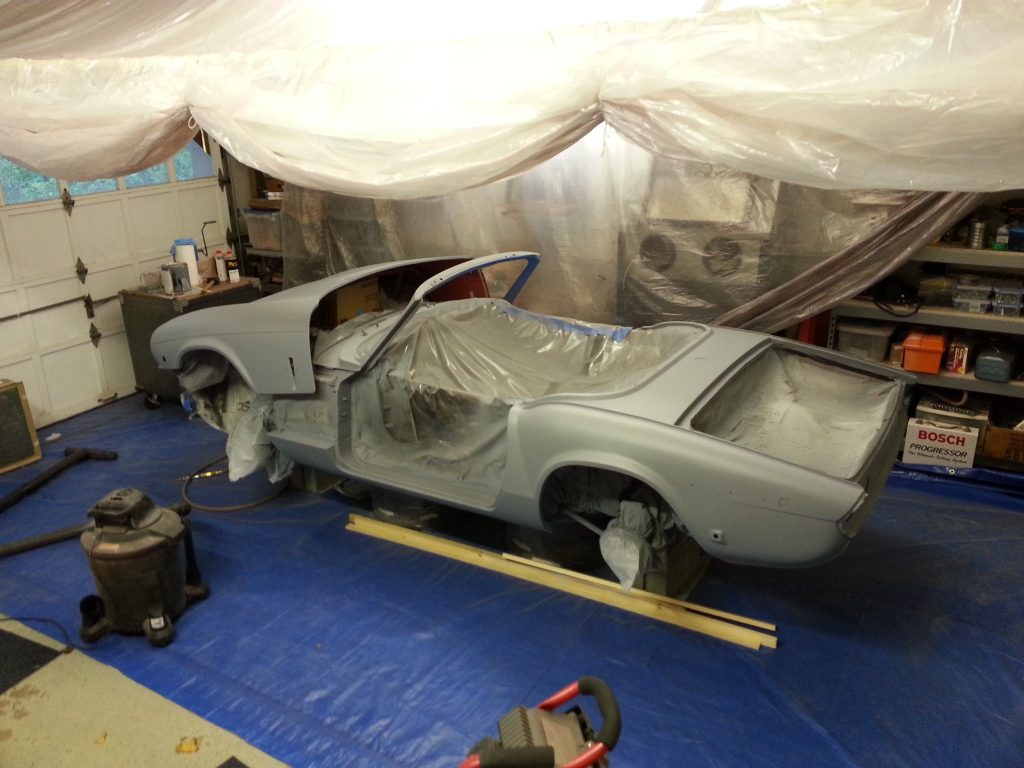
The body is painted!

I painted the body and bonnet over two days. Each part got a coat of epoxy primer mixed as sealer, and three coats of color. It came out pretty nice overall – a couple of little bugs in the paint, one small run on the windshield pillar, and a small orange-peely patch on the bonnet – nothing that won’t buff out. Most of it looks great.
One annoyance was that the color match was not so great. The original paint was orange-ish red, and the new paint (which was custom mixed to the original factory paint code) is a more saturated, pure, red. But since I painted the door jambs, there is very little original paint showing. The underside of the hood and the inside of the trunk are faded and grubby enough to make color matching irrelevant.
The next step to to get the doors and trunk lid painted. They are ready for primer, but the weather is supposed to be terrible for the next several days.


Finished sanding!

I got the entire body and bonnet (hood) sanded and ready to paint. The final sanding was done wet, with #600 sandpaper. It takes a while, since the body has lots of nooks and crannies. I am doing the door jambs, which add quite a bit of work. After a final cleaning, the car will be ready for the sealer and final color coats. One other thing that I need to do before painting is to fix up any place where the masking might have gotten damaged or loose.

I’ll actually paint the body first, and the bonnet the next day, since it has to be raised to paint the body, and lowered to be painted itself.

Sanding

So far, I have managed to get the rear valences and both rear fenders sanded. I start with #320 dry, and finish with #600 wet. It takes a while, since the paint seems to clog the 320 sandpaper pretty quickly, and I have to keep vacuuming it off.

Did the primer, finally

Over the last couple of days I finished the masking and got out all my painting stuff and set it up.

Then I sprayed a couple of coats of epoxy primer followed a few hours later by three full coats of filler-surfacer.  The next step is to start sanding it.

Almost ready to start painting

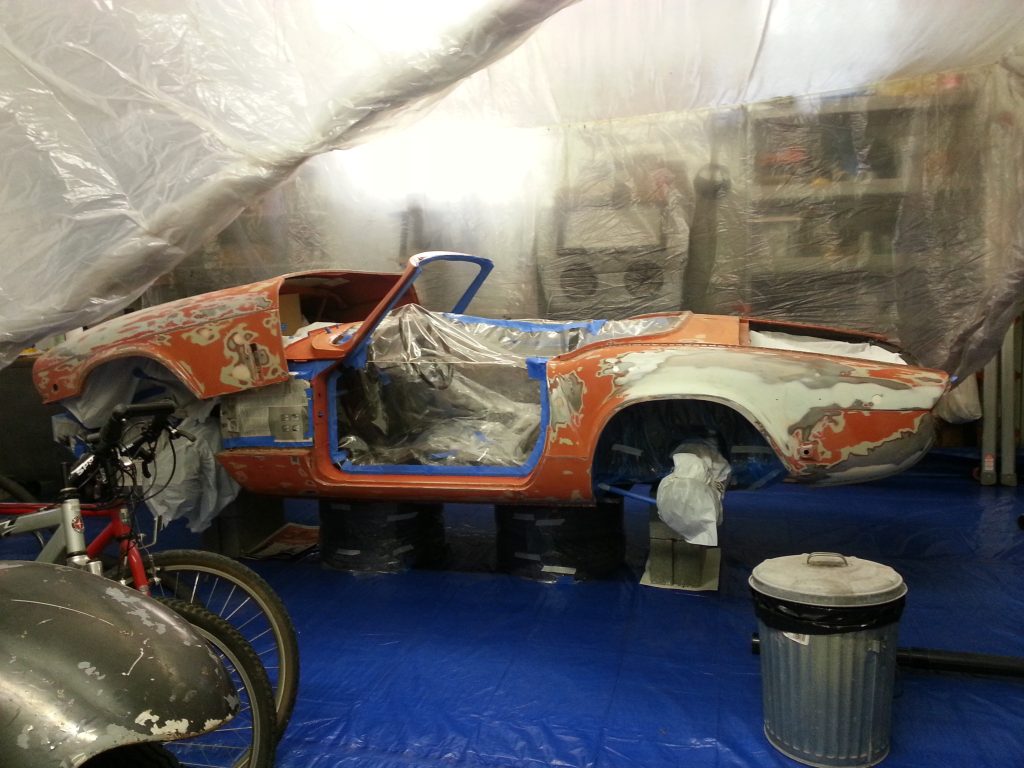
I finished the filler work, went over the car one more time with 220 sandpaper, and wiped it down. Then I put a clean new tarp down on the garage floor, rolled the car to the correct spot, and jacked it up to be supported on some cement blocks, a foot or so above its normal level. This will allow me to more easily paint the rocker panels. Once the car was secure, I removed the wheels, and started masking off all the places where I don’t want paint.

I need one more day to finish the masking the car and giving it a final cleanup, and then it will be ready for primer.

Still doing filler

I’m mostly done with the filler, but I spend more time than I planned. I realized that one rear fender had a fairly thick layer of old filler, so I started sanding it off. Then I ended up having to put most of it back. I should have left well enough alone.
Another complication: the main pressure switch on my air compressor burned out, and I had to order another, which meant that I had no air for a week.