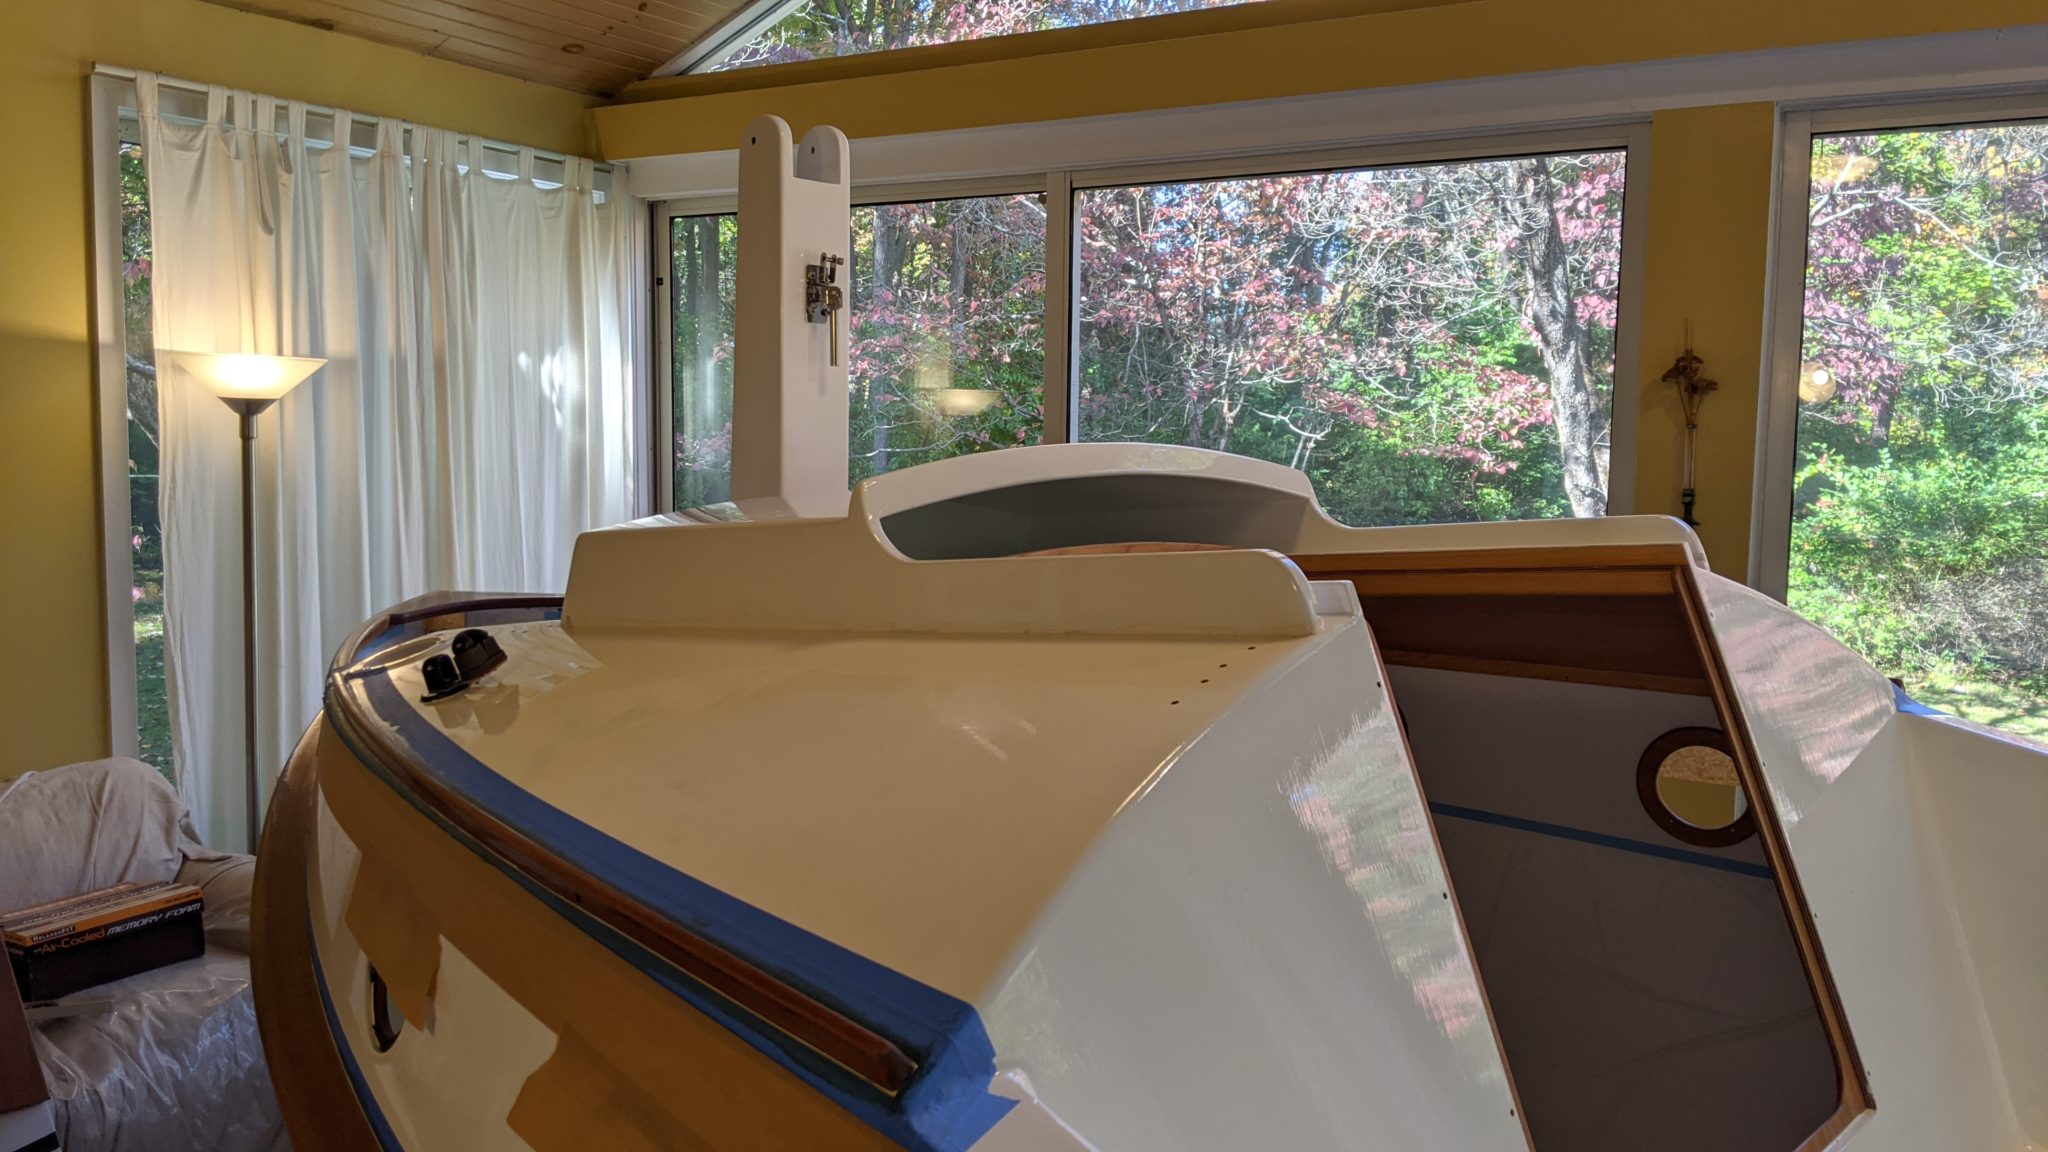
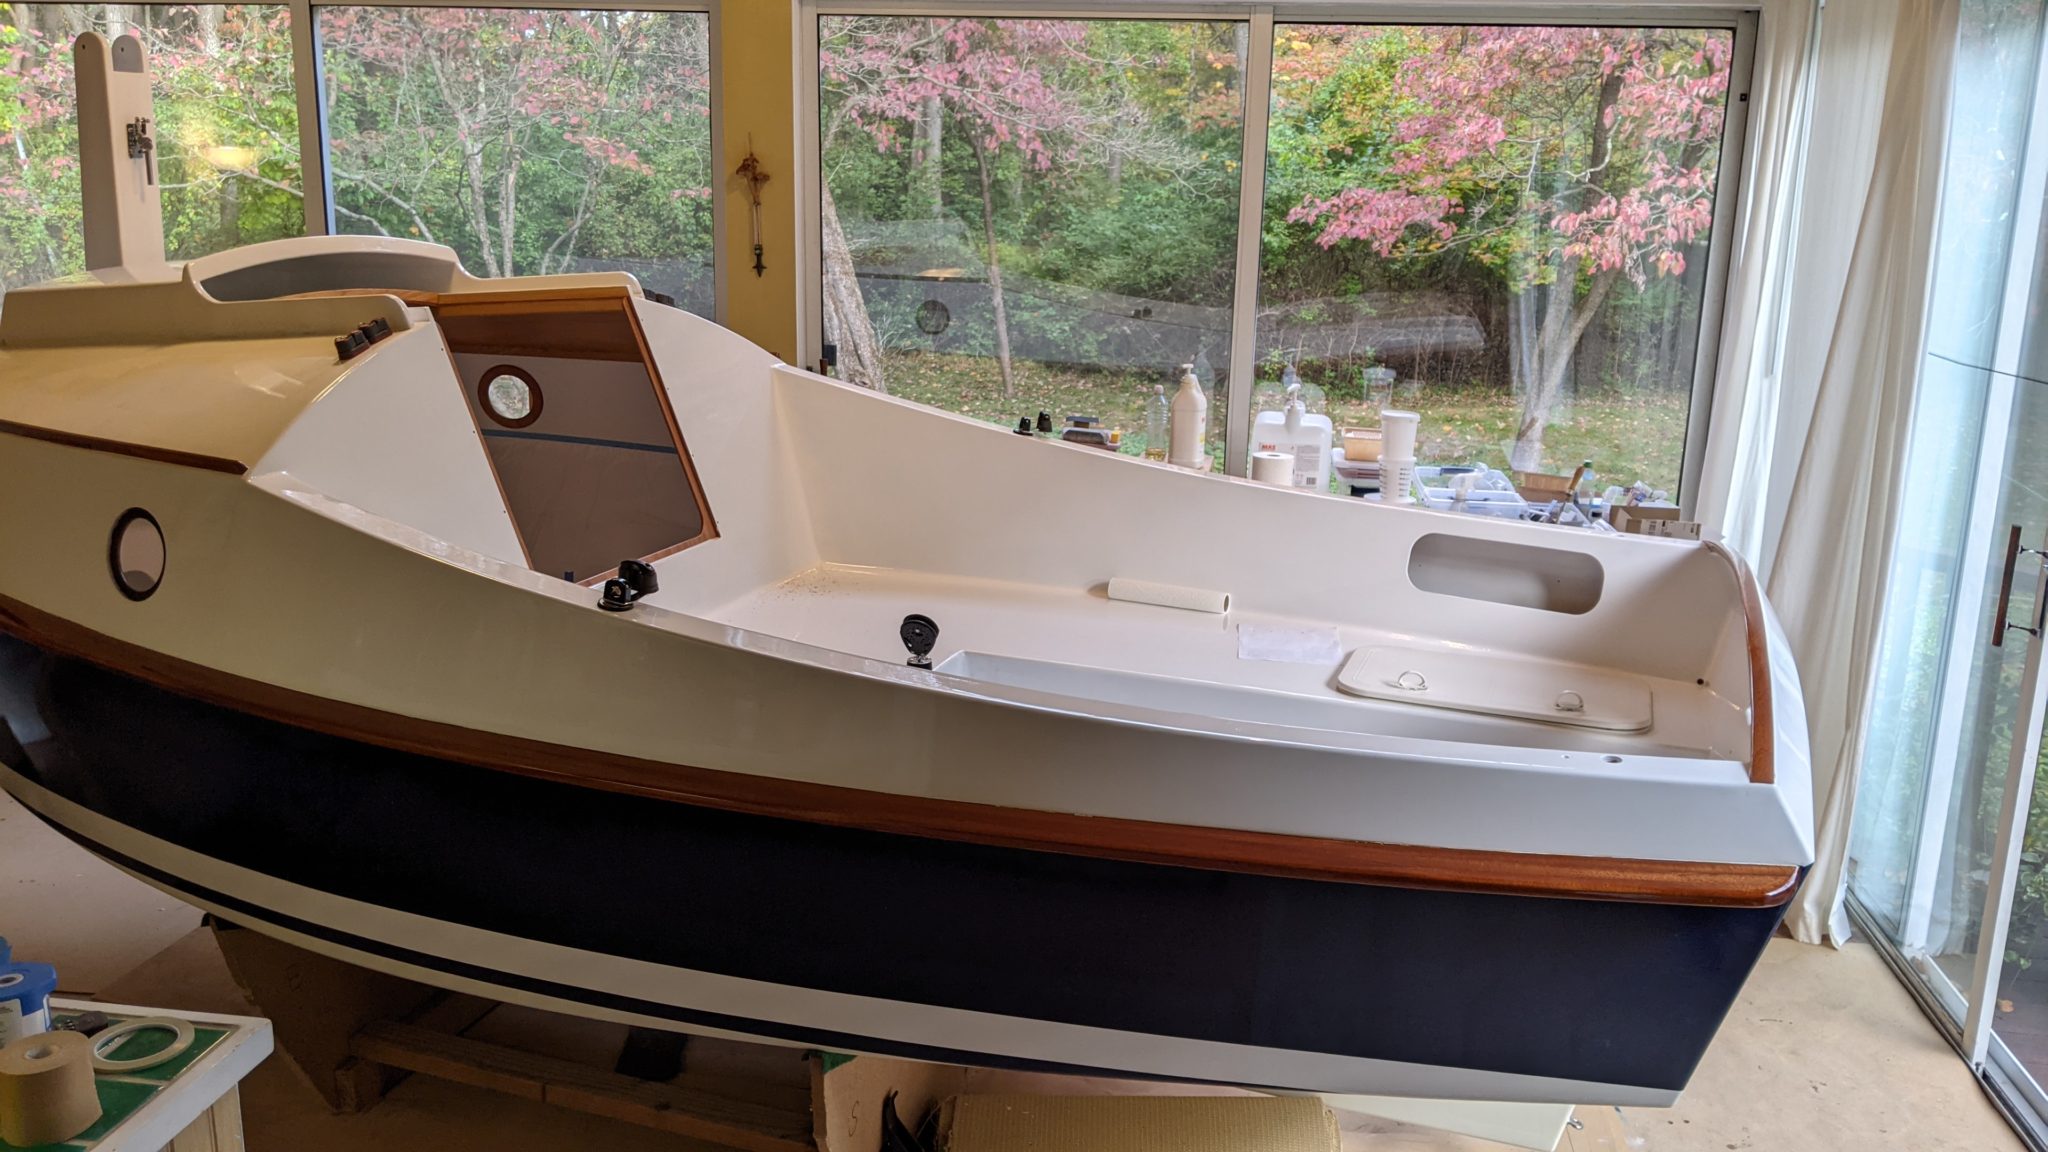
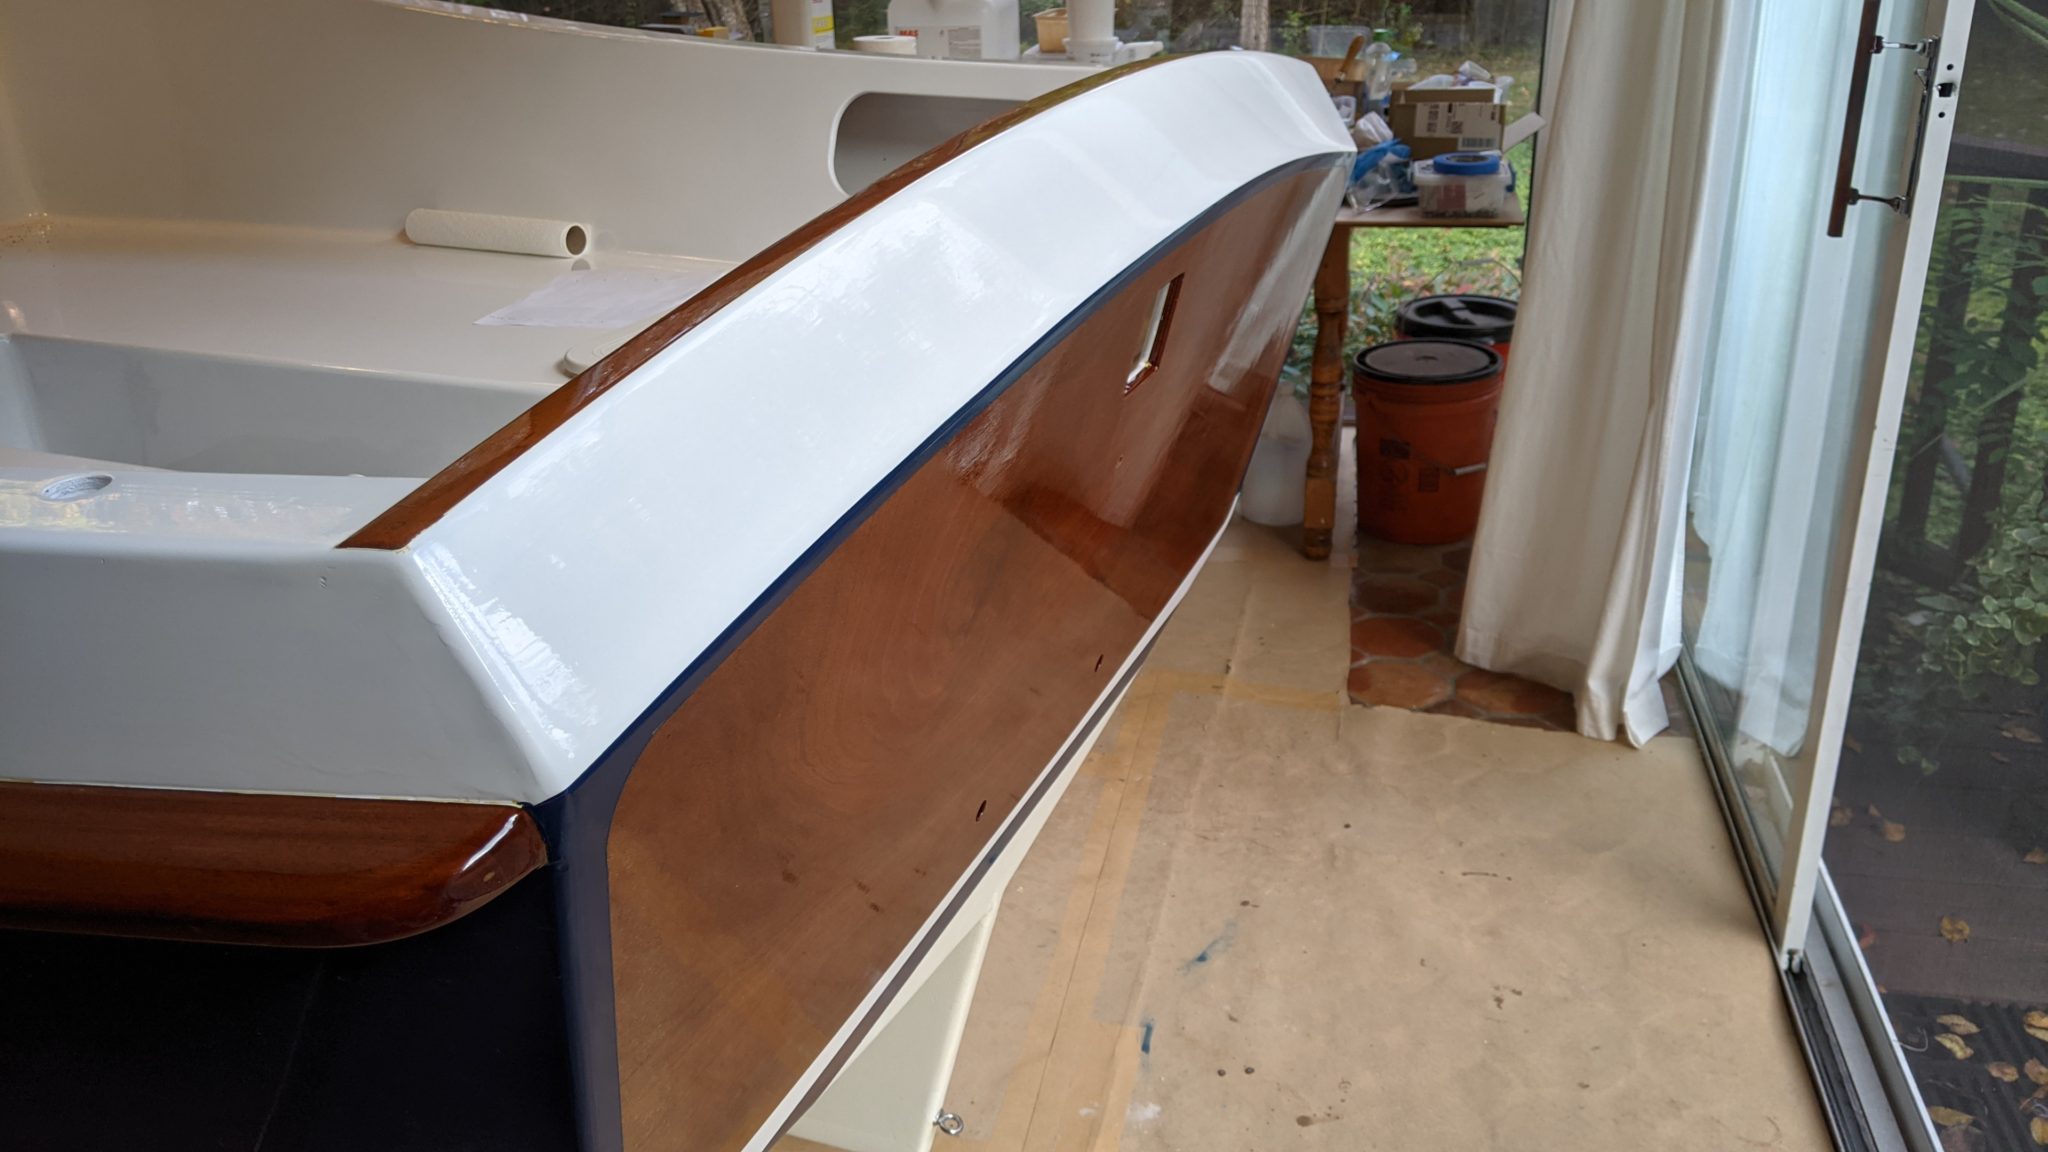
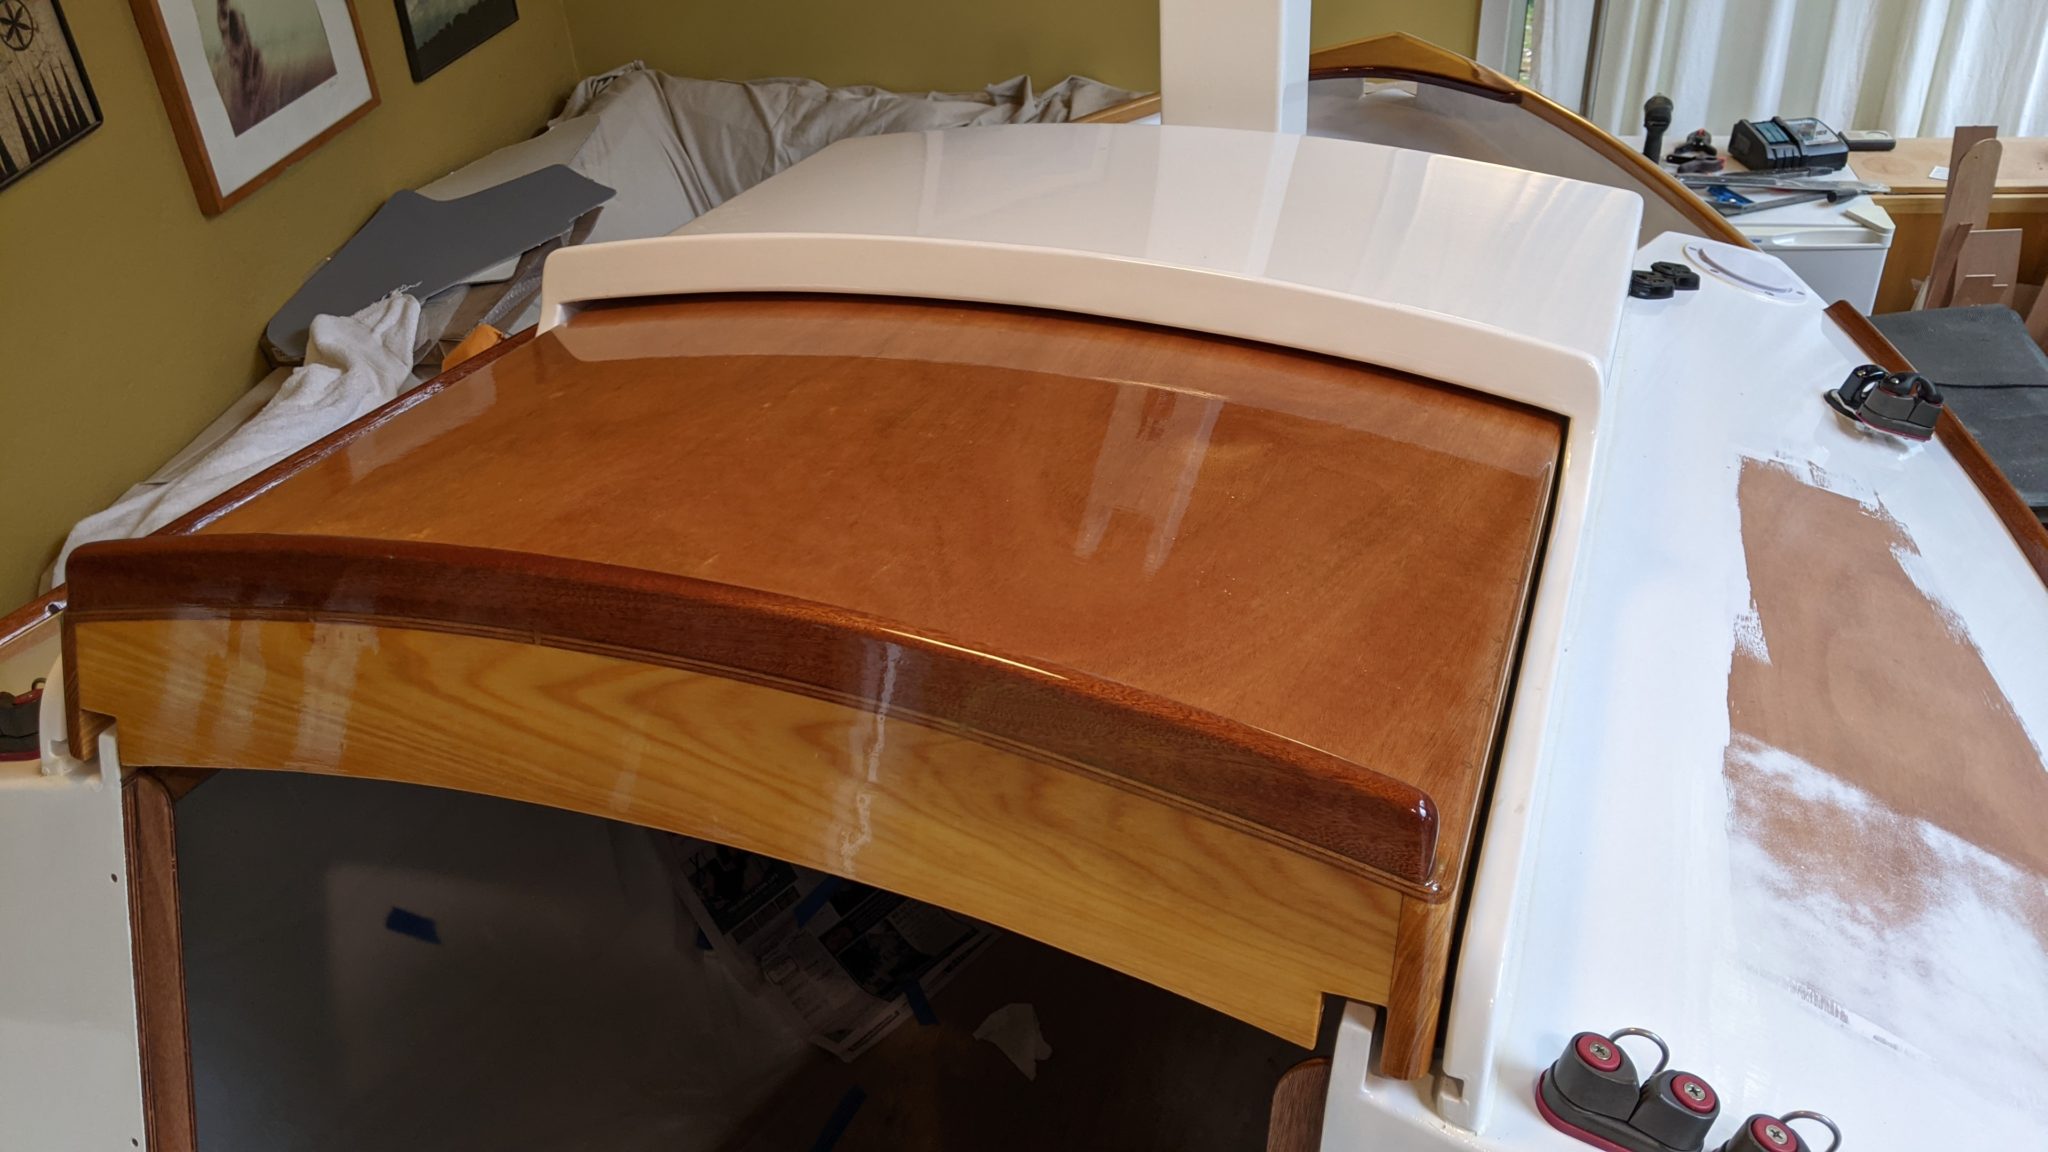
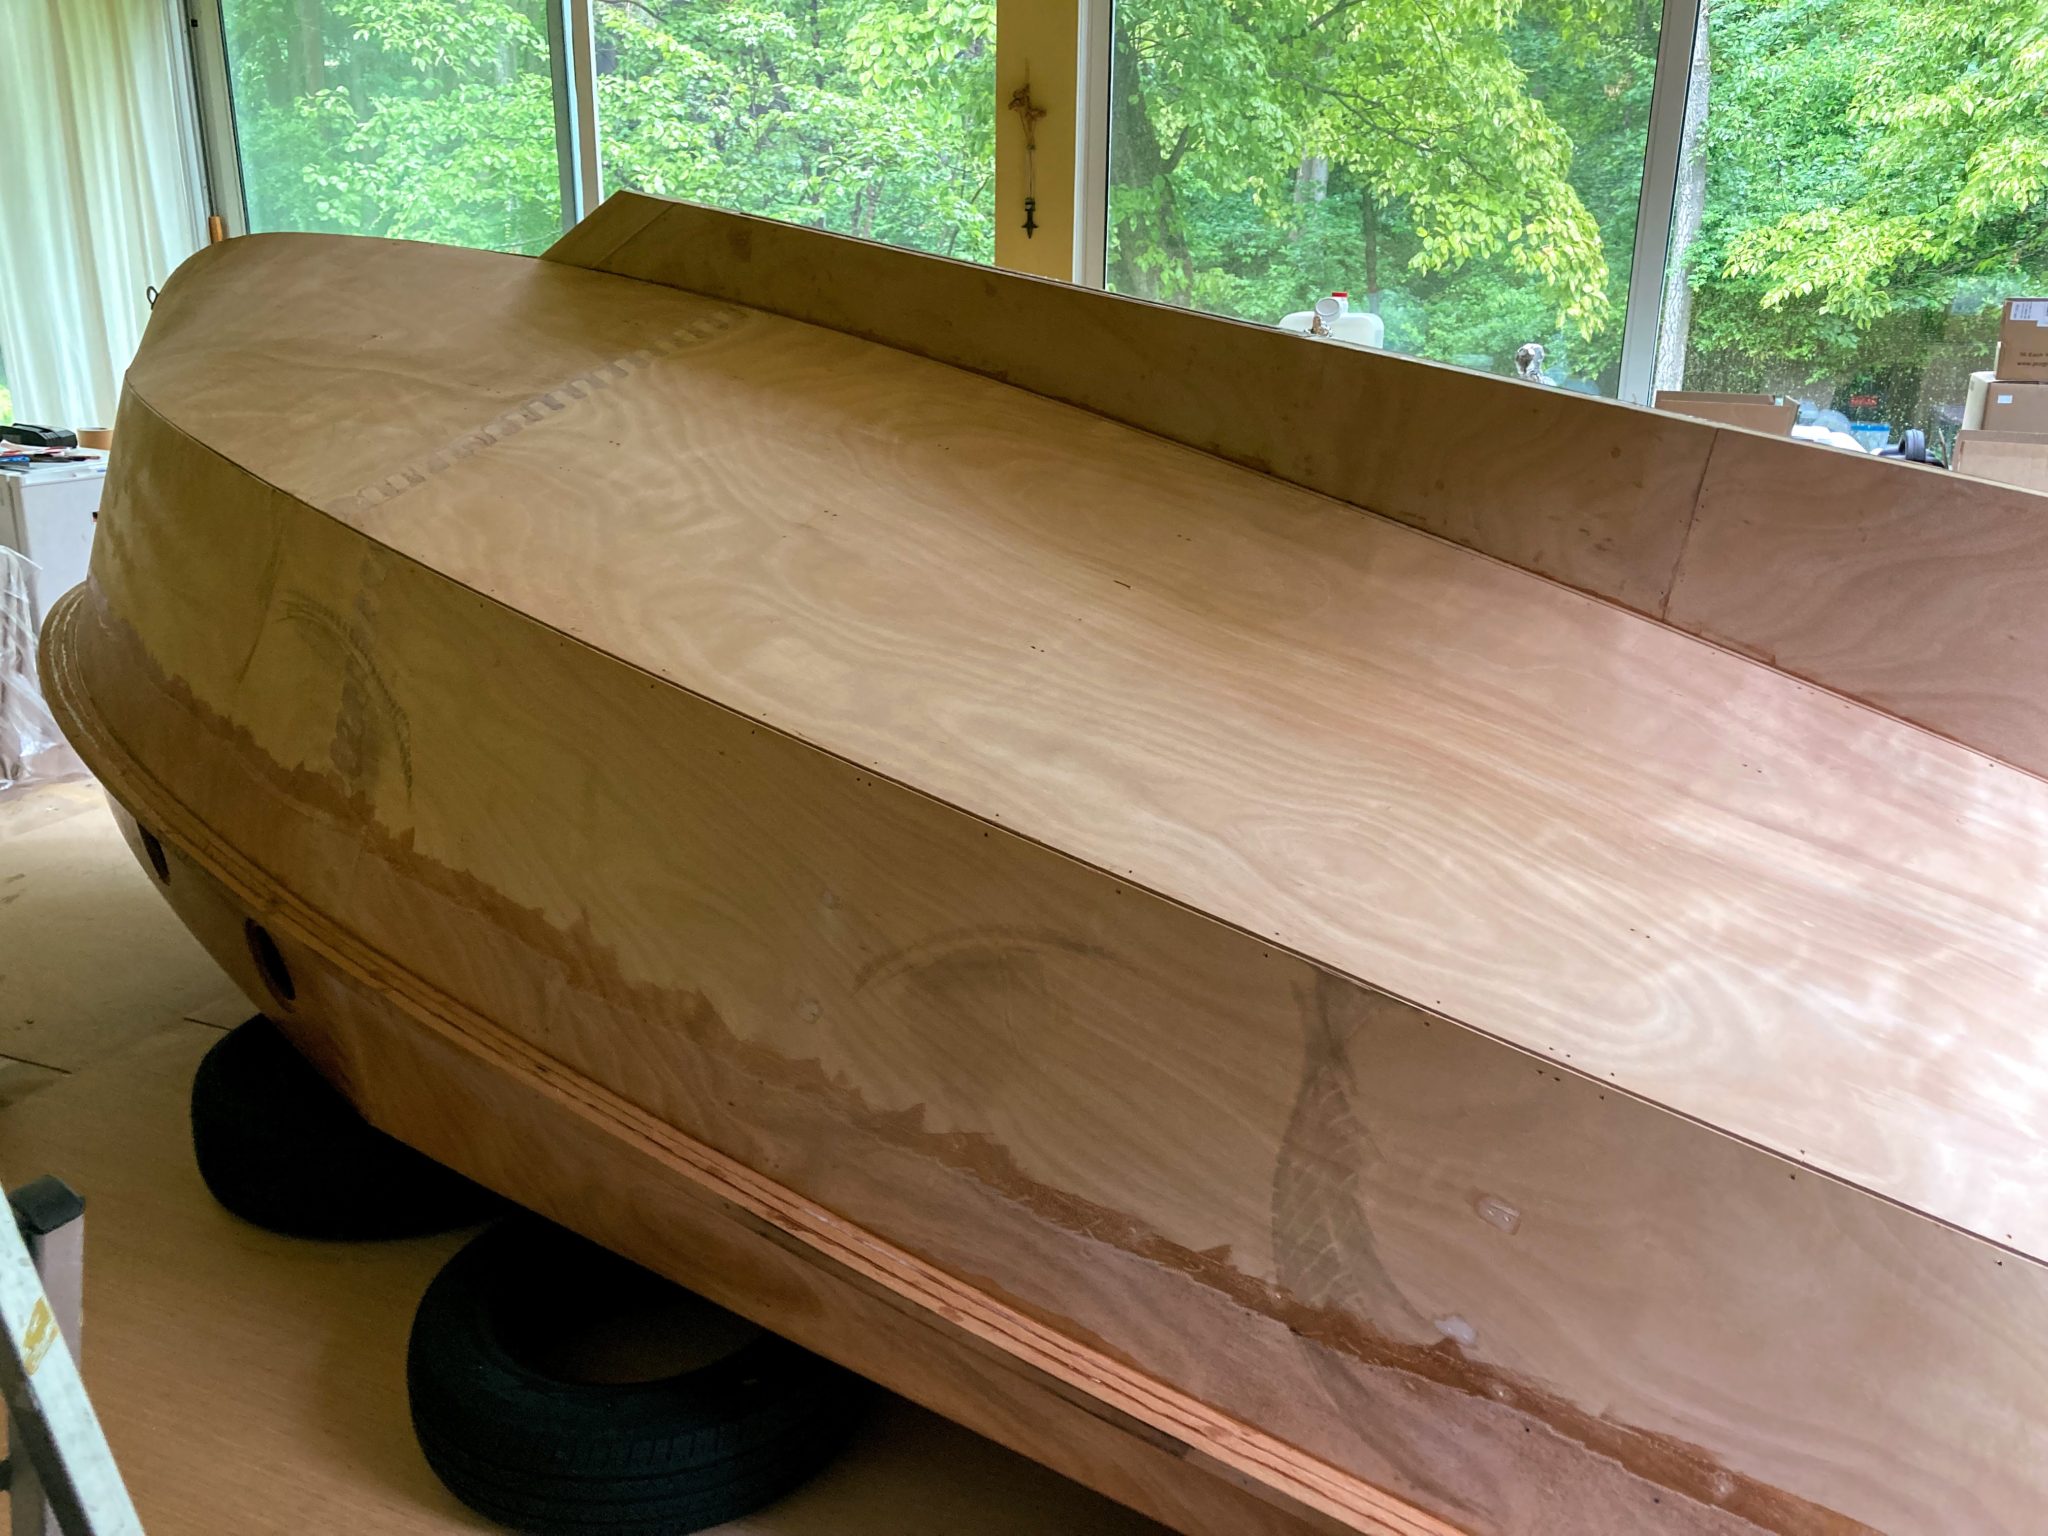
During the winter of 2015/16 I built a CLC Skerry. Recently I decided I wanted a bigger boat, and that I needed something to keep me busy during the Coronavirus pandemic. So in October 2020 I ordered a Pocketship kit.
Cleaning up the mess
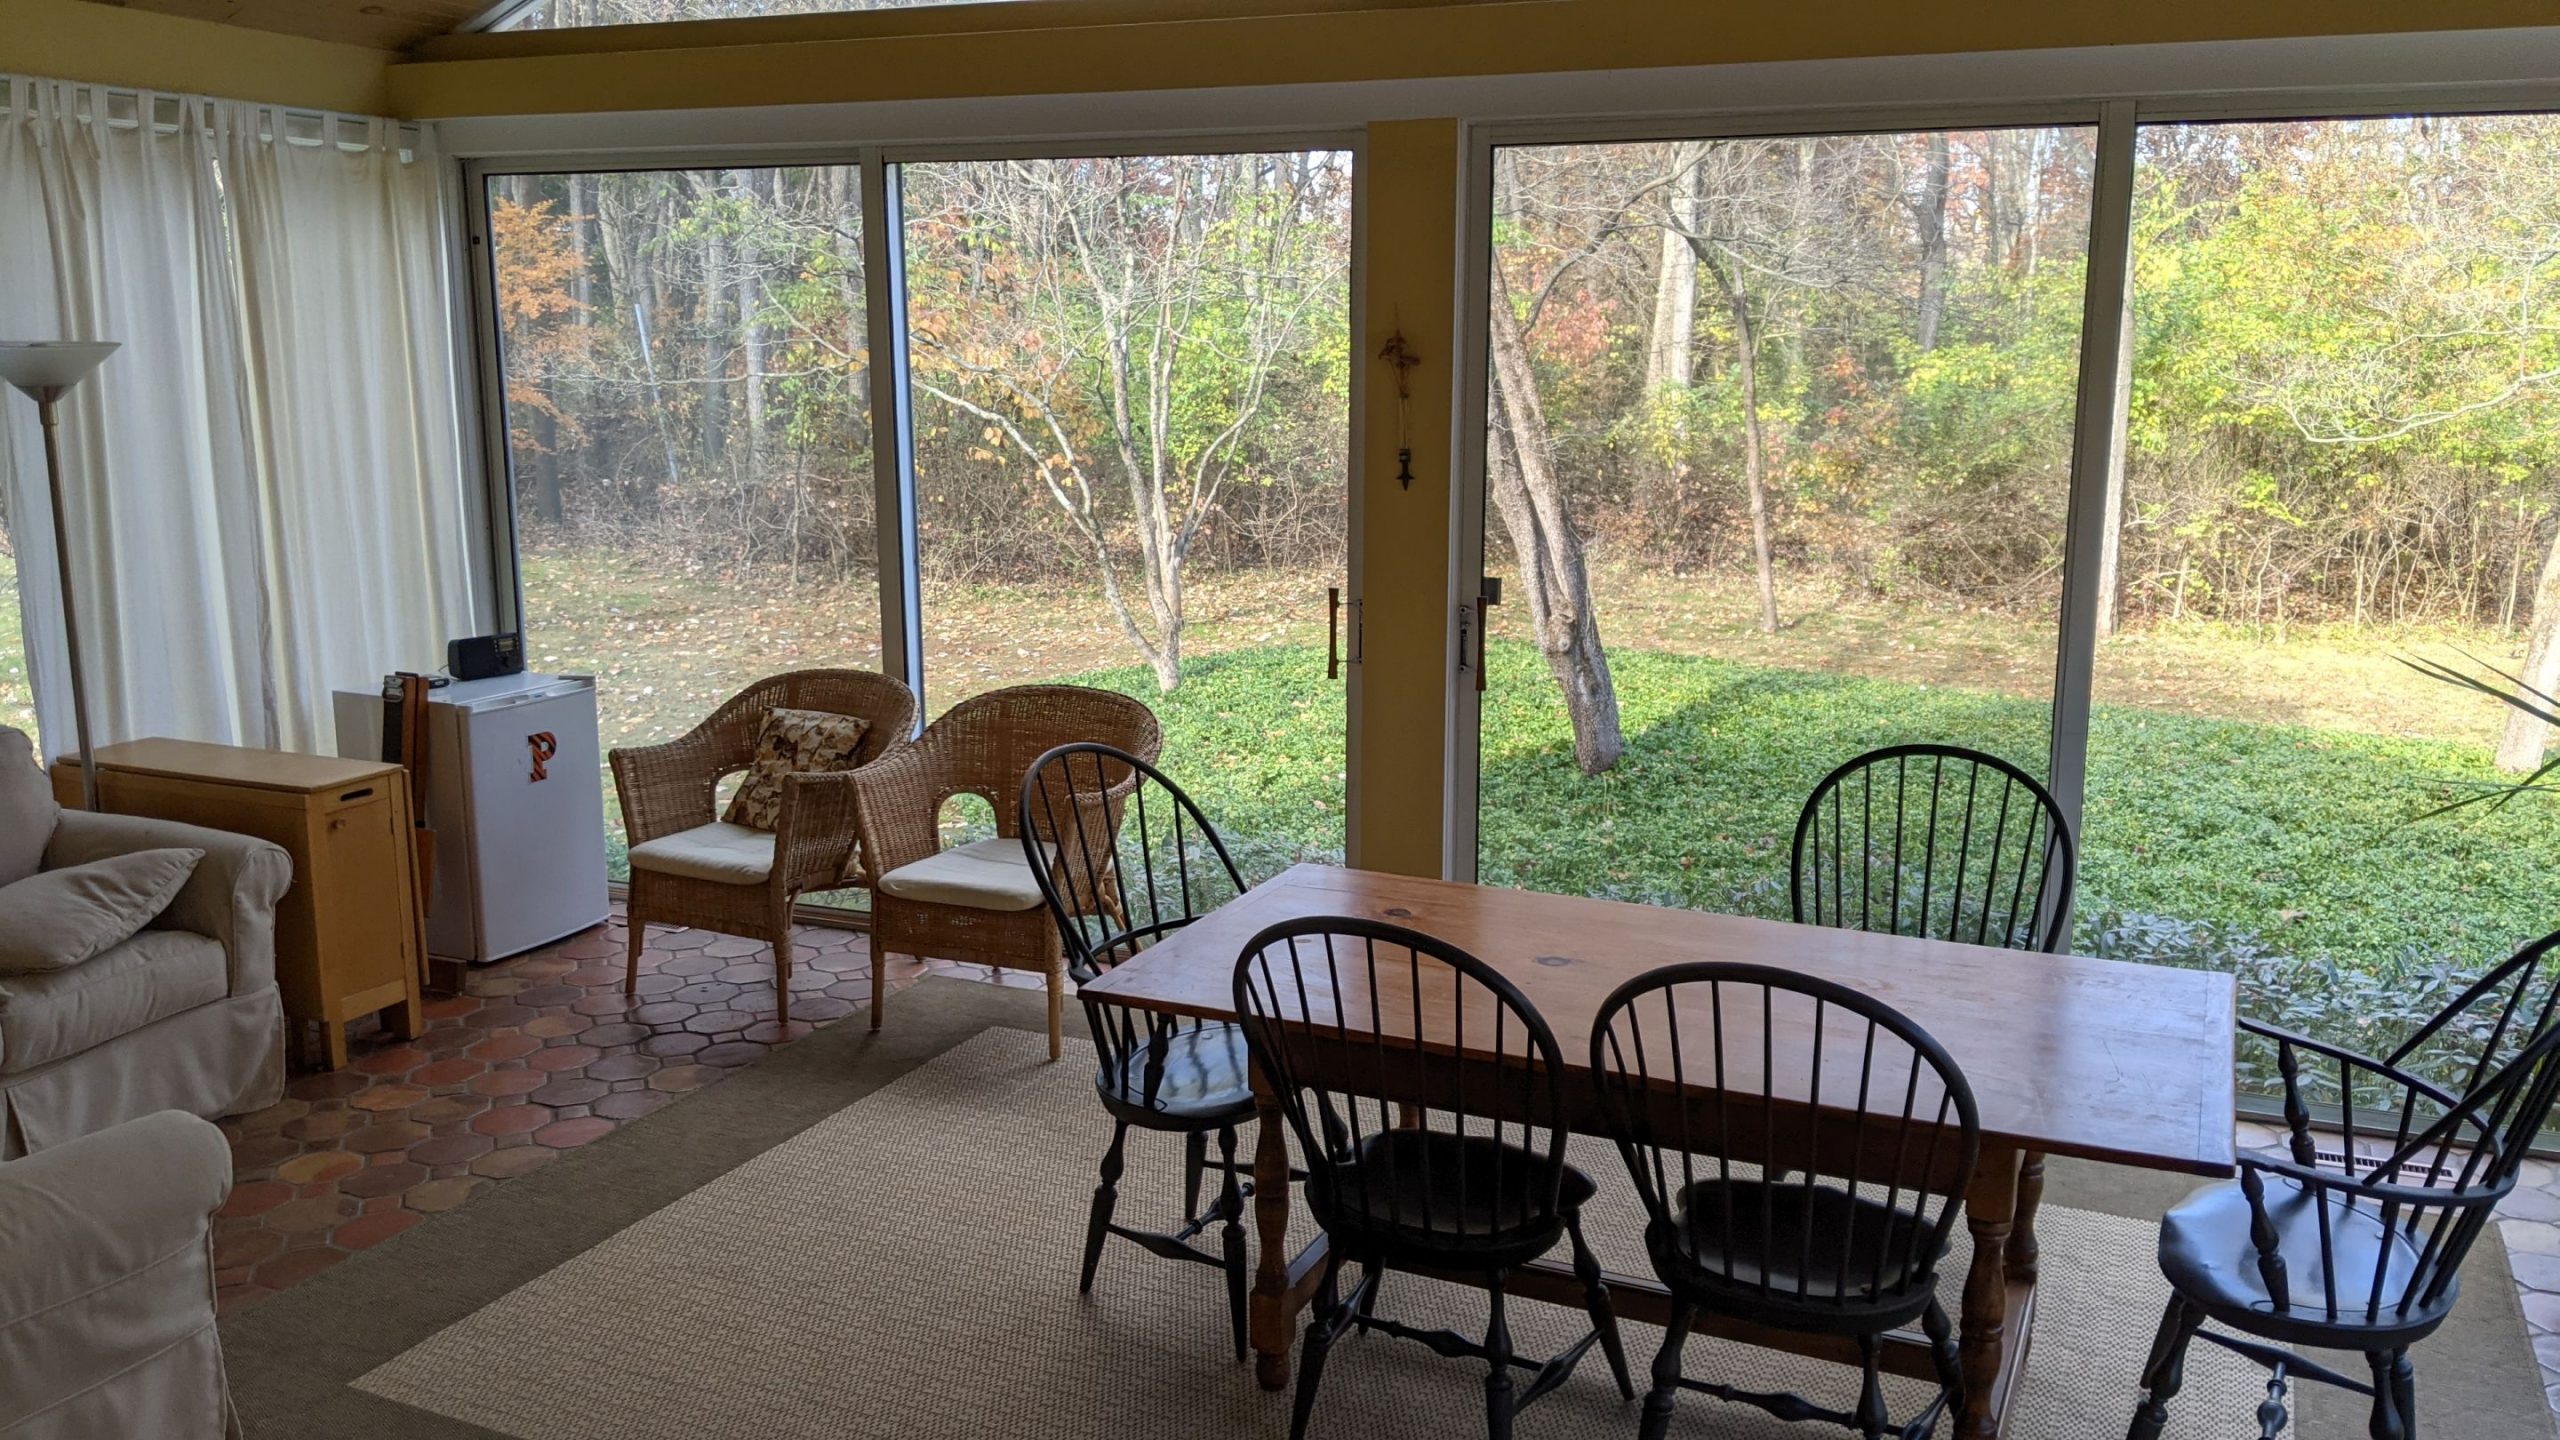
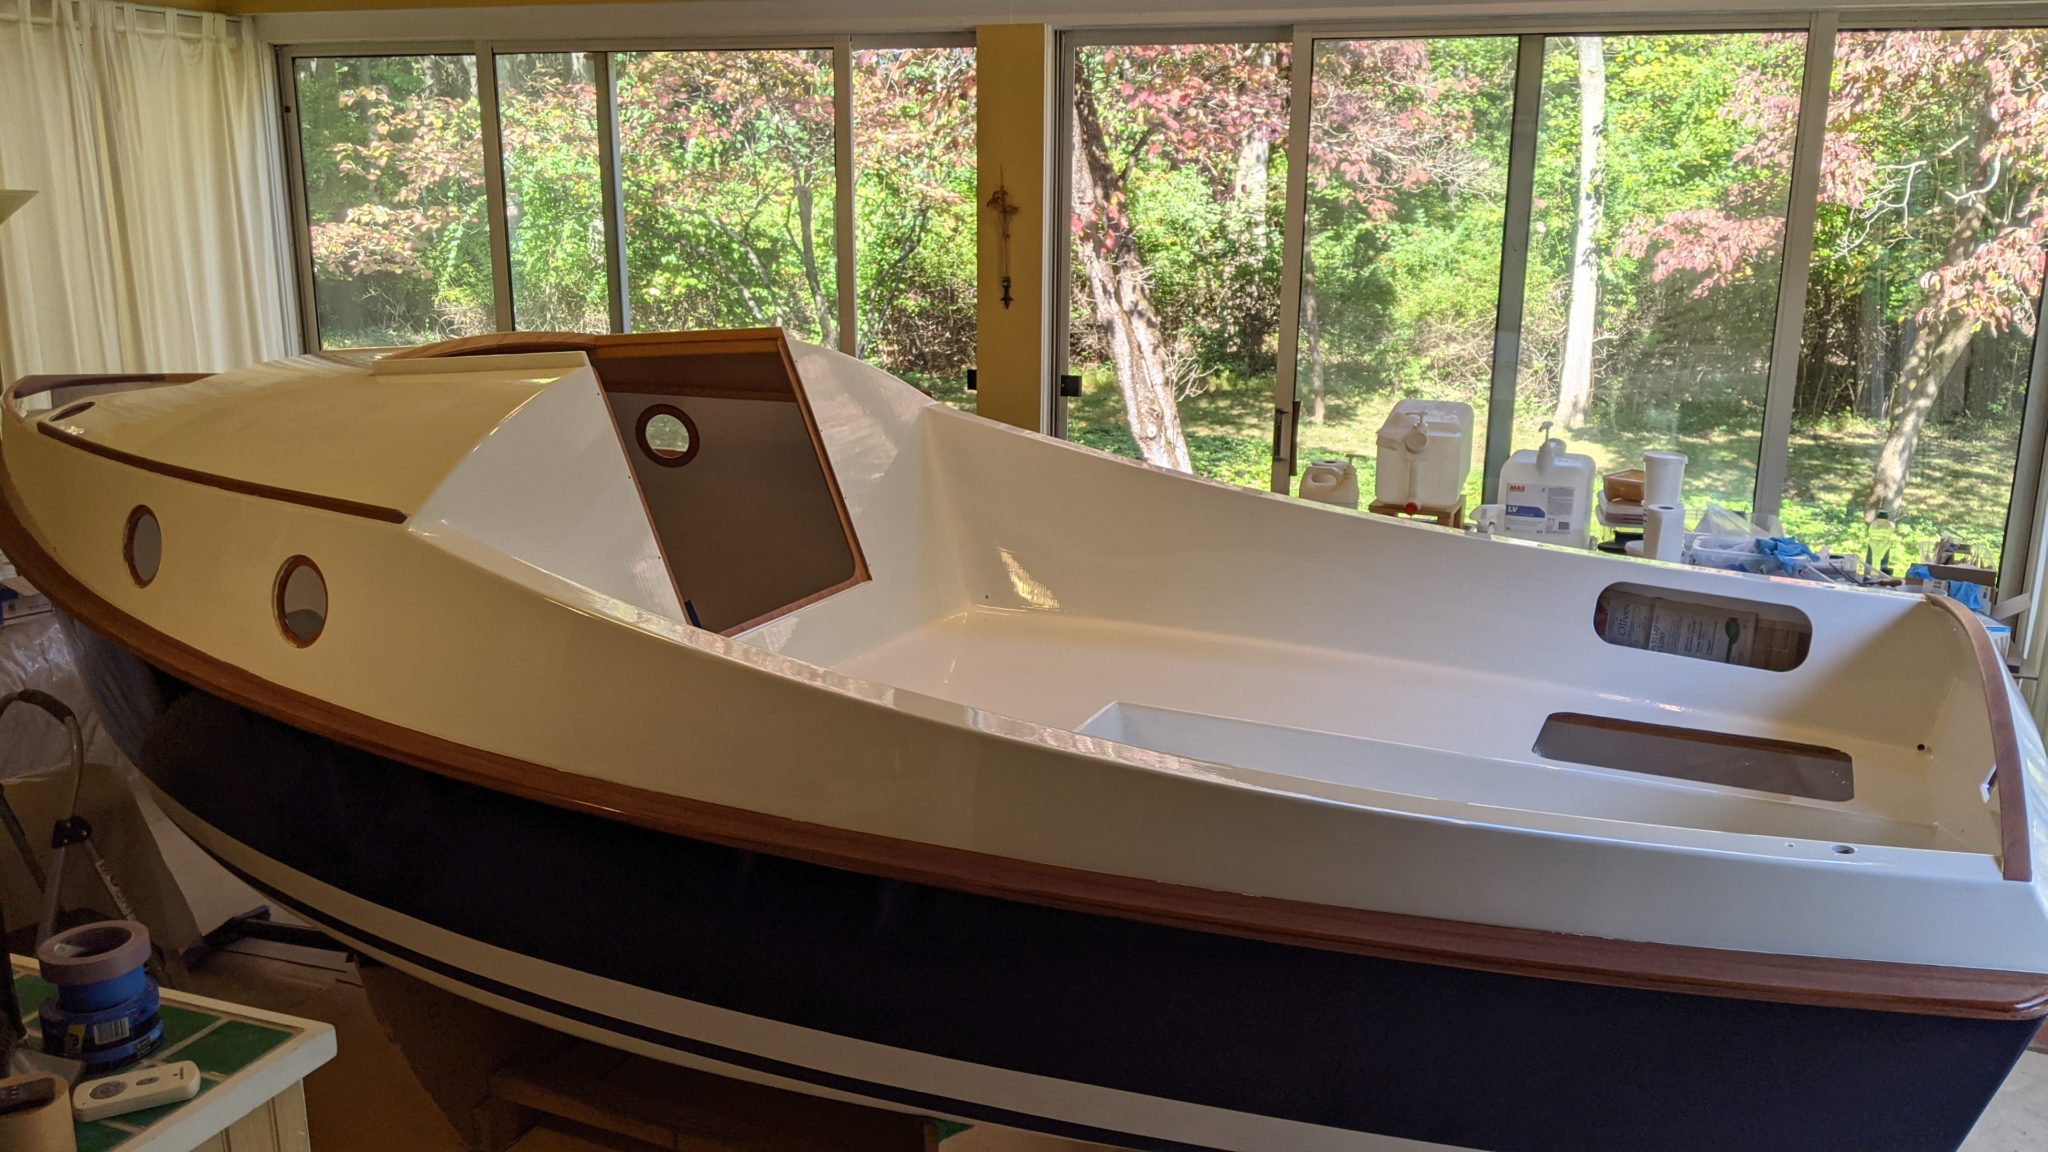
The final step was to restore the sunroom to its original state. I had to remove all the cardboard and plywood that had covered the floor, and do a lot of vacuuming. Eventually I have to find places to store all the leftover paint and other materials, and send a lot of stuff to recycling or trash.
The launch!
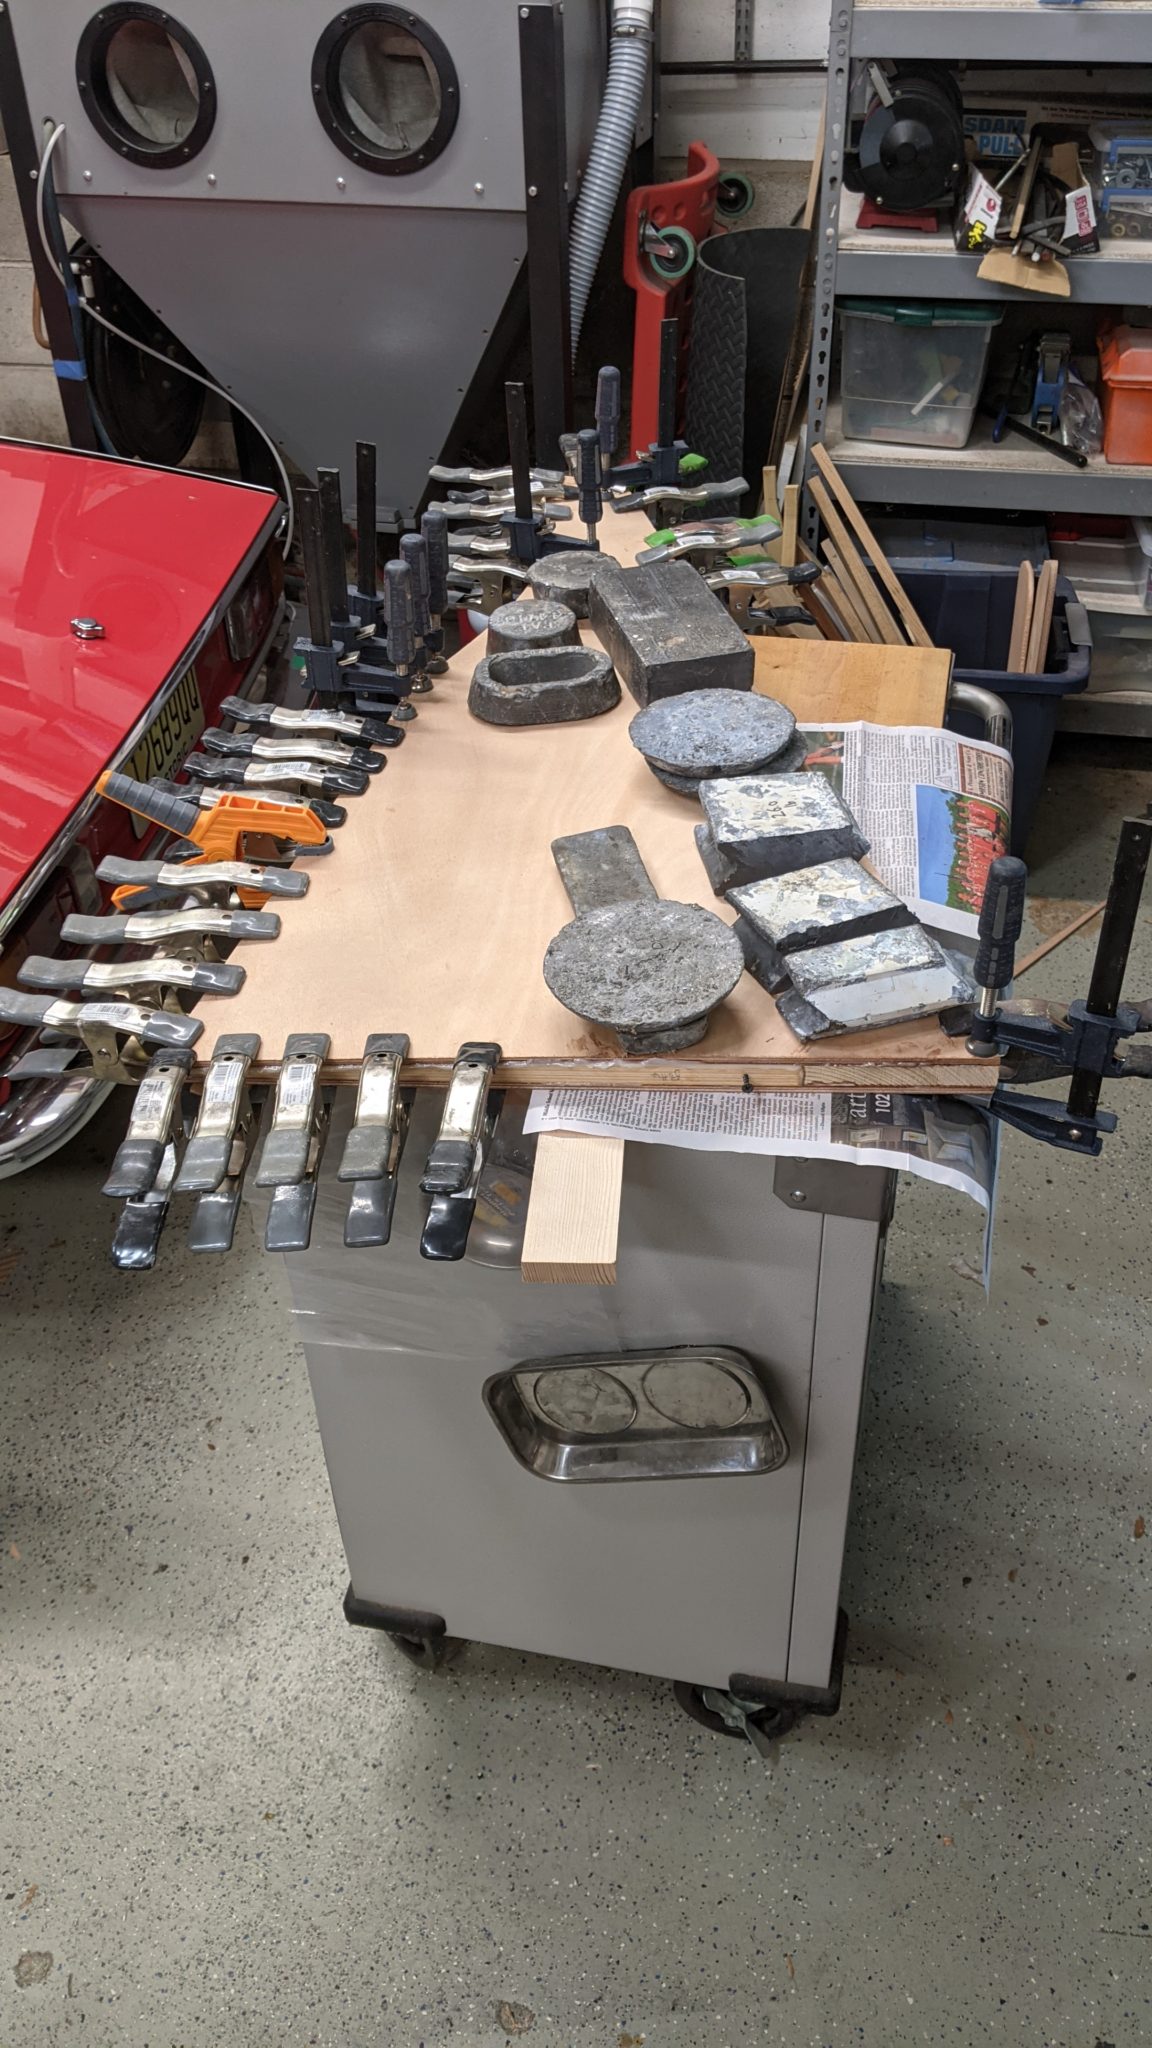
In a couple of days it was supposed to be unseasonably warm, so I rushed to get the boat ready to launch. I had to deal with things like finding some fenders and dock lines. I also got the boat registered, and ordered and installed nice stick-on vinyl numbers. The very last step was to install all my remaining lead ballast.
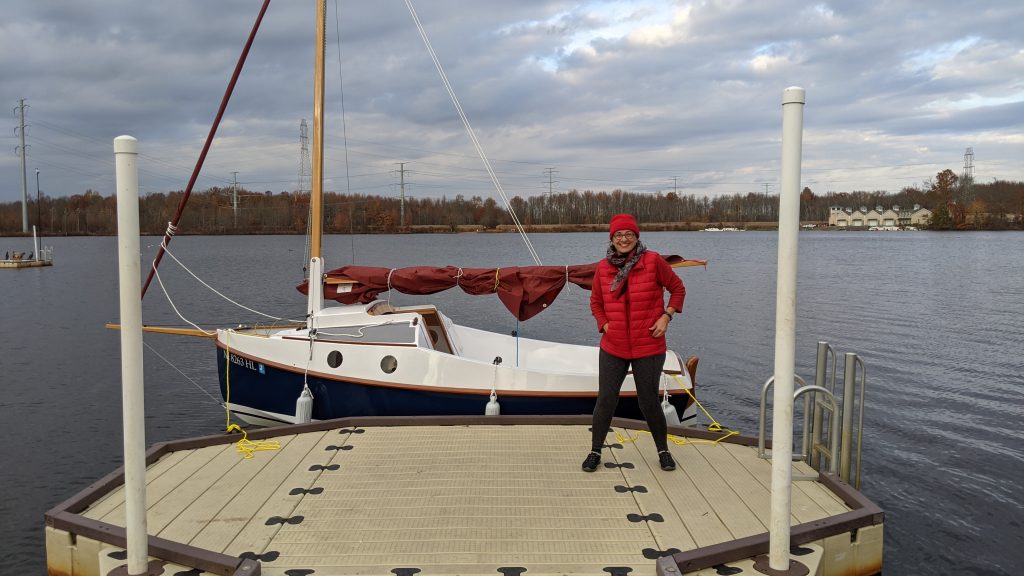
Then we drove to nearby Mercer Lake, which has a nice free ramp and dock. On a Wednesday afternoon in November, we were the only boat on the lake. The ramp was plenty steep enough, and the boat easily floated off the trailer.
And it sailed fine! Not too much wind, but the boat was easy to handle and comfortable. But it will be next spring before we get to do any real sailing…
The fitting-out
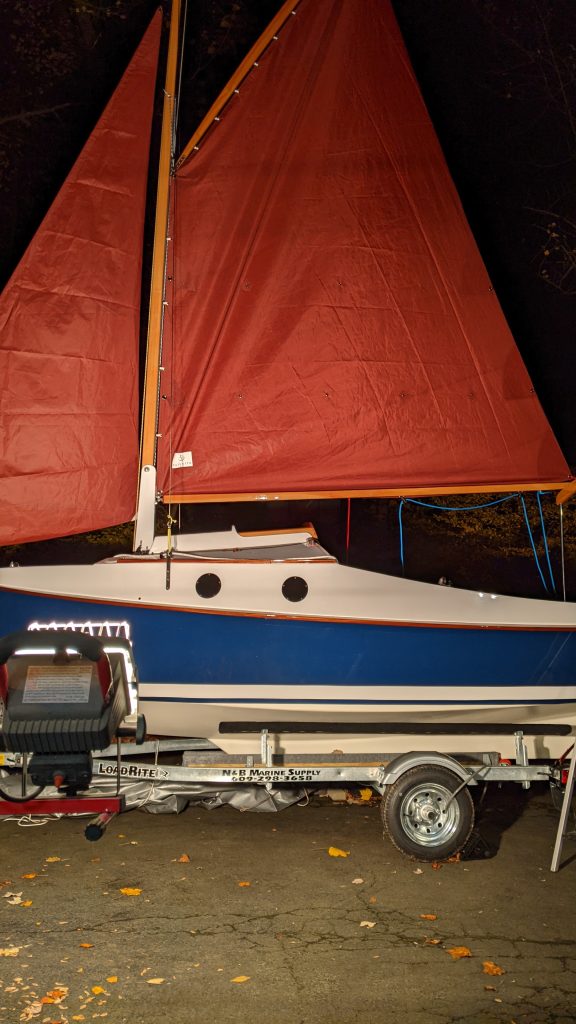
I spent a few days attaching everything to the boat. Everything fitted the way it was supposed to. The sails had been sitting in a bag for a year, waiting to be raised.
It’s out!
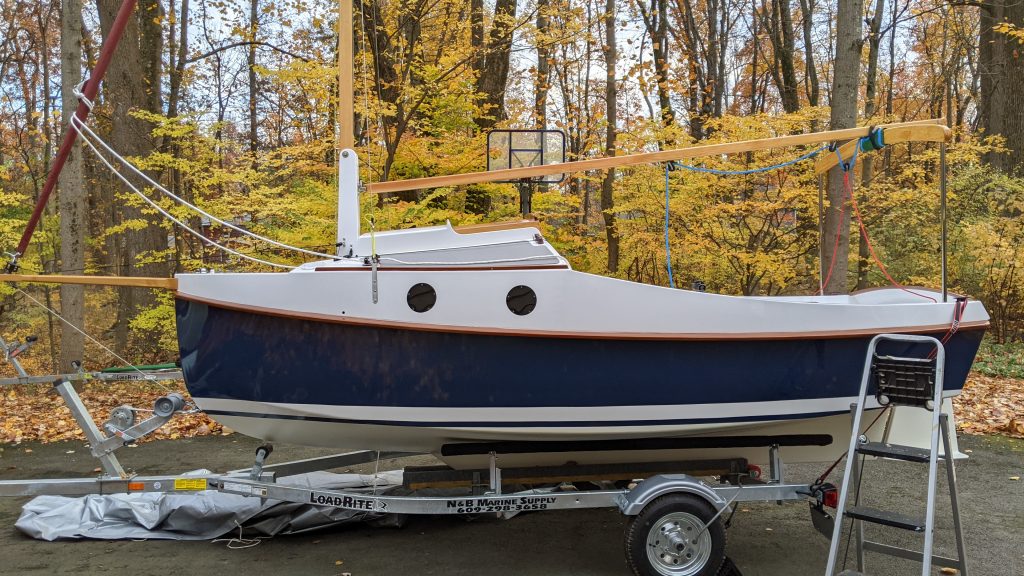
We got it out onto the trailer without too much trouble. Most of the work was removing and re-installing the glass doors, which were large and heavy (and expensive to replace if broken).
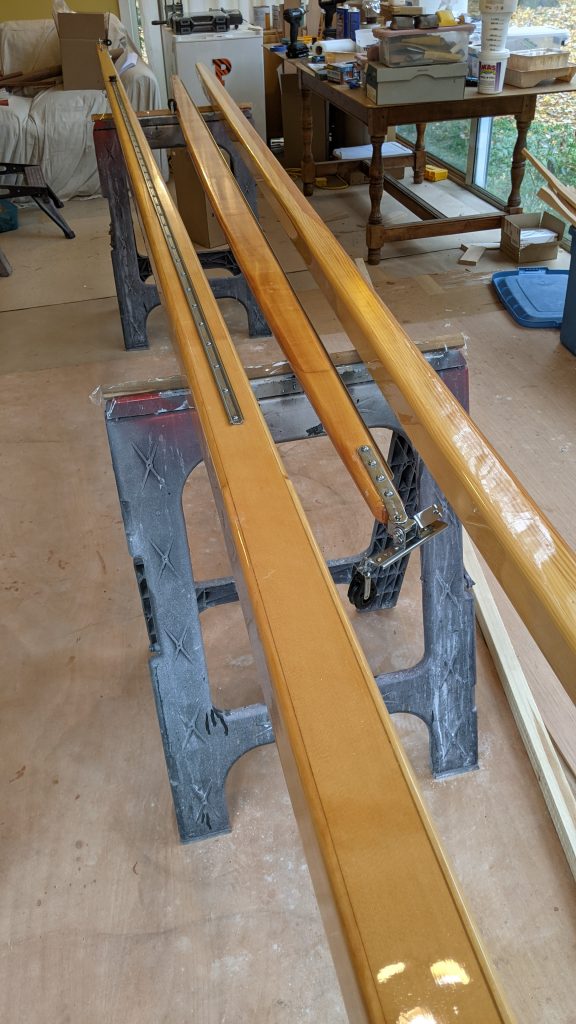
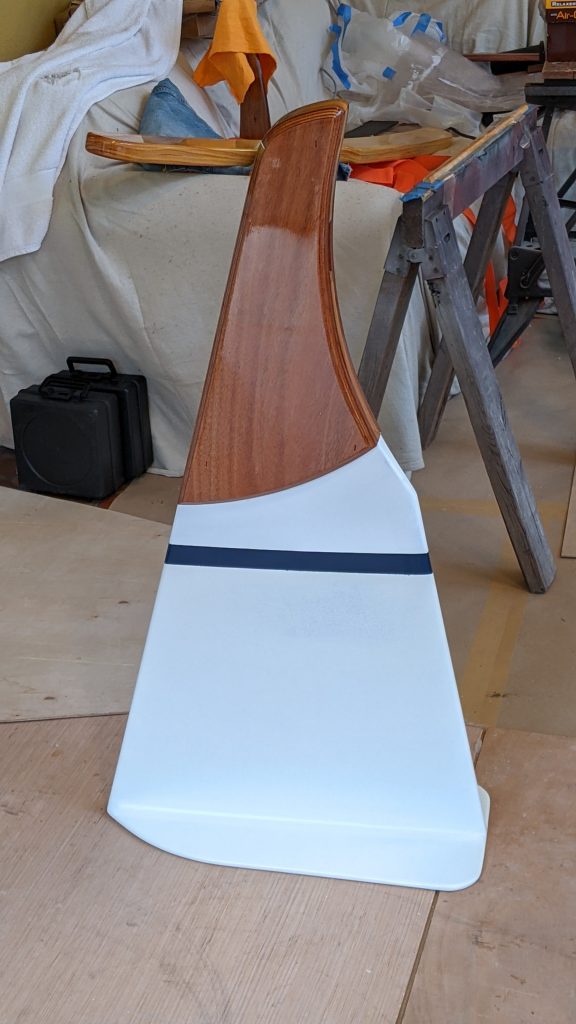
Once the boat was out, I had enough room to start varnishing the mast, boom and rudder.
Ready for the coming-out!
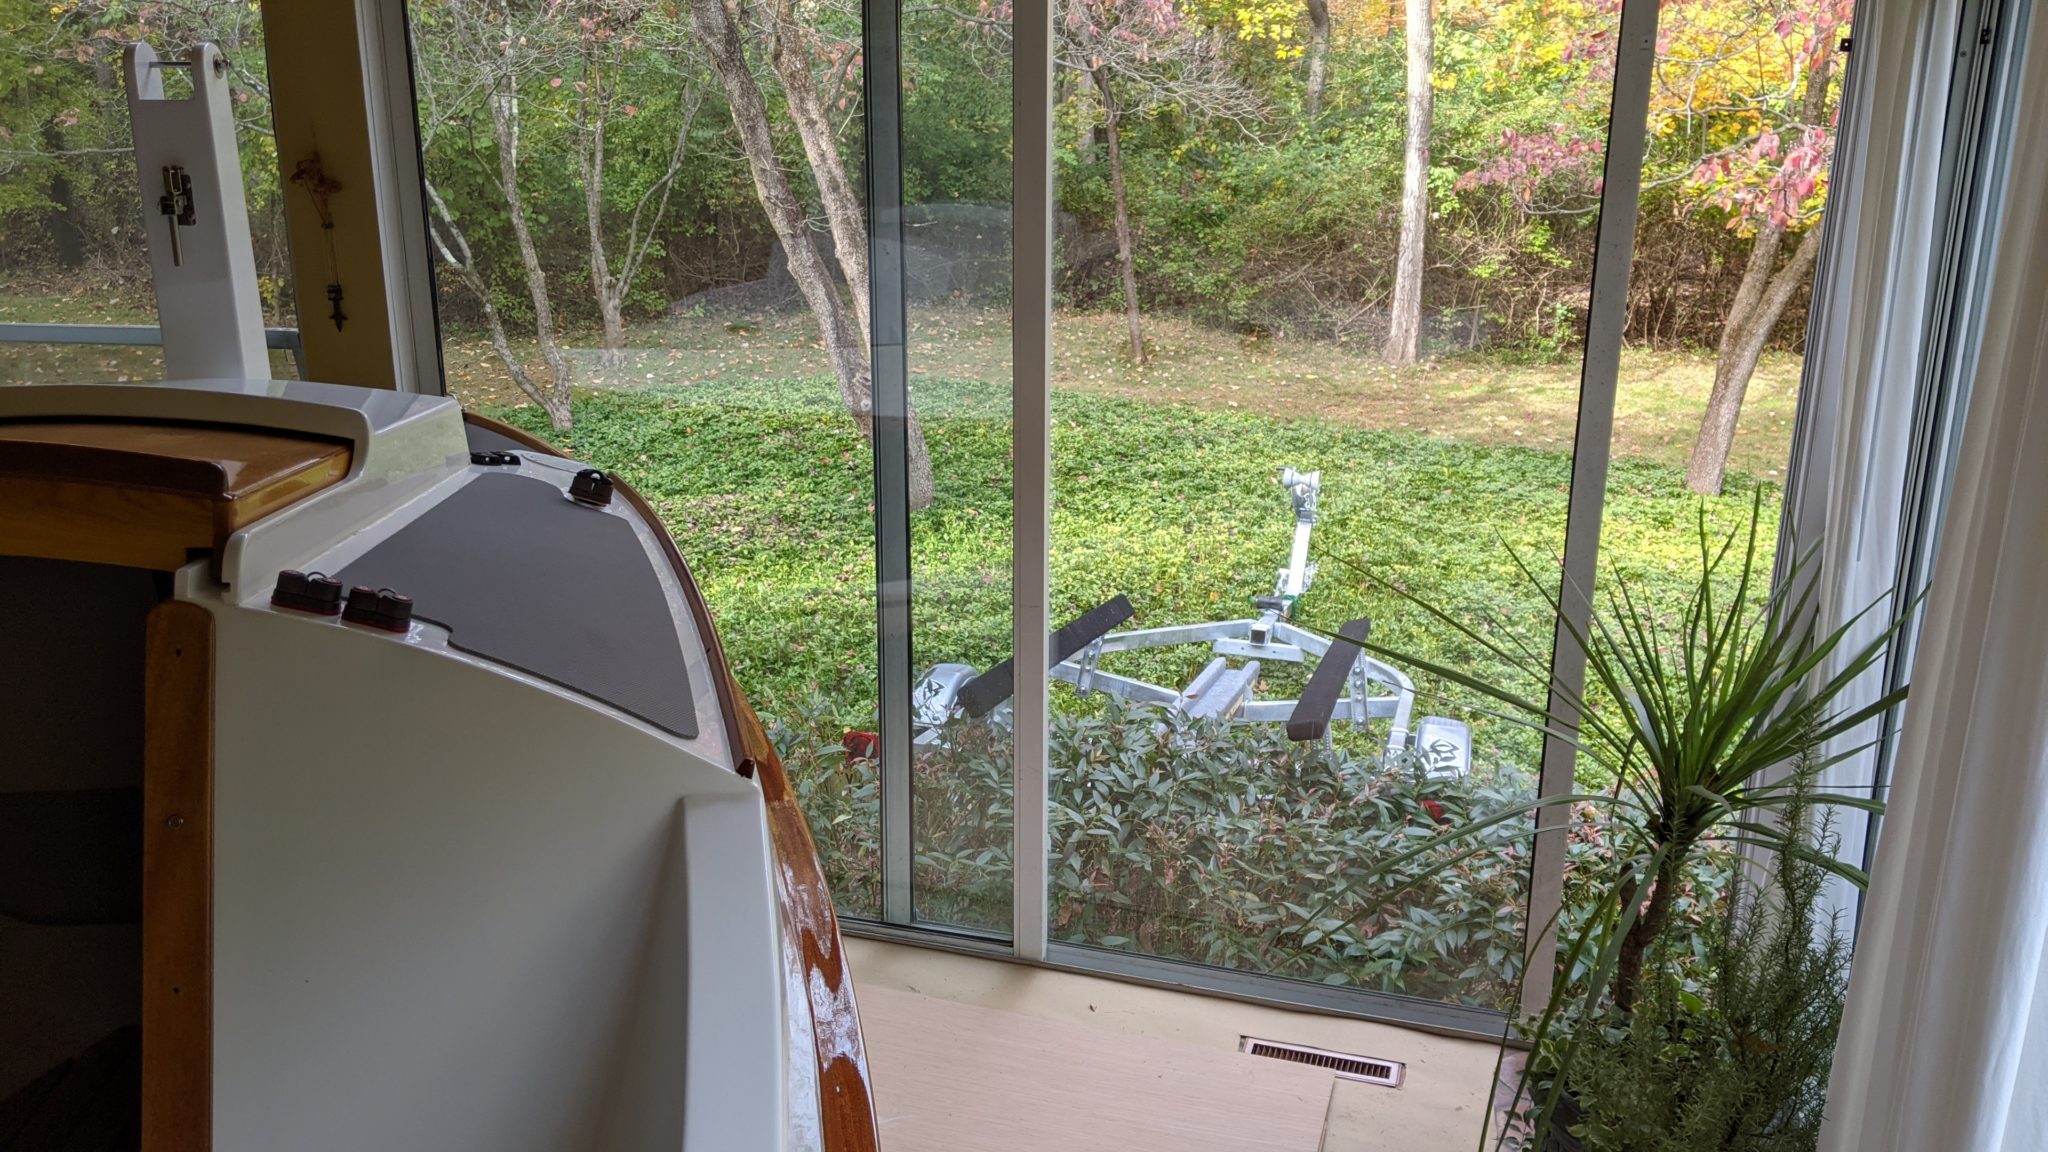
The trailer finally arrived last week, and I had to make some modifications to it to accommodate the PocketShip: raising the bunks, and adding a wooden trough down the center to support the keel. I also did a few final things to the hull, including mounting the windows and cutting out the acrylic companionway drop boards.
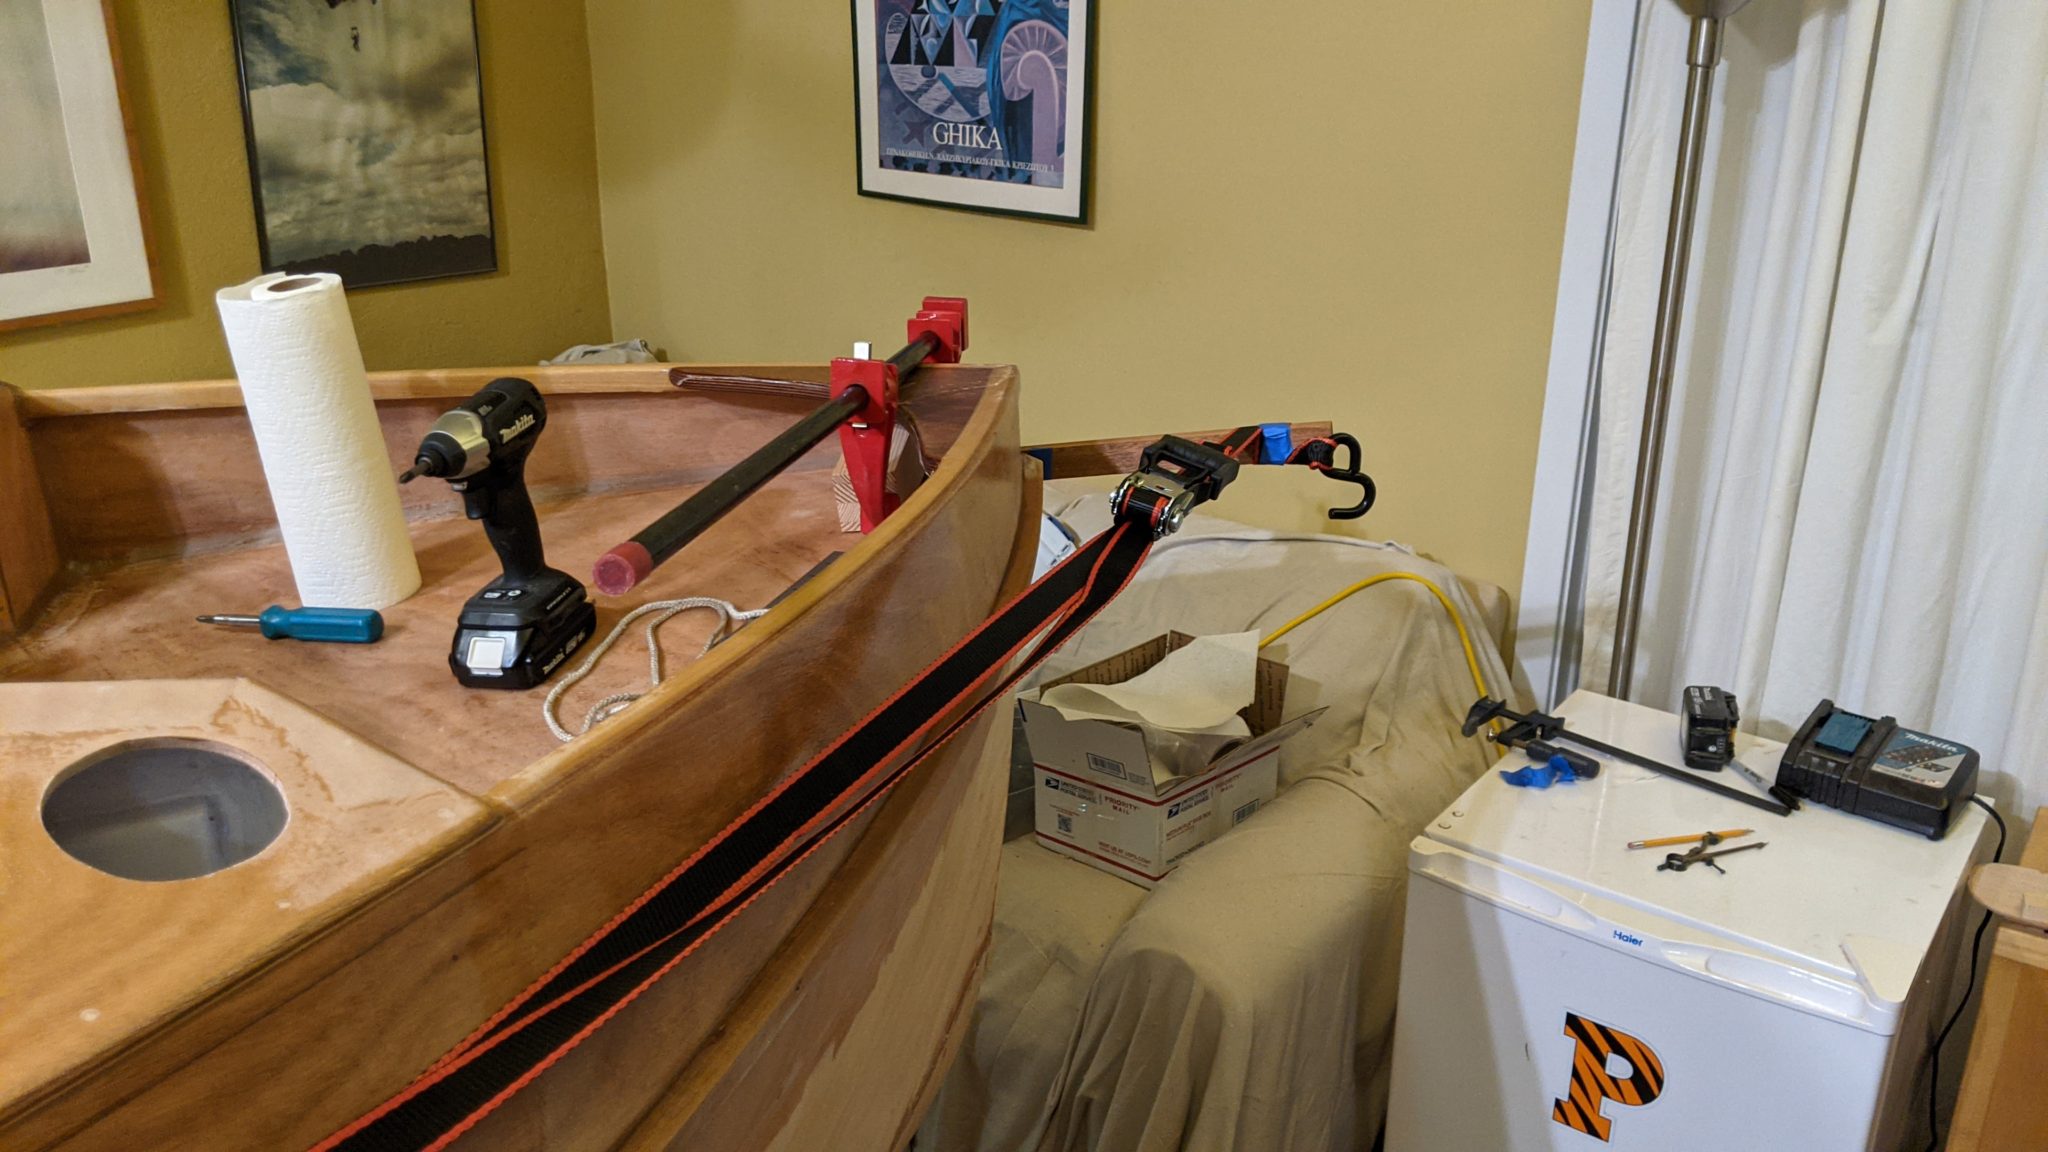
The next step is remove the sliding glass doors so that the boat can be dragged out of my sunroom and onto its trailer. The doors are quite big and heavy, so I had to order a couple of those big suction-cup handles that professional glass installers use.
Varnishing the trim, and fitting out
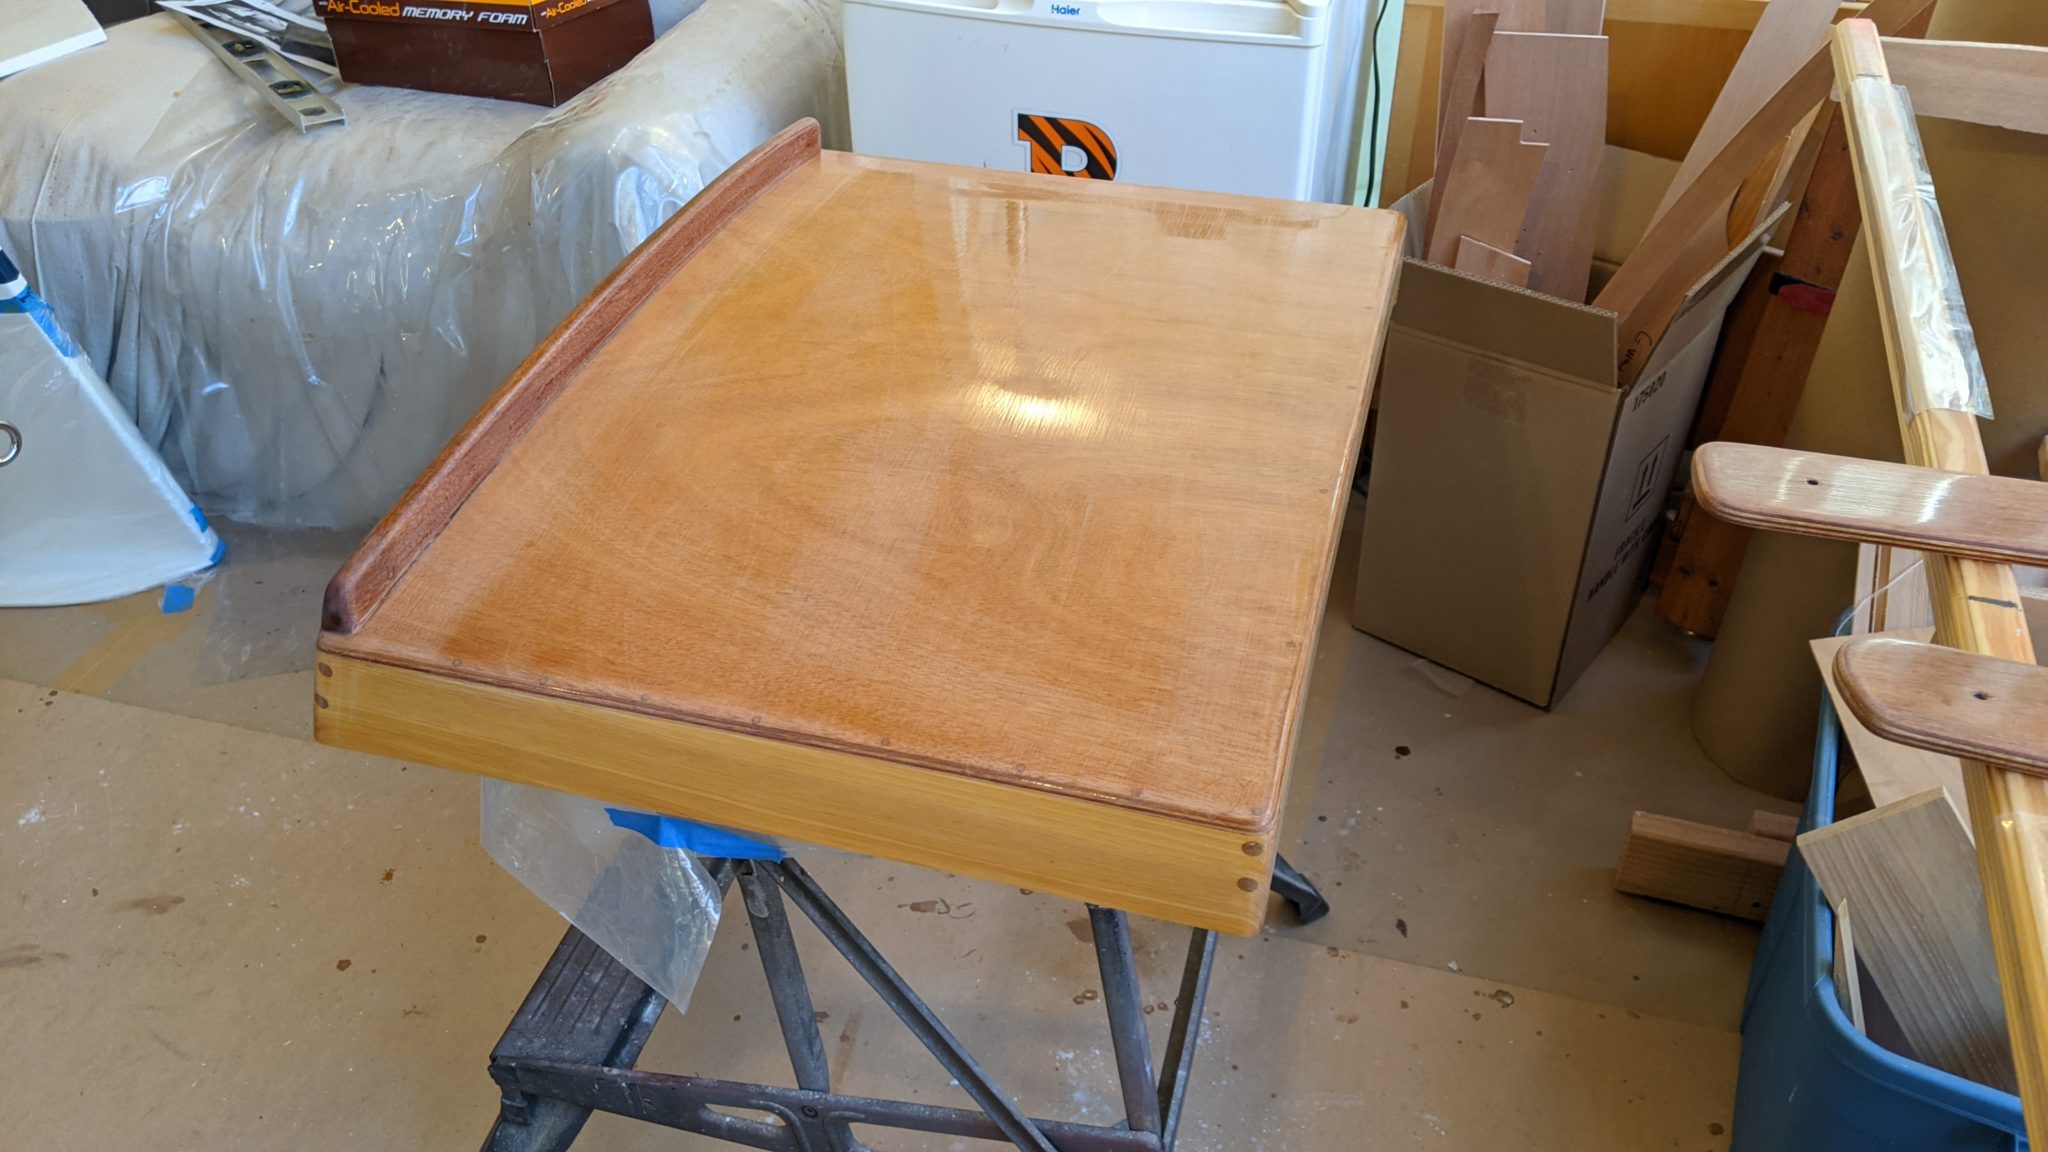
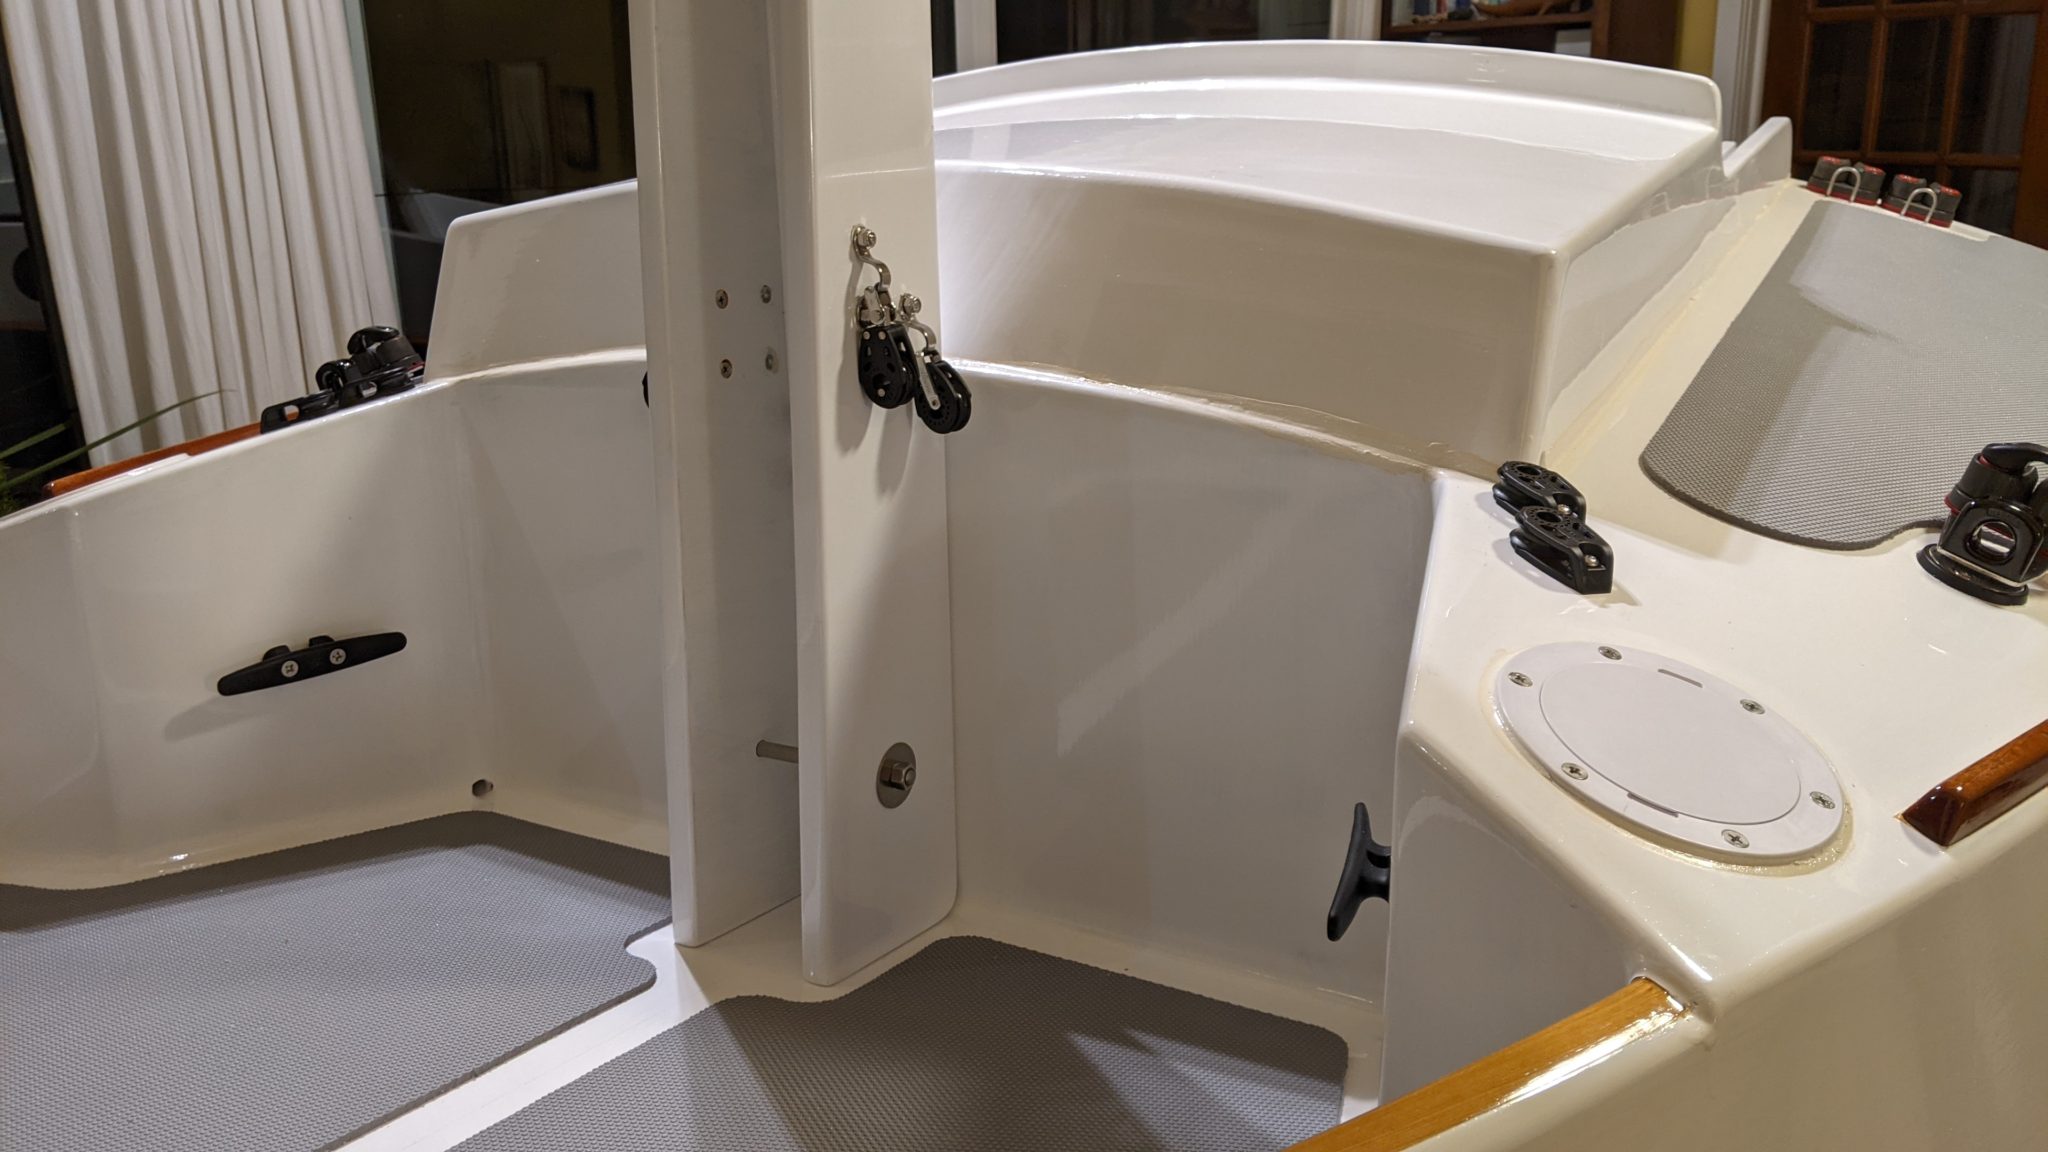
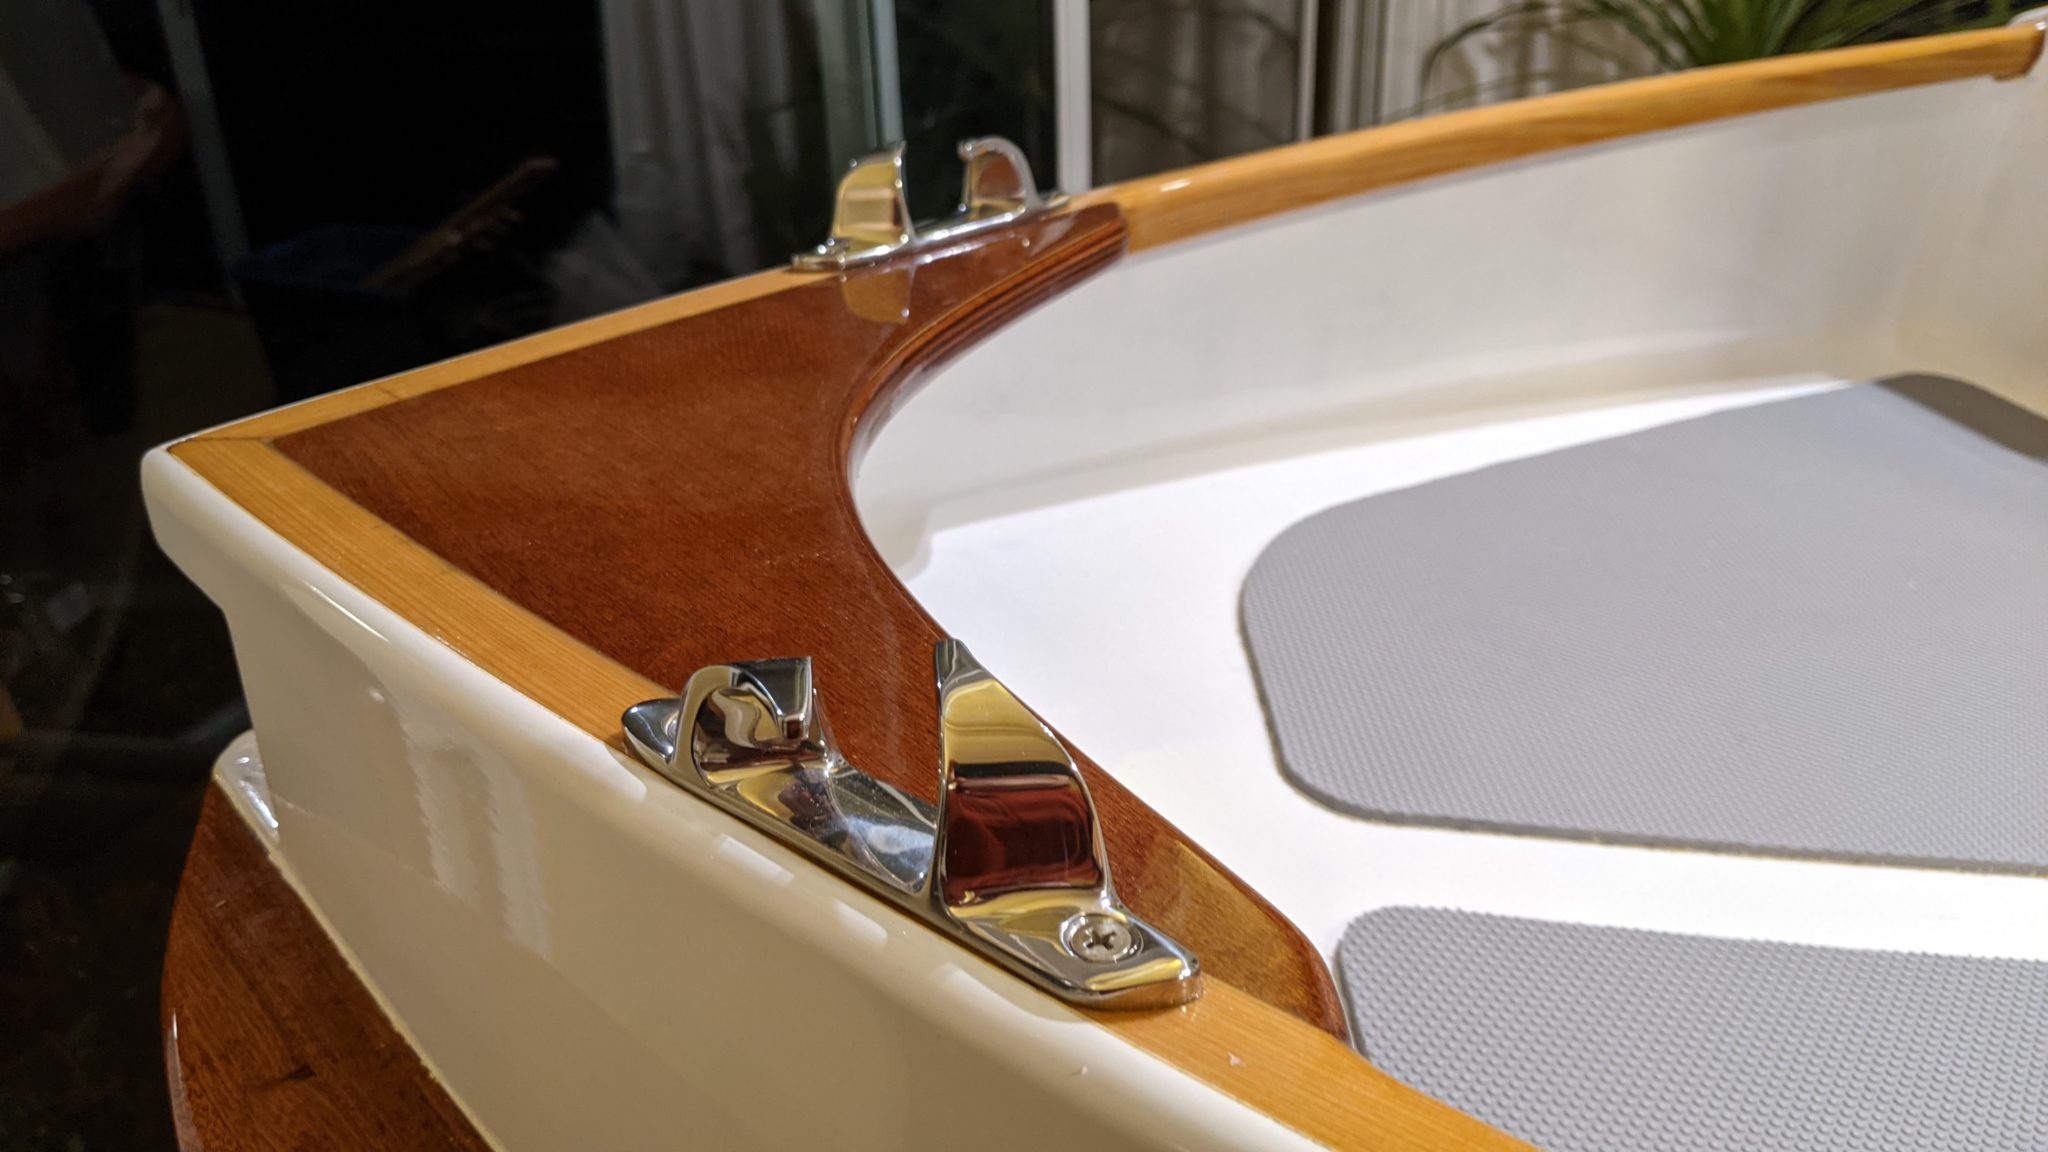
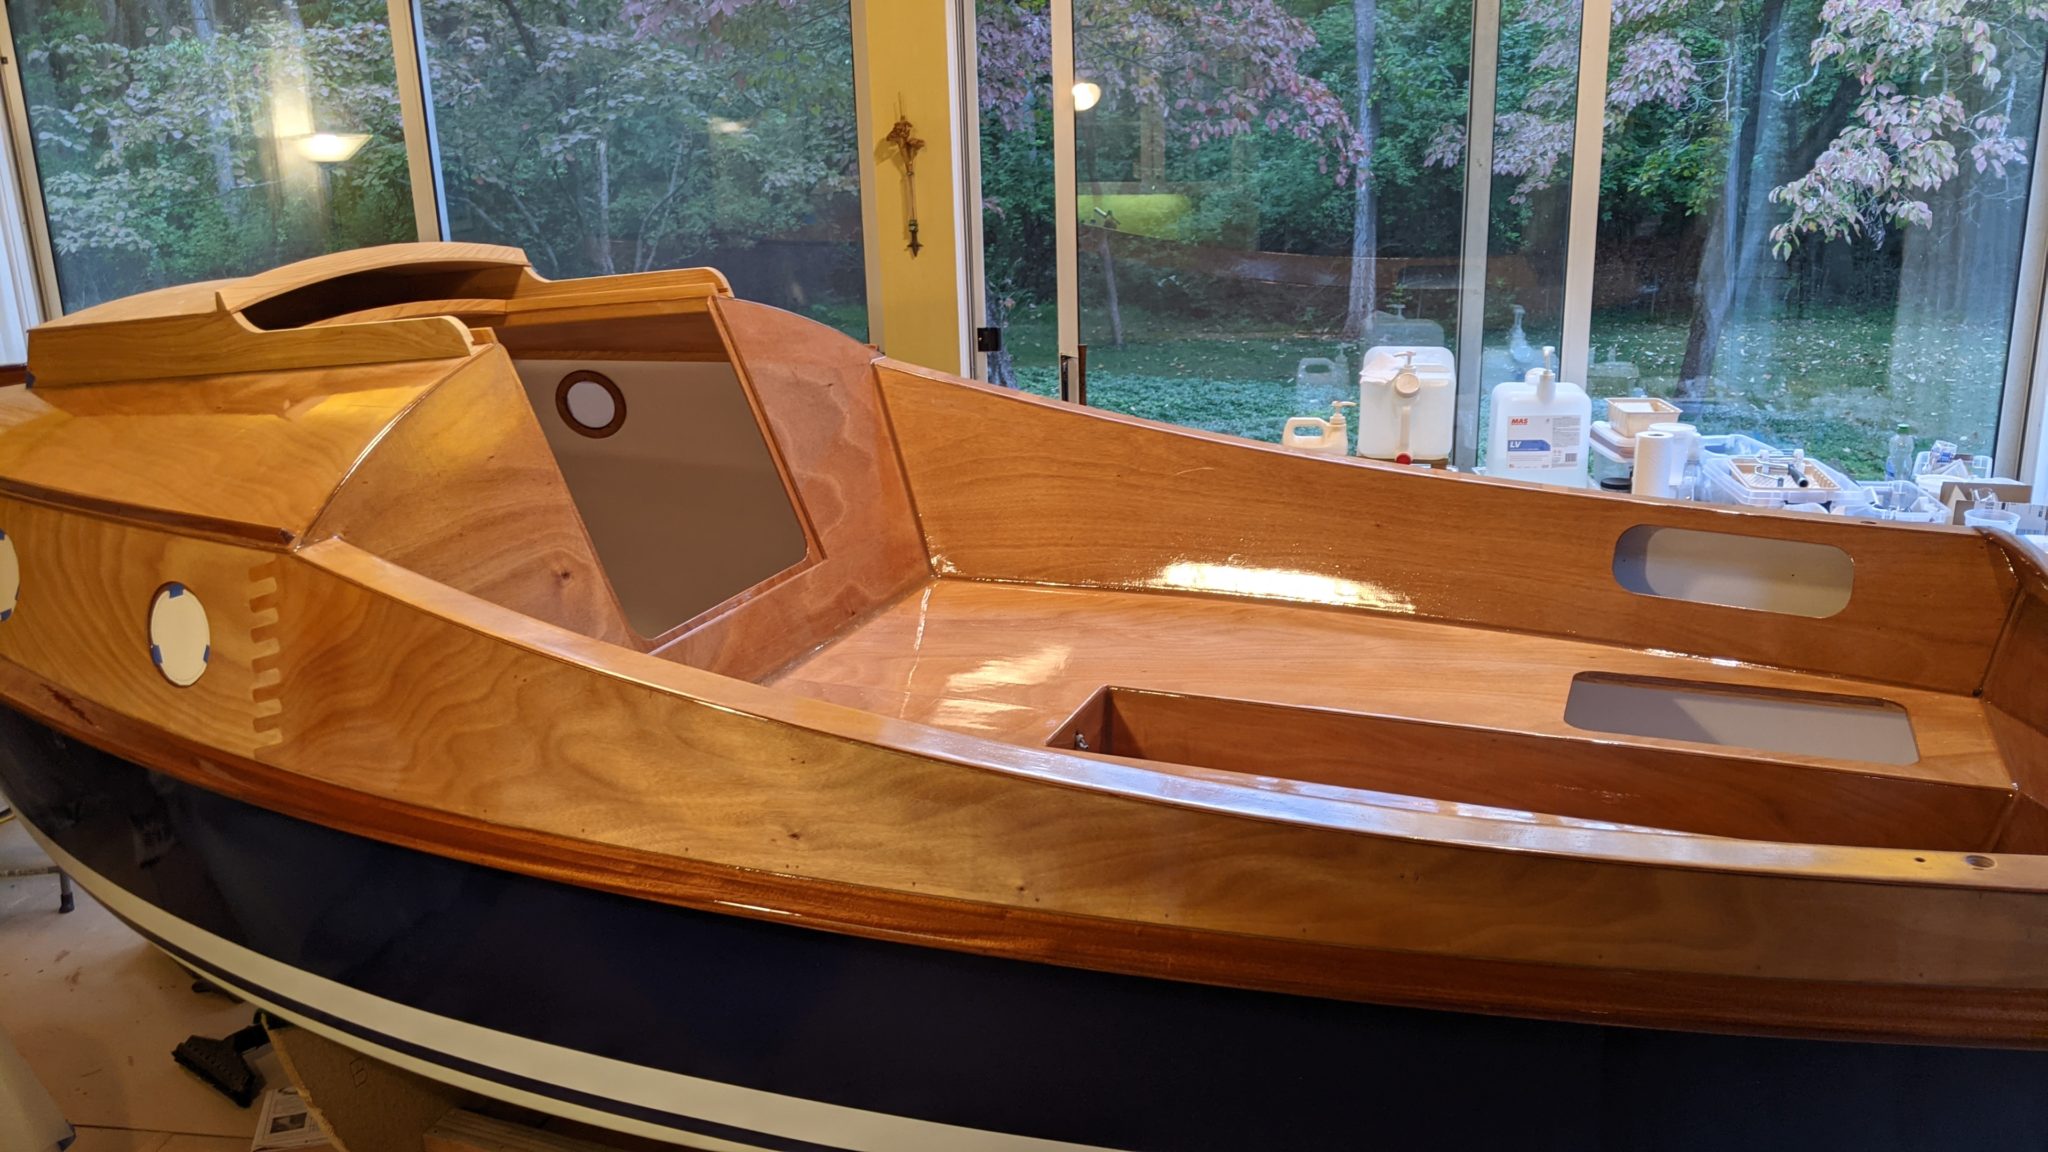
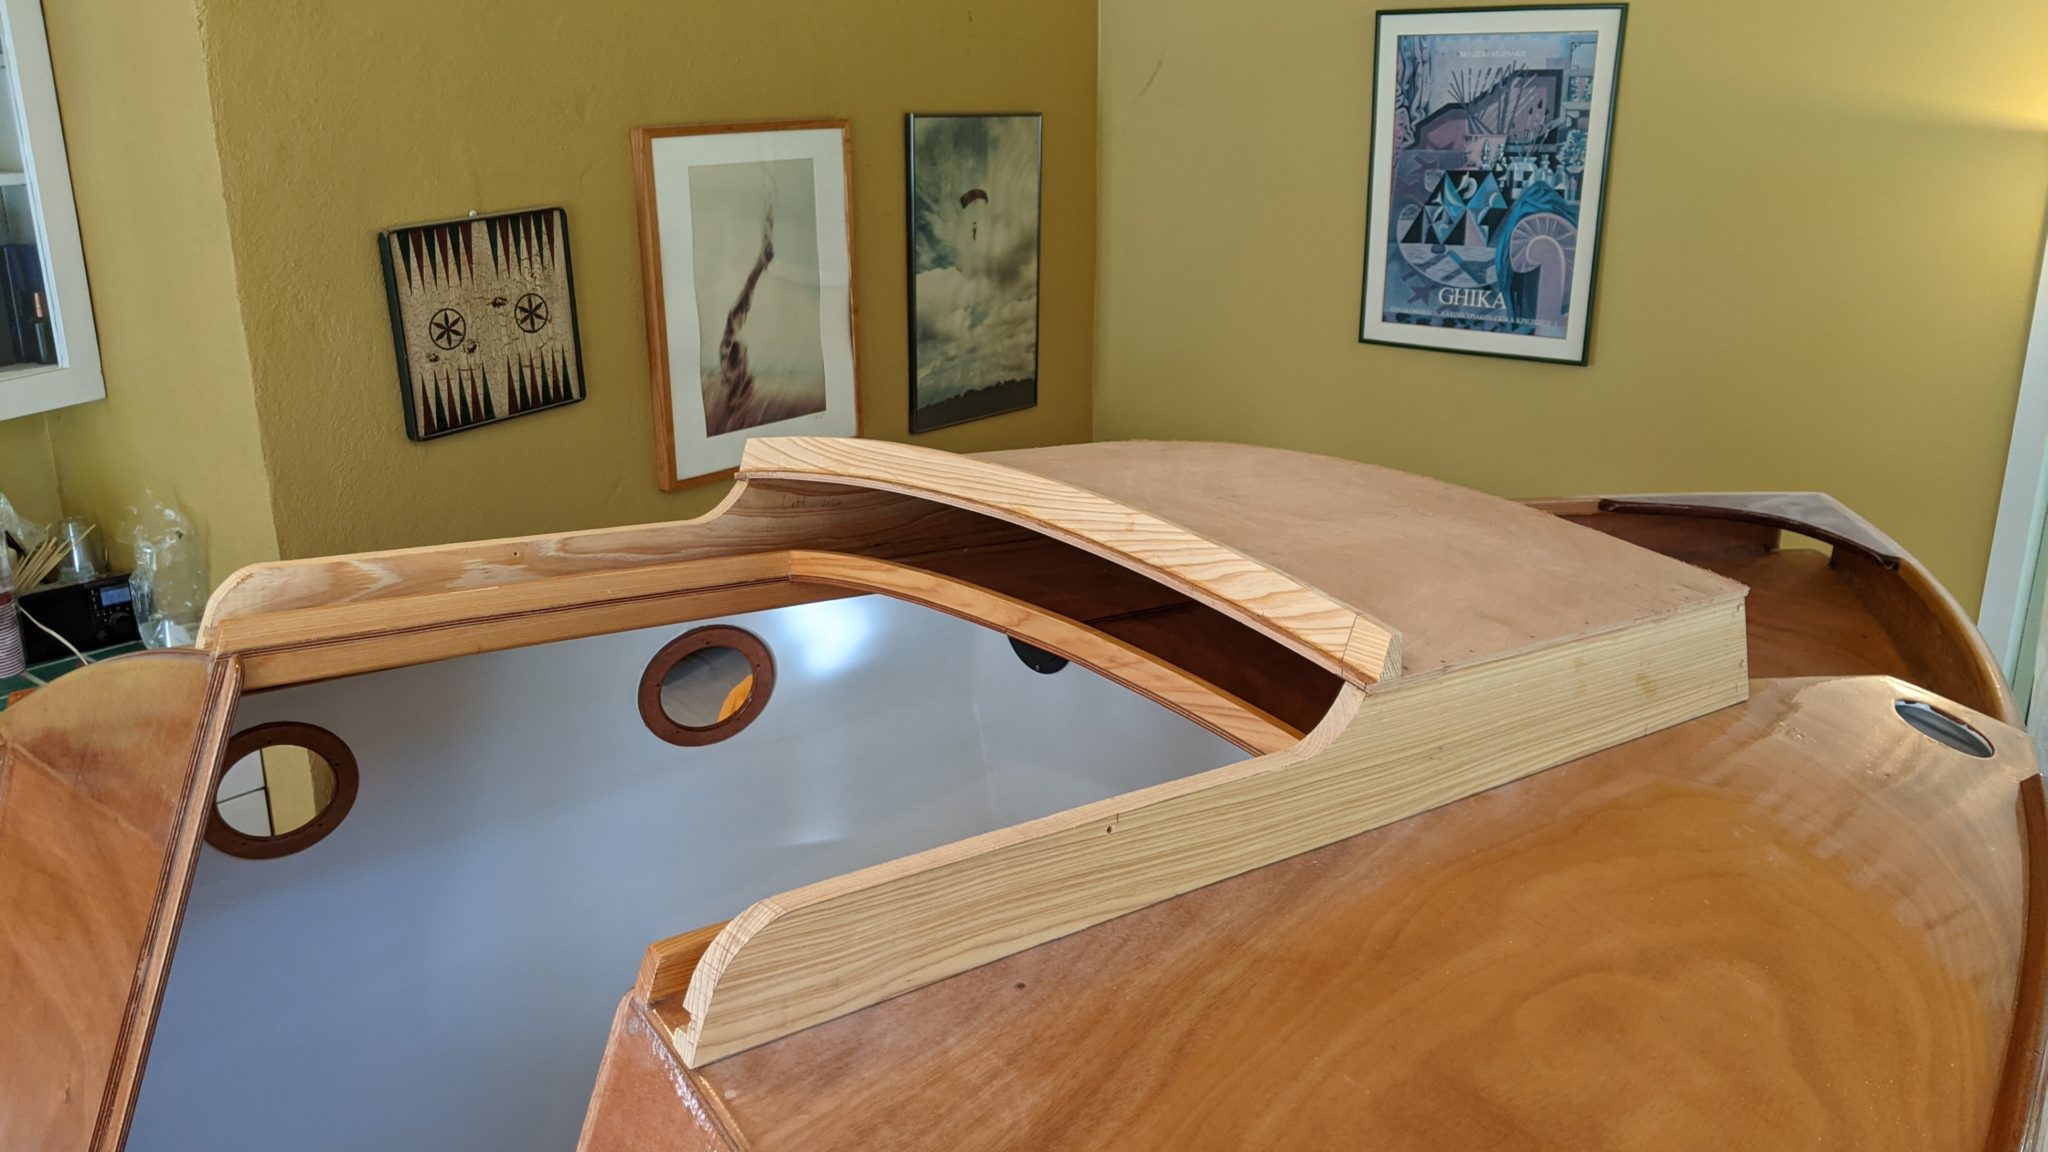
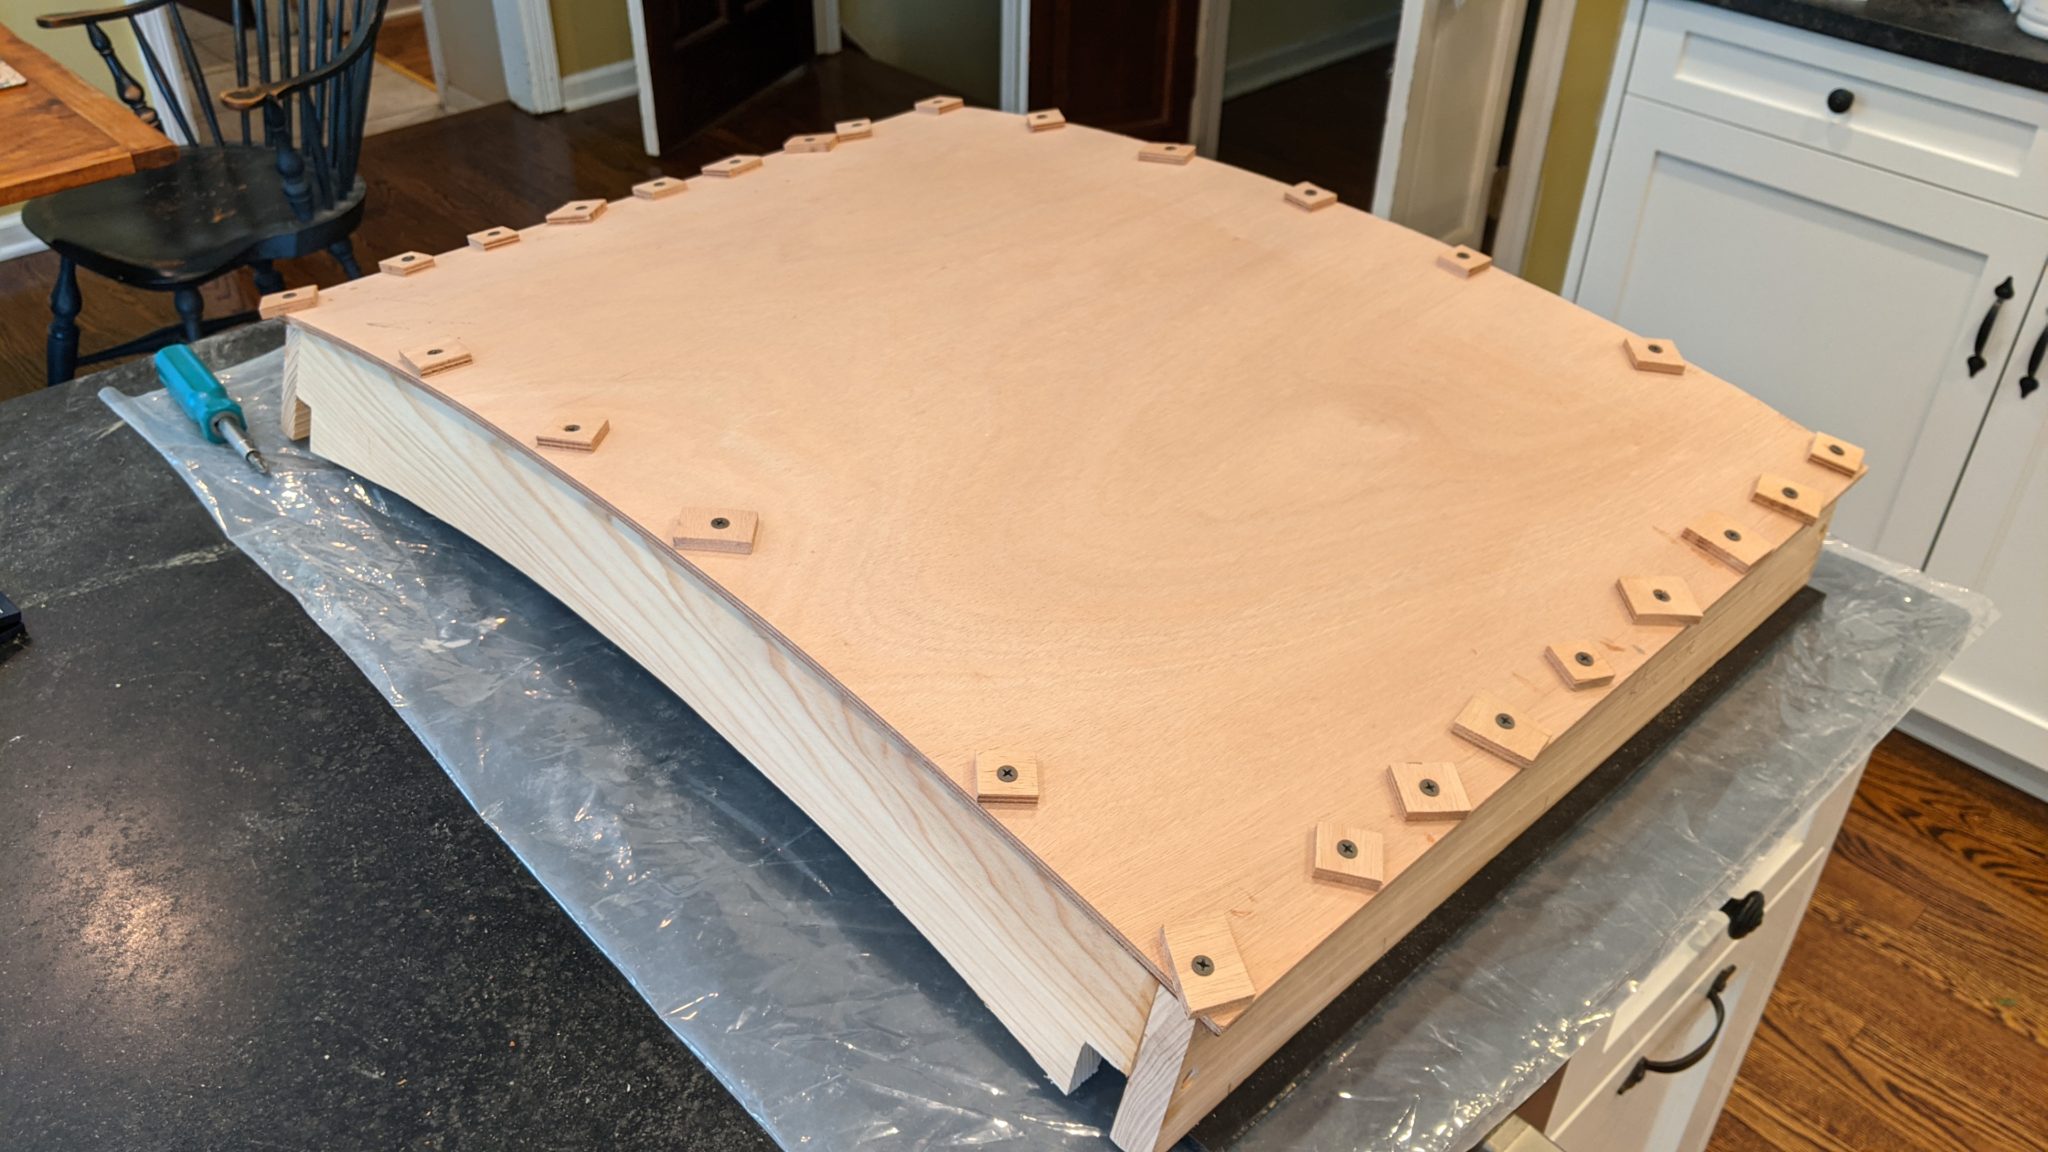
I varnished the companionway slide, the rails and other trim, and mounted the tabernacle and the companionway hood. Then I started attaching hardware to the hull. Lots of trips to the hardware store to get the correct nuts and bolts! I also installed the rest of the pre-cut grey SeaDek padding on the cabin roof and foredeck.
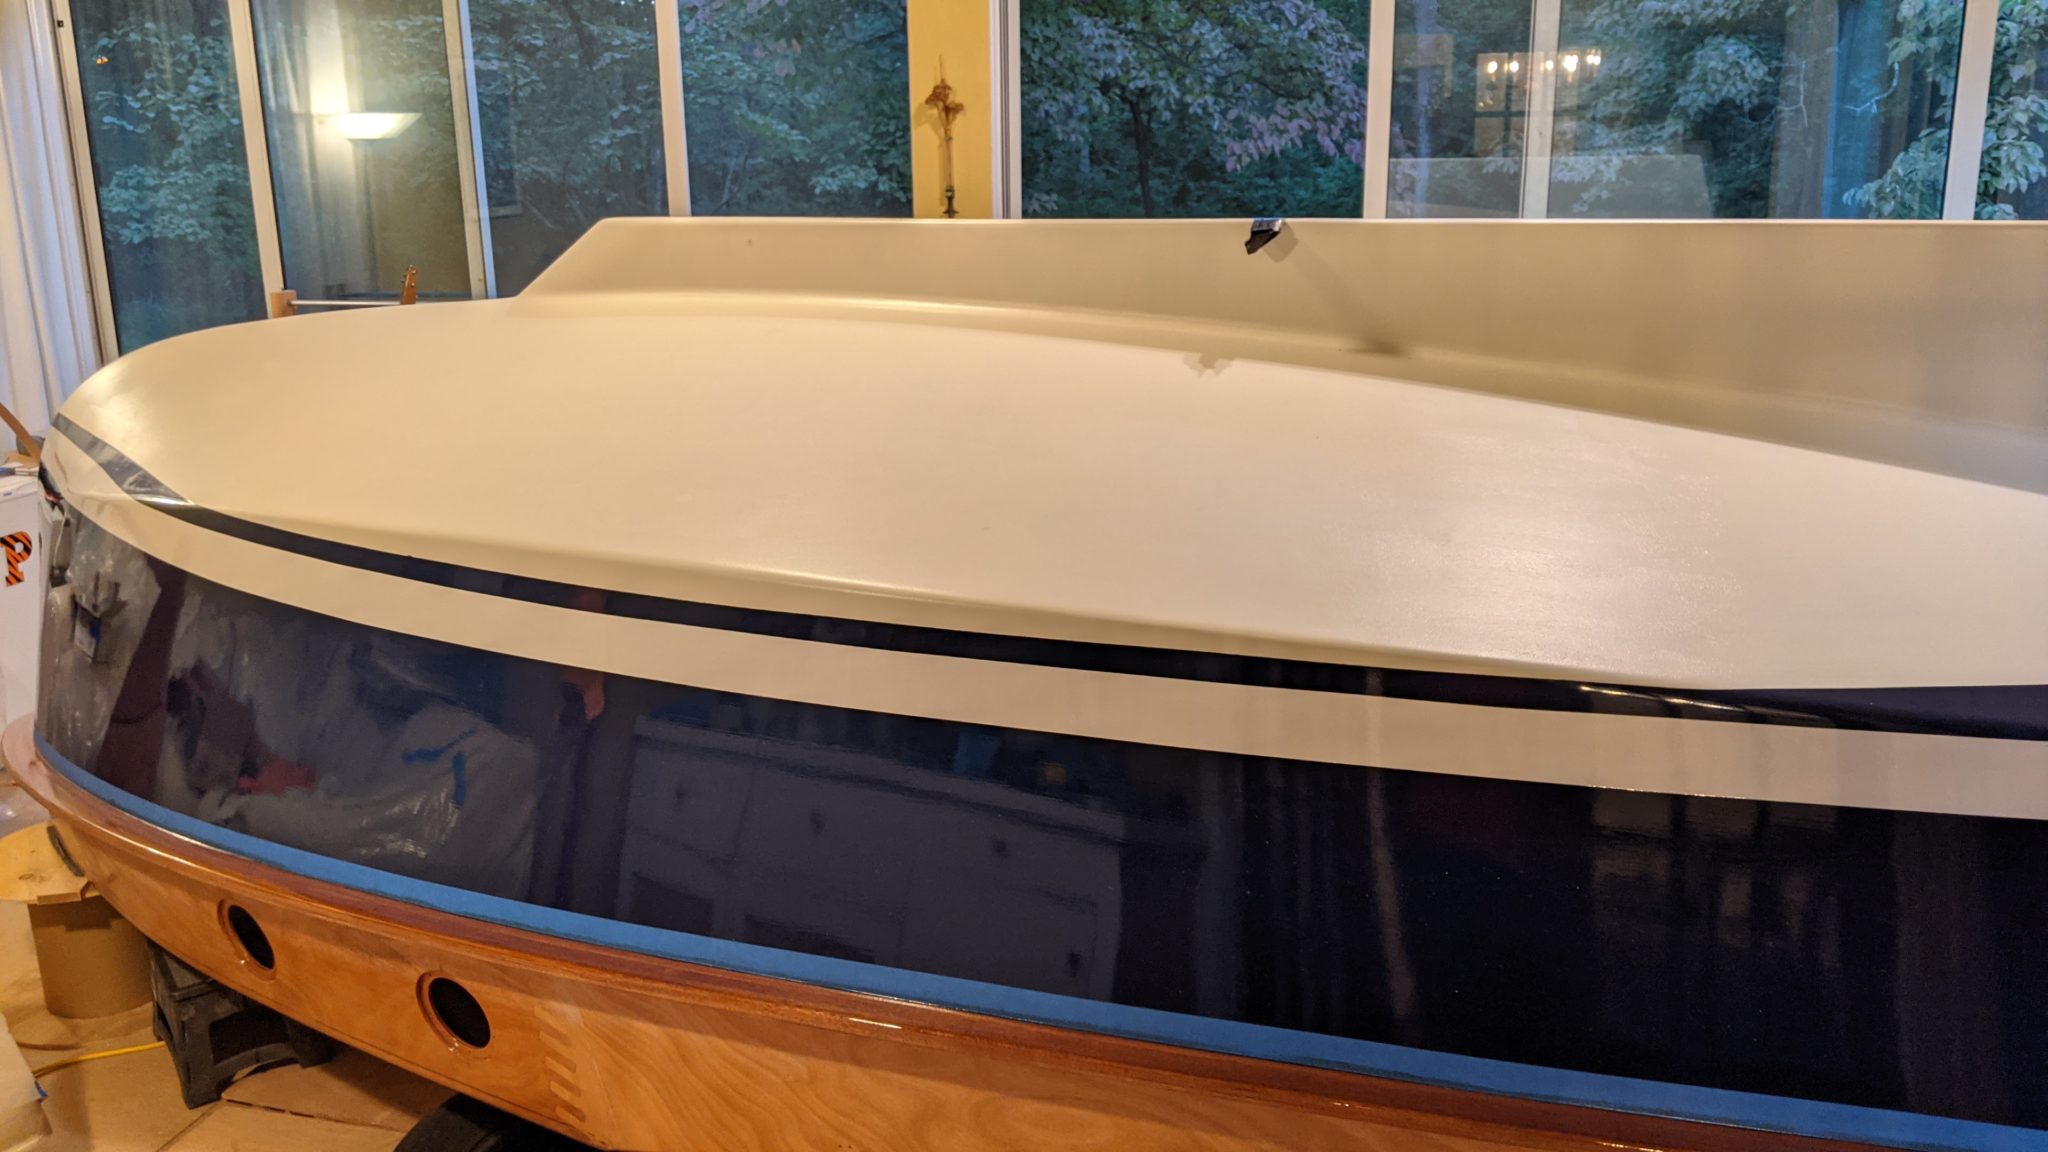
Topsides painted!
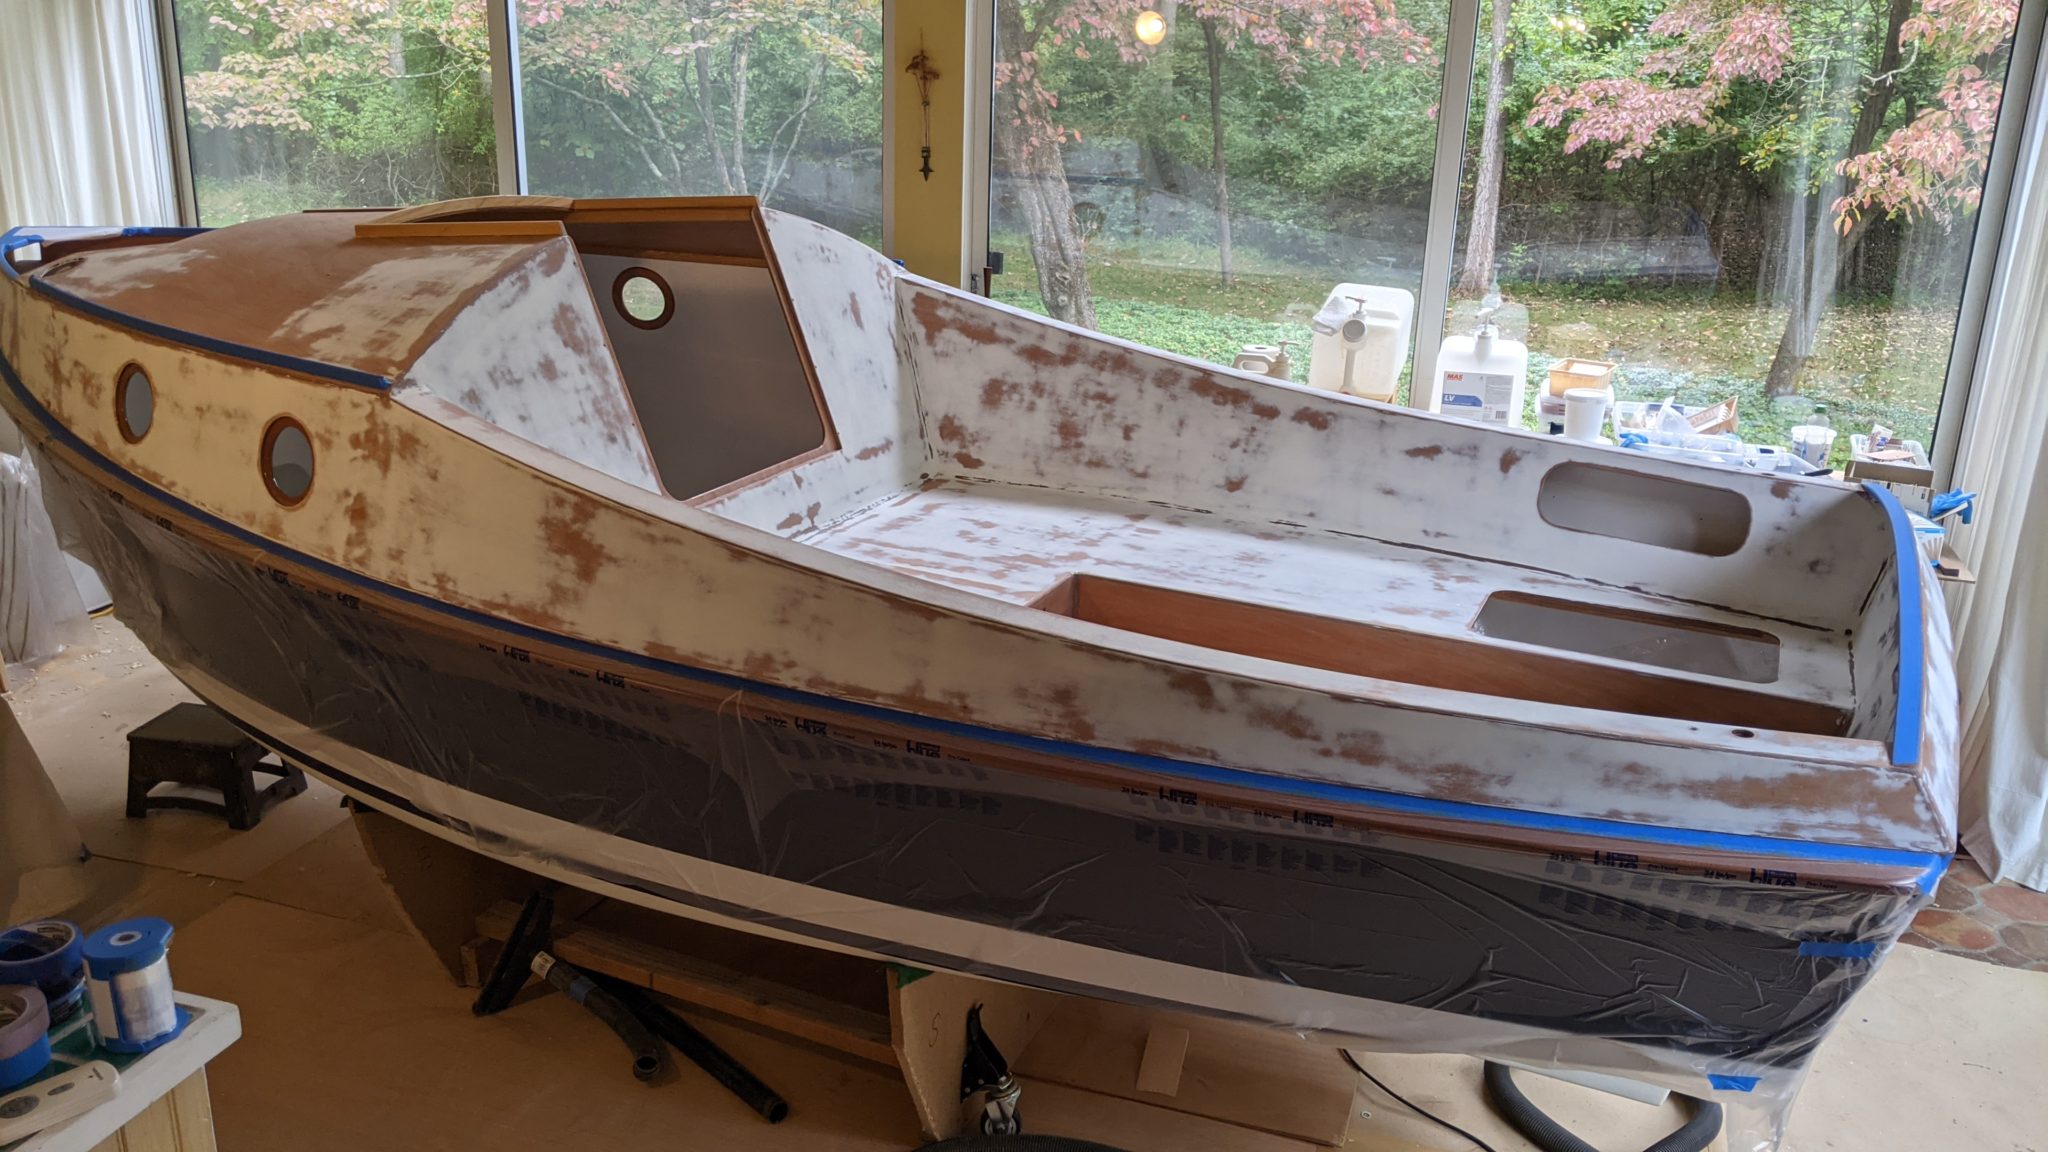
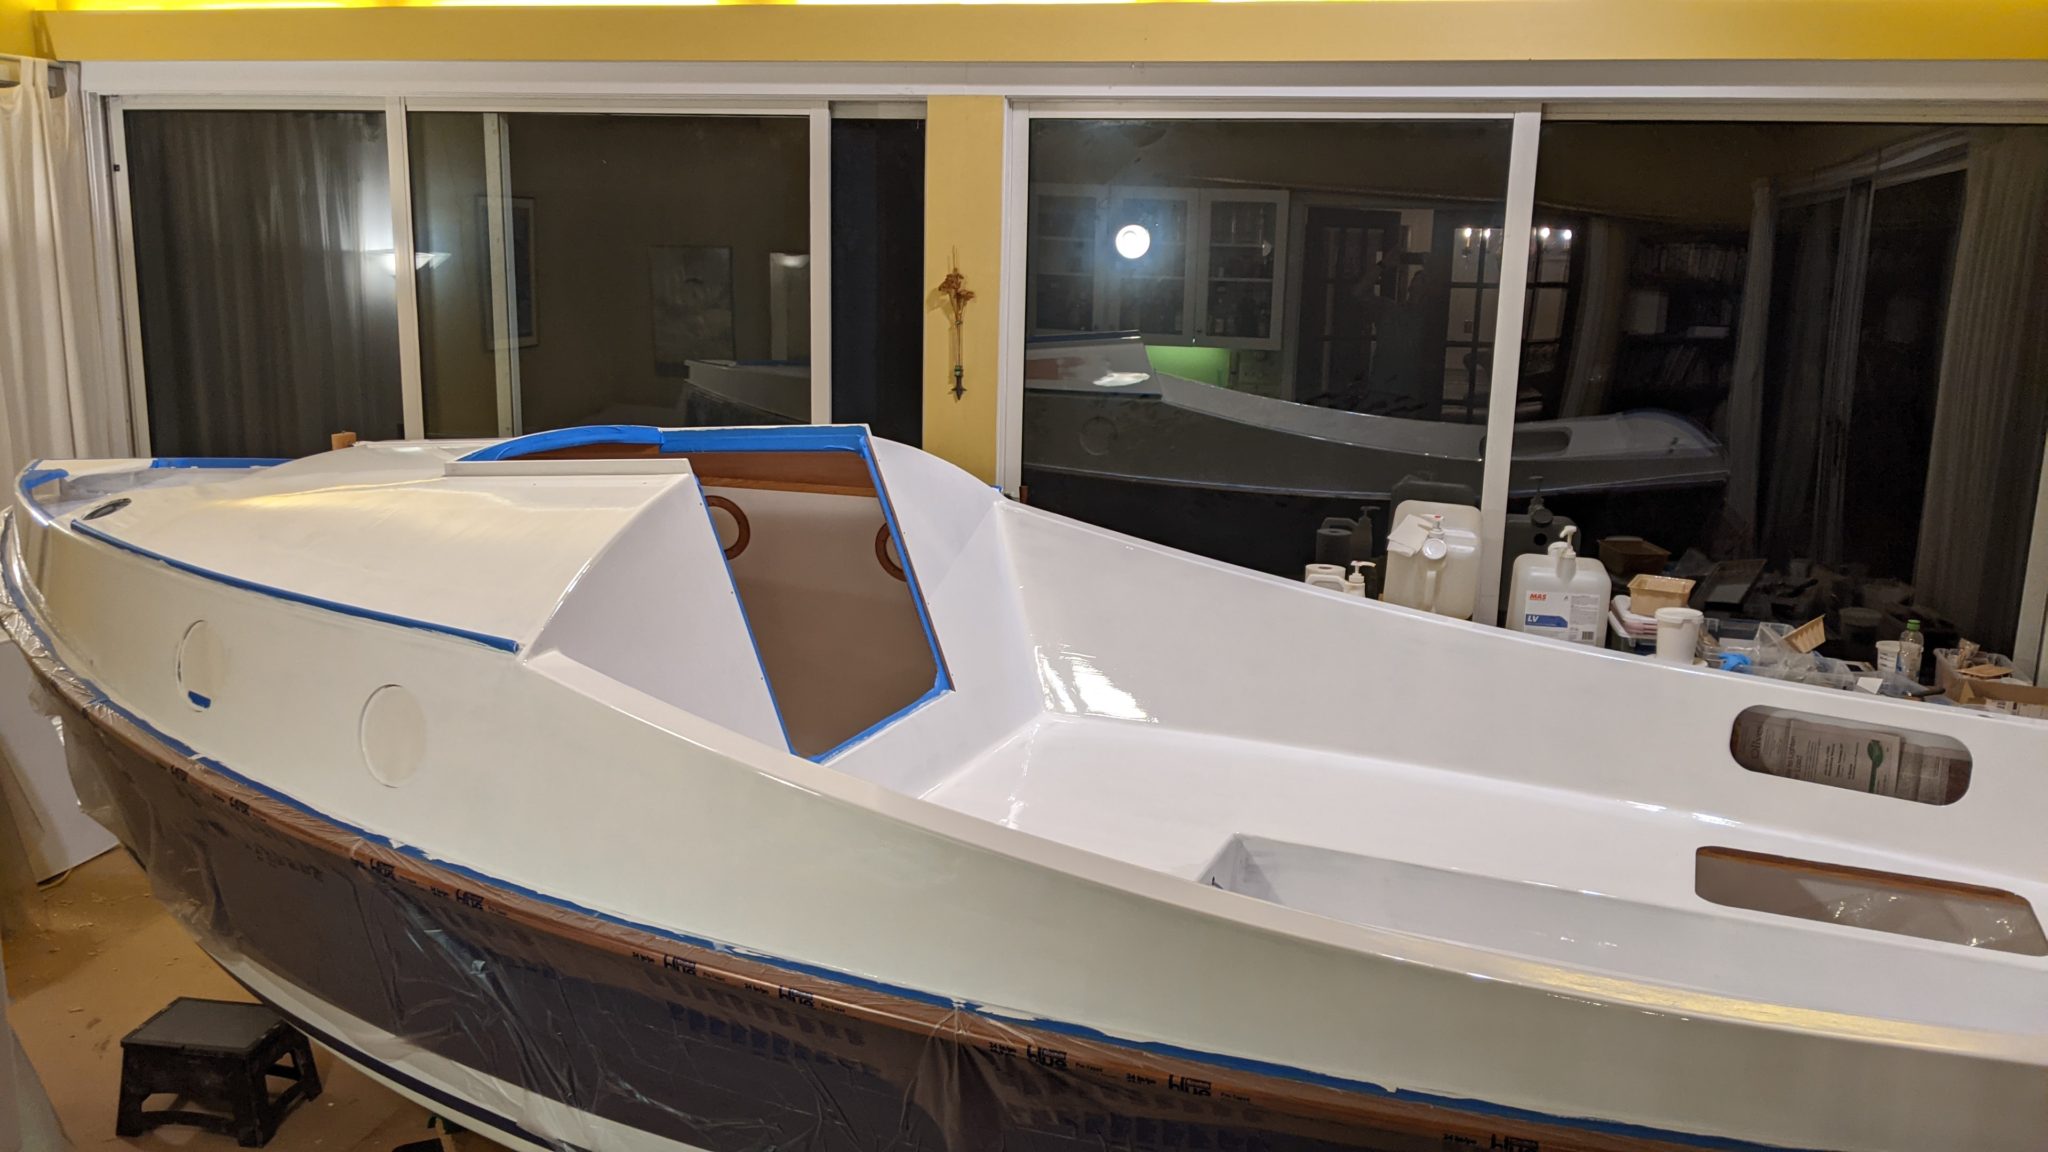
Upright again, and working on the topsides.
Lots of painting
I had to:
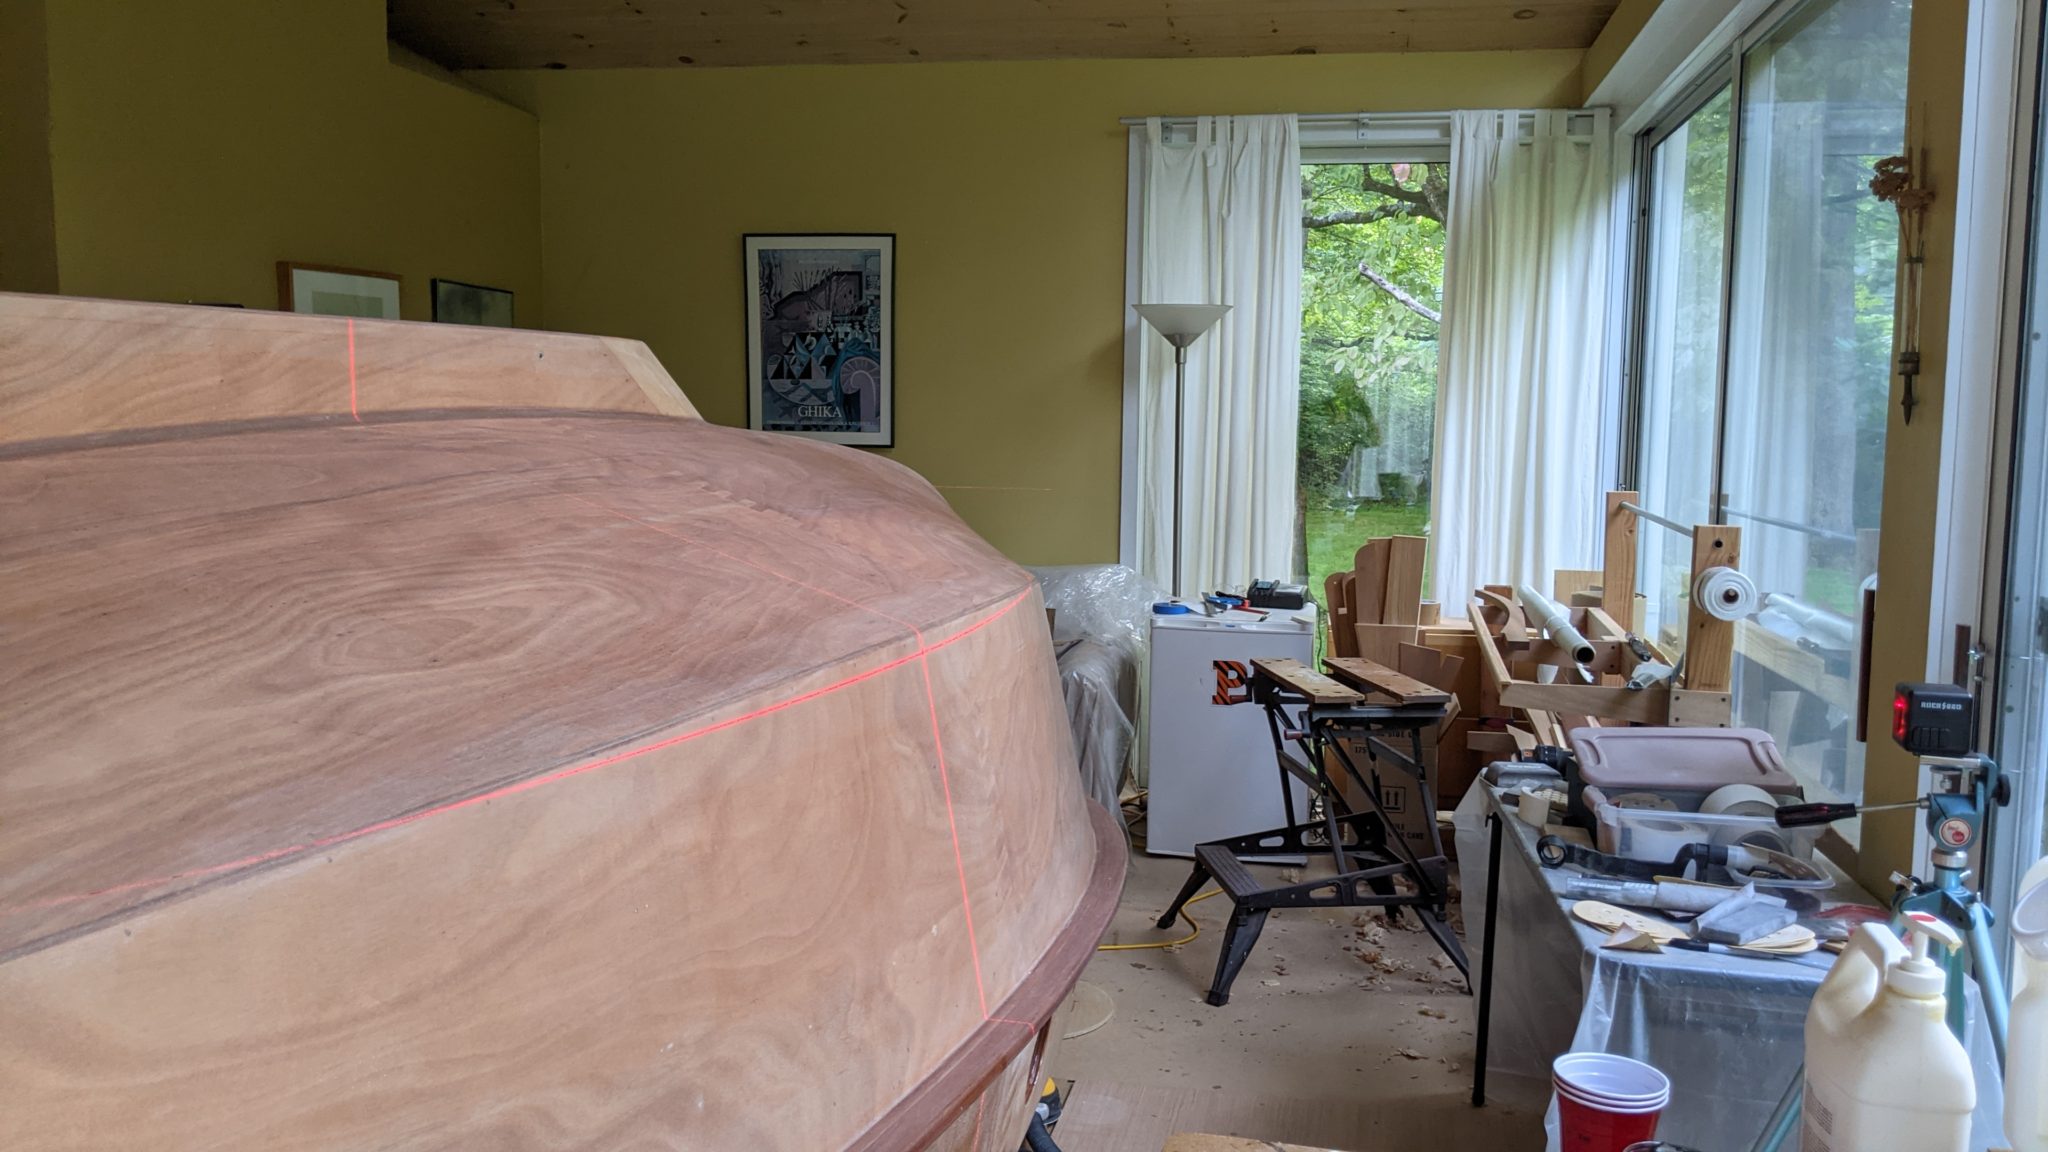
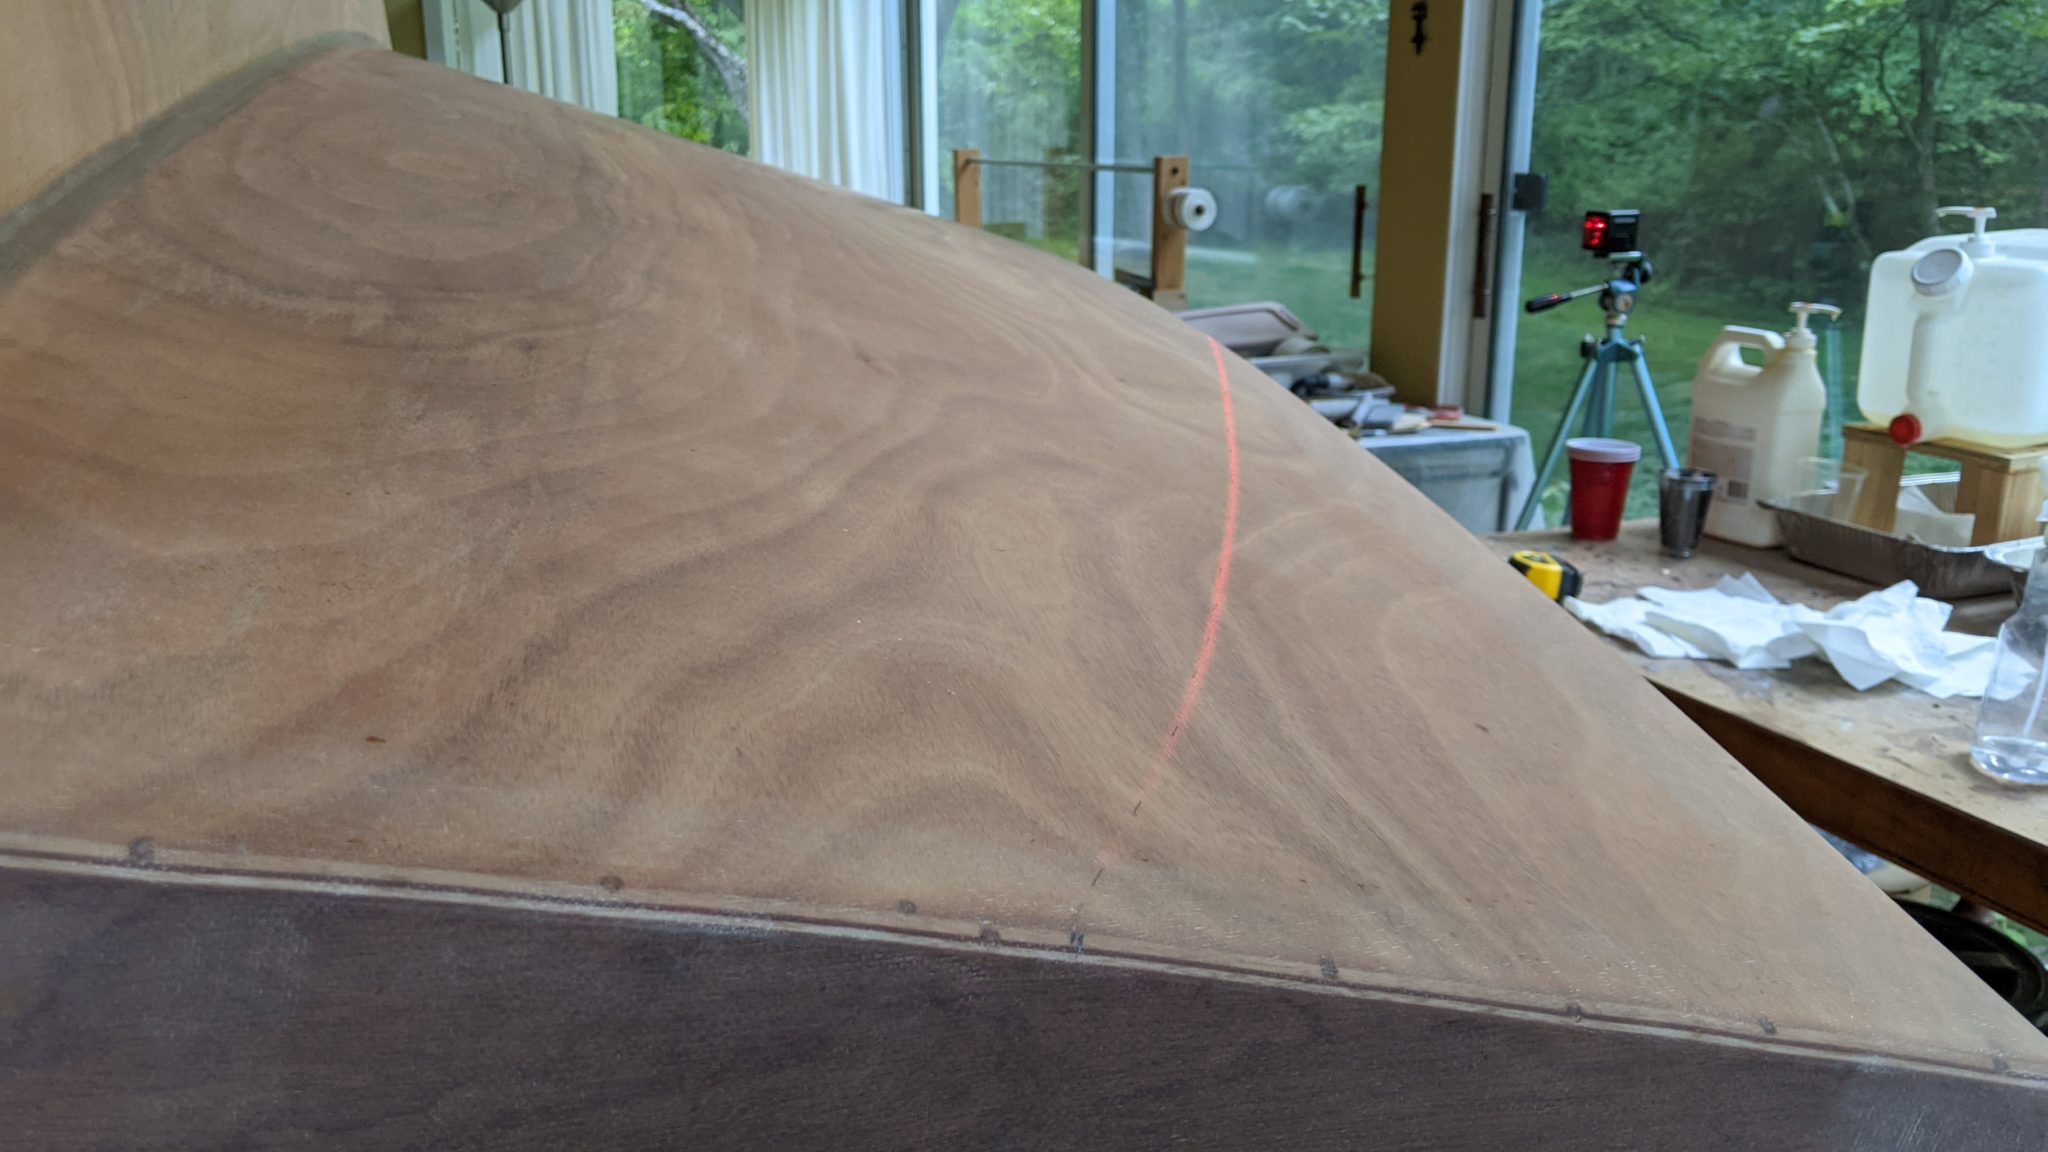
- Mark the waterline with the aid of a laser level
- Paint the below-waterline area with anti-fouling paint (expensive!)
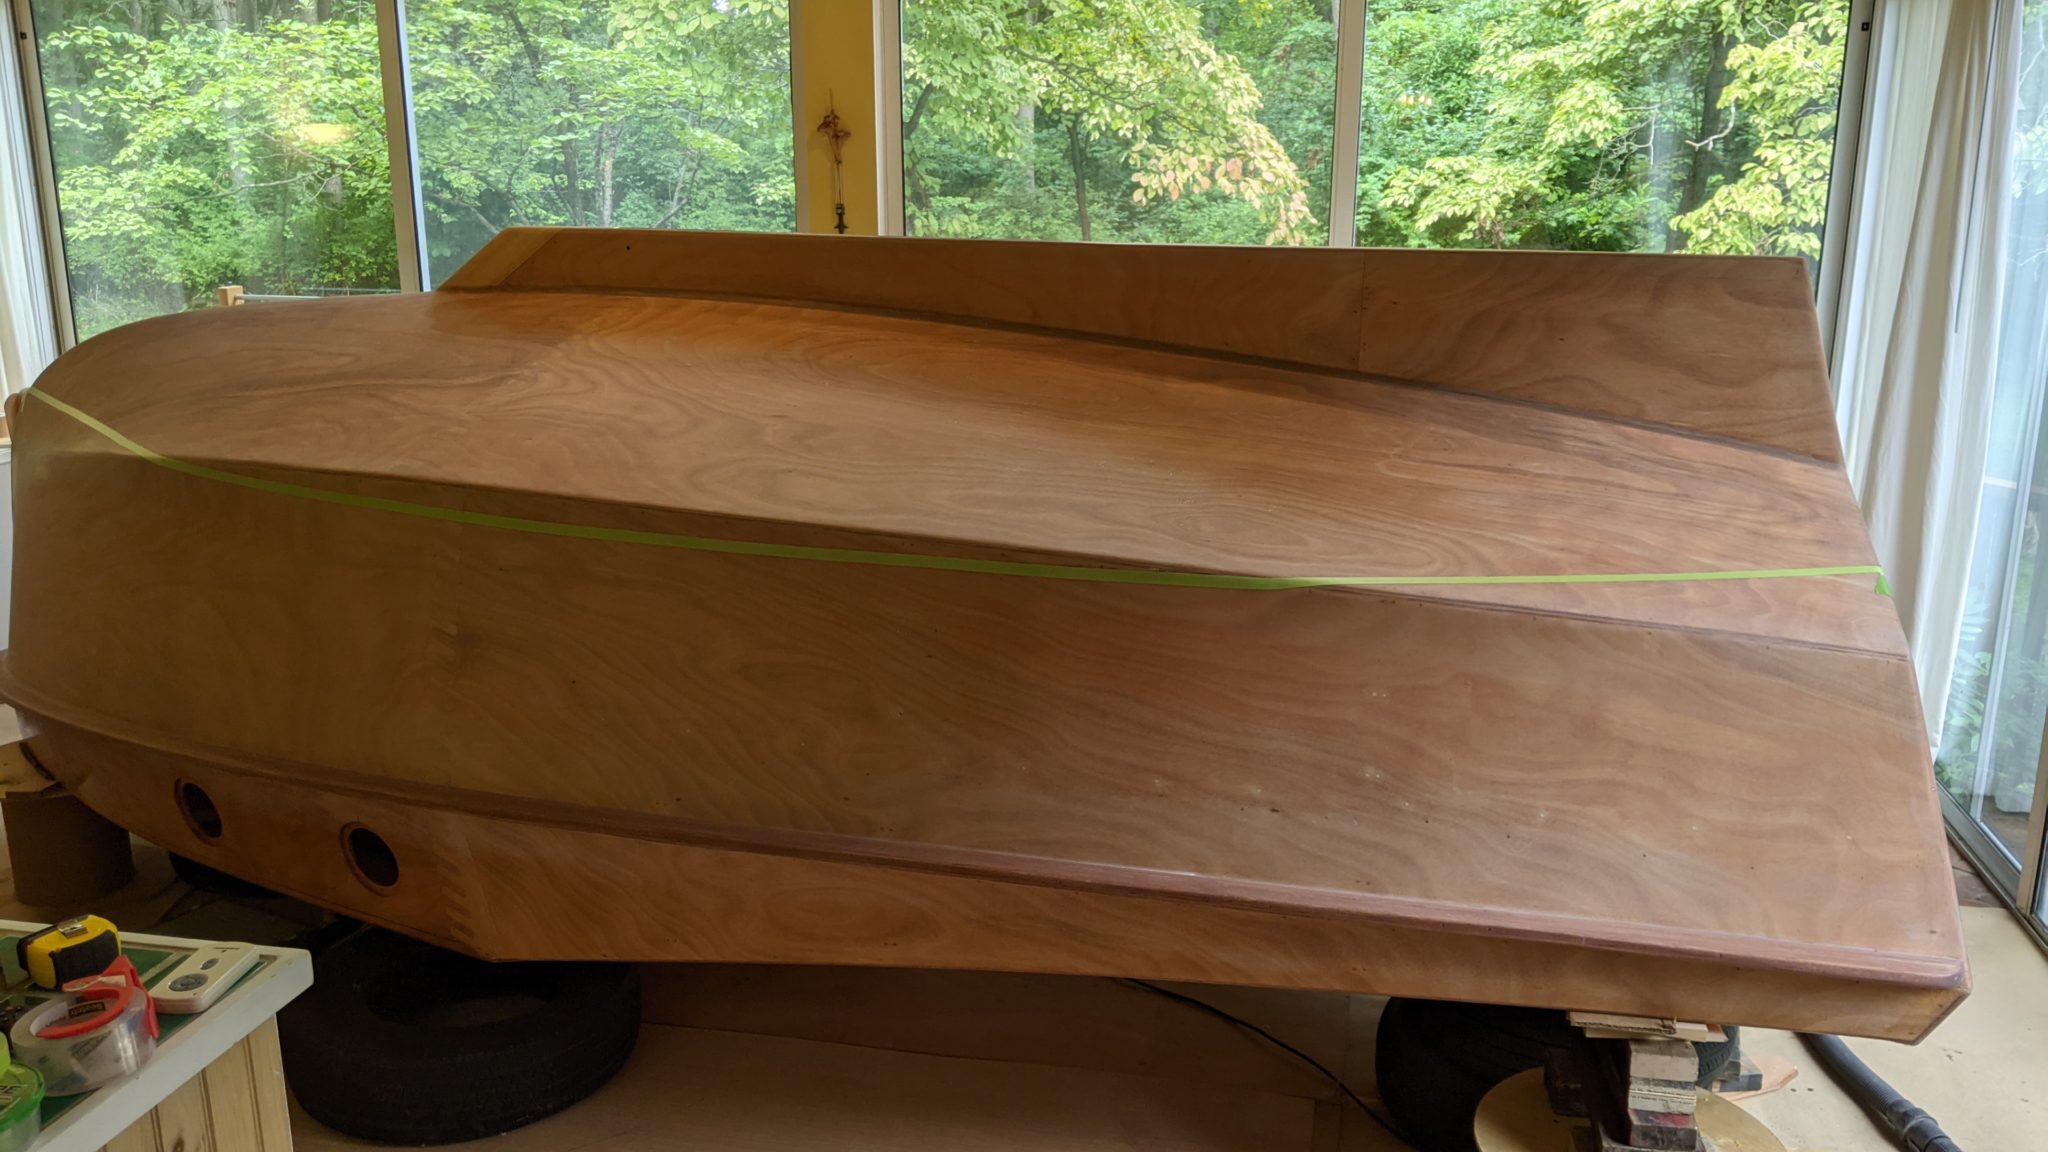
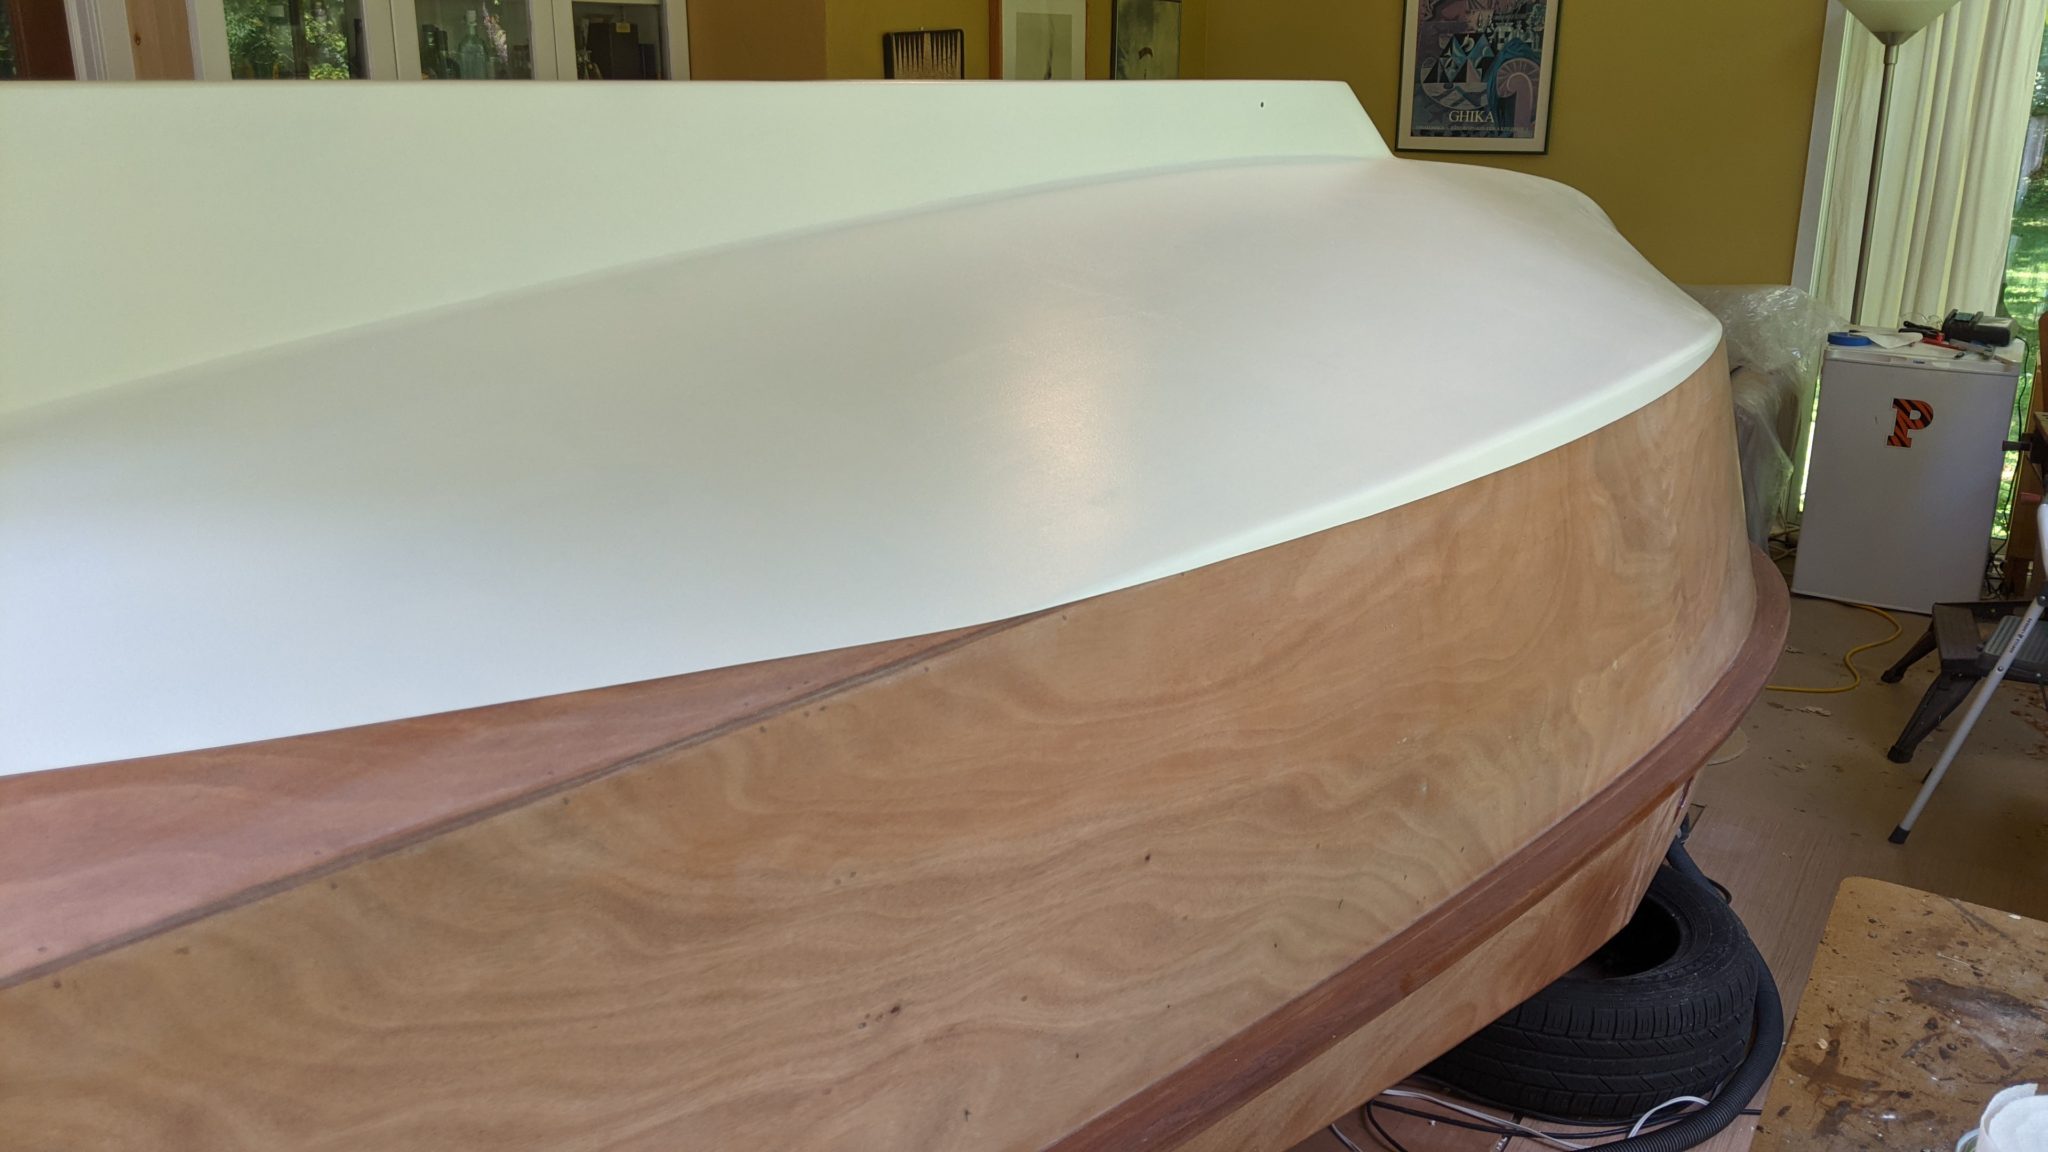
- Mask off and prime the sides above the water line.
- Sand the primer
- Paint the sides in dark blue.
- Mask off and paint the white boot stripe, again with the help of the laser level
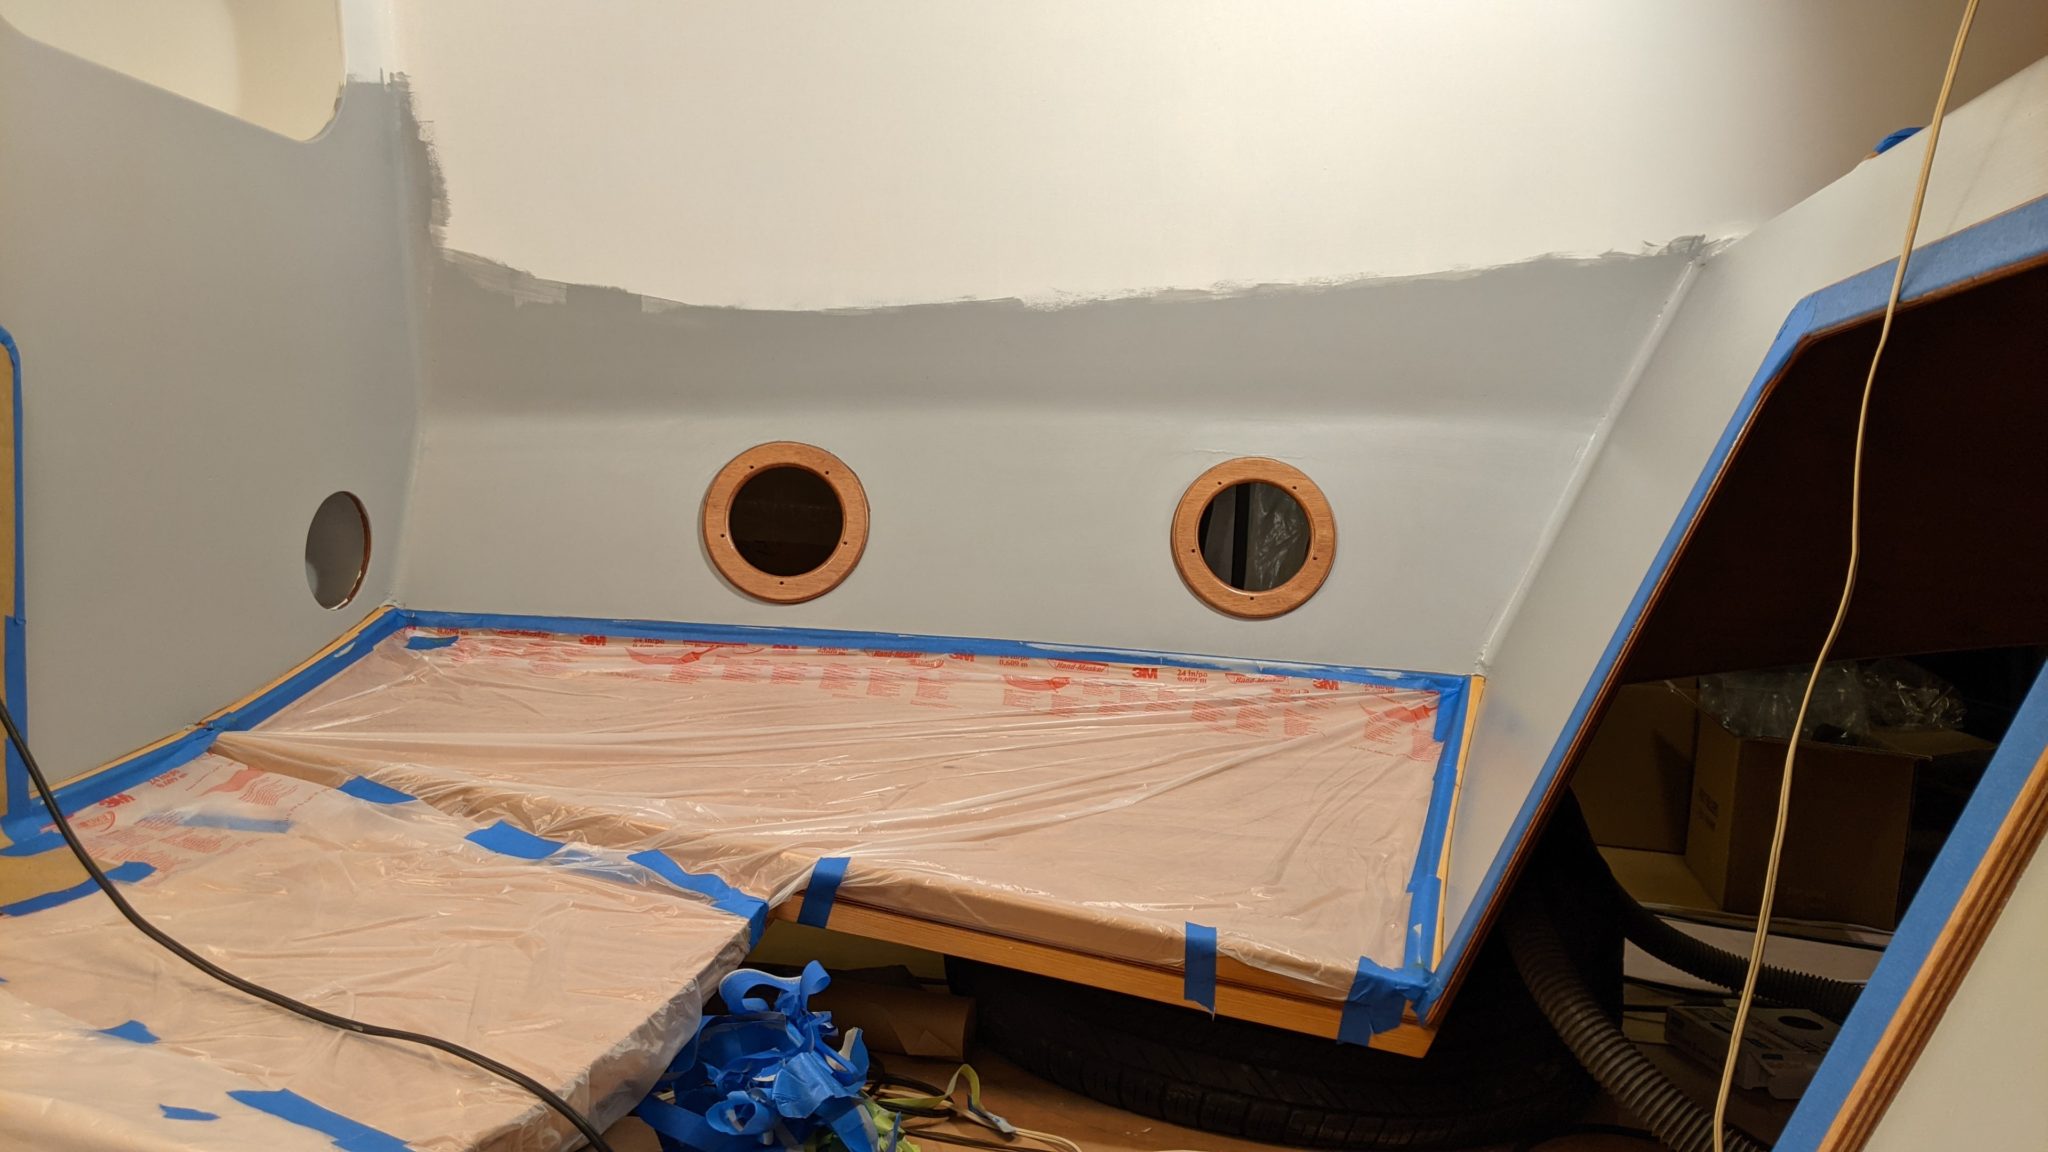
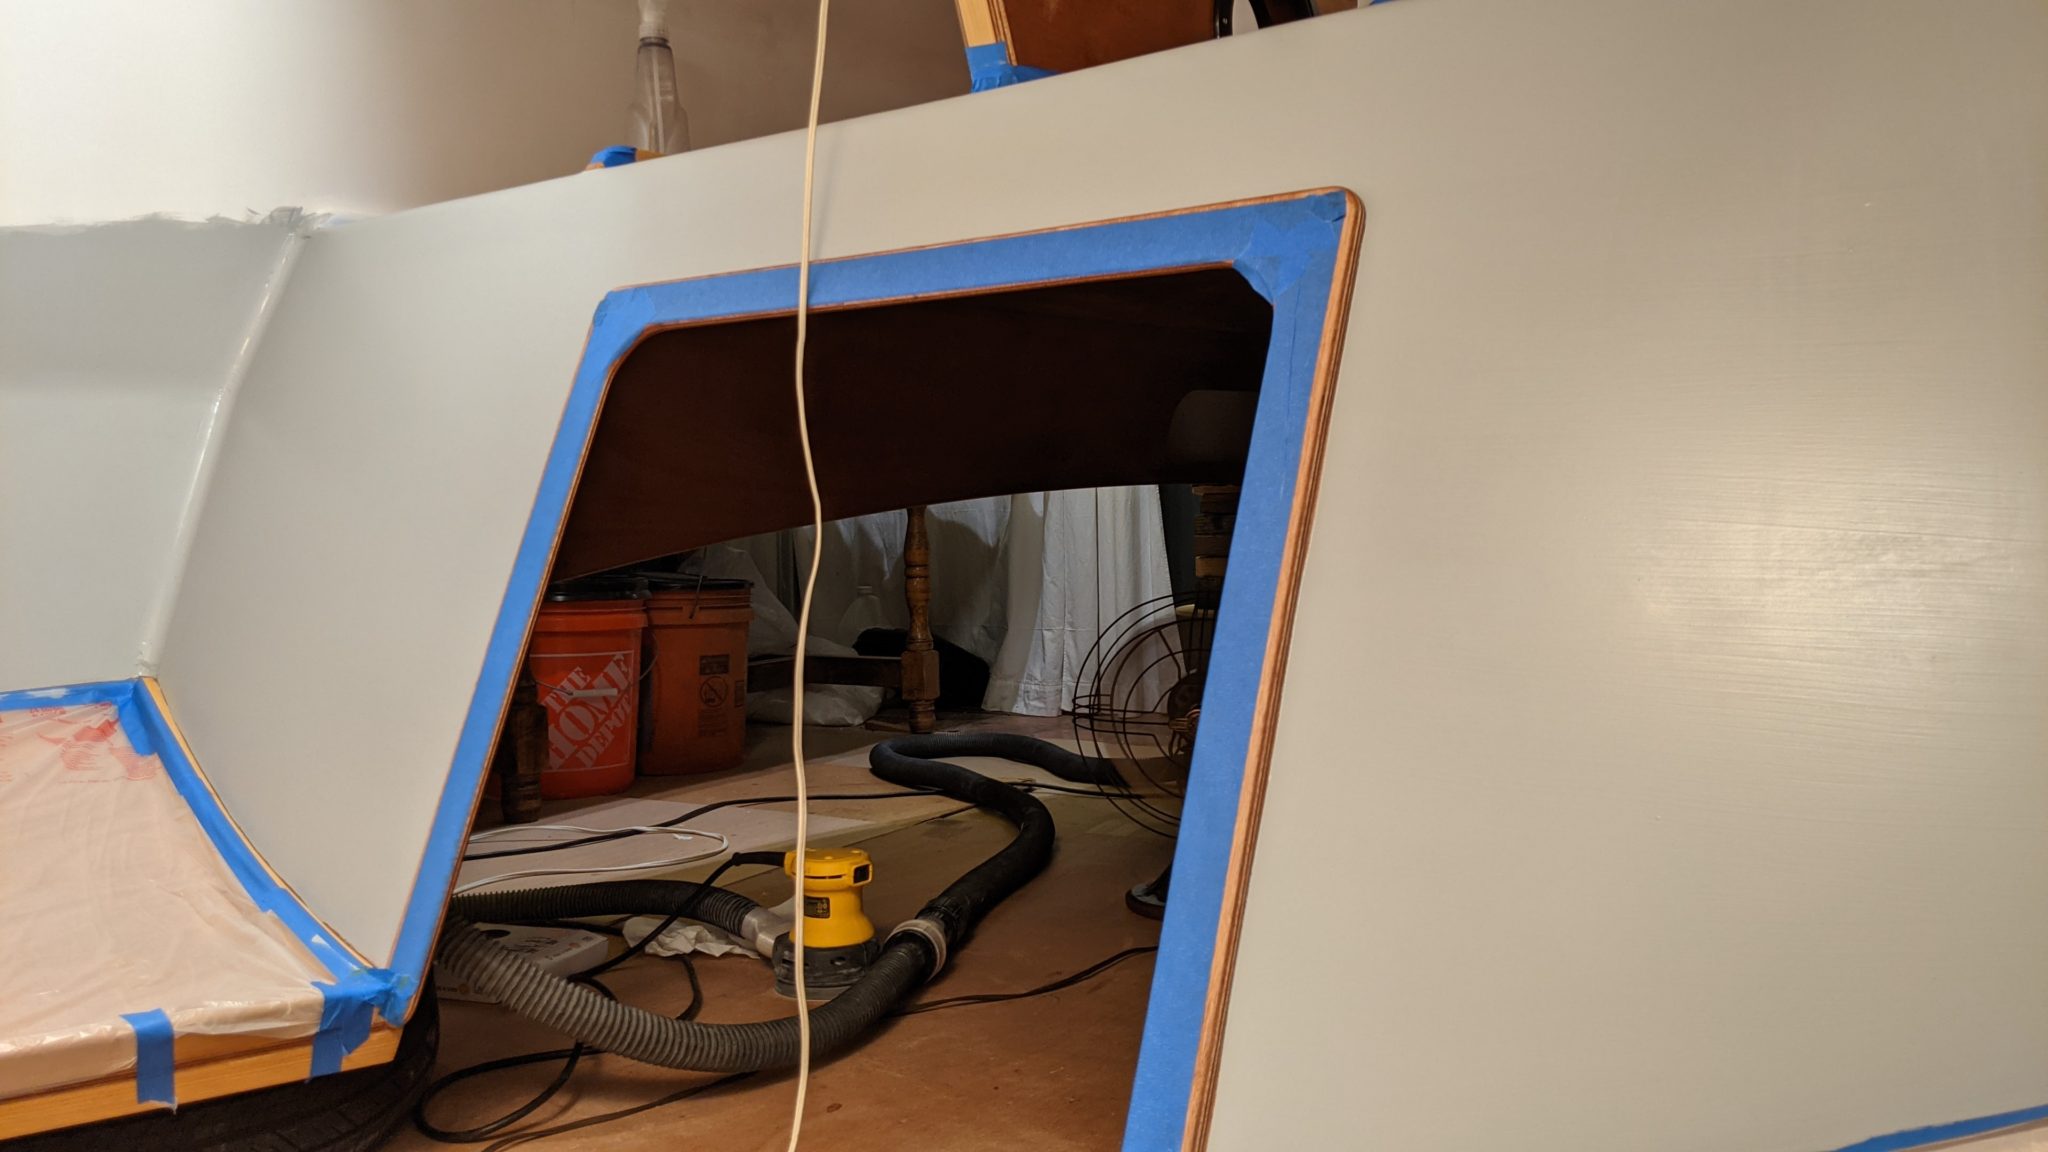
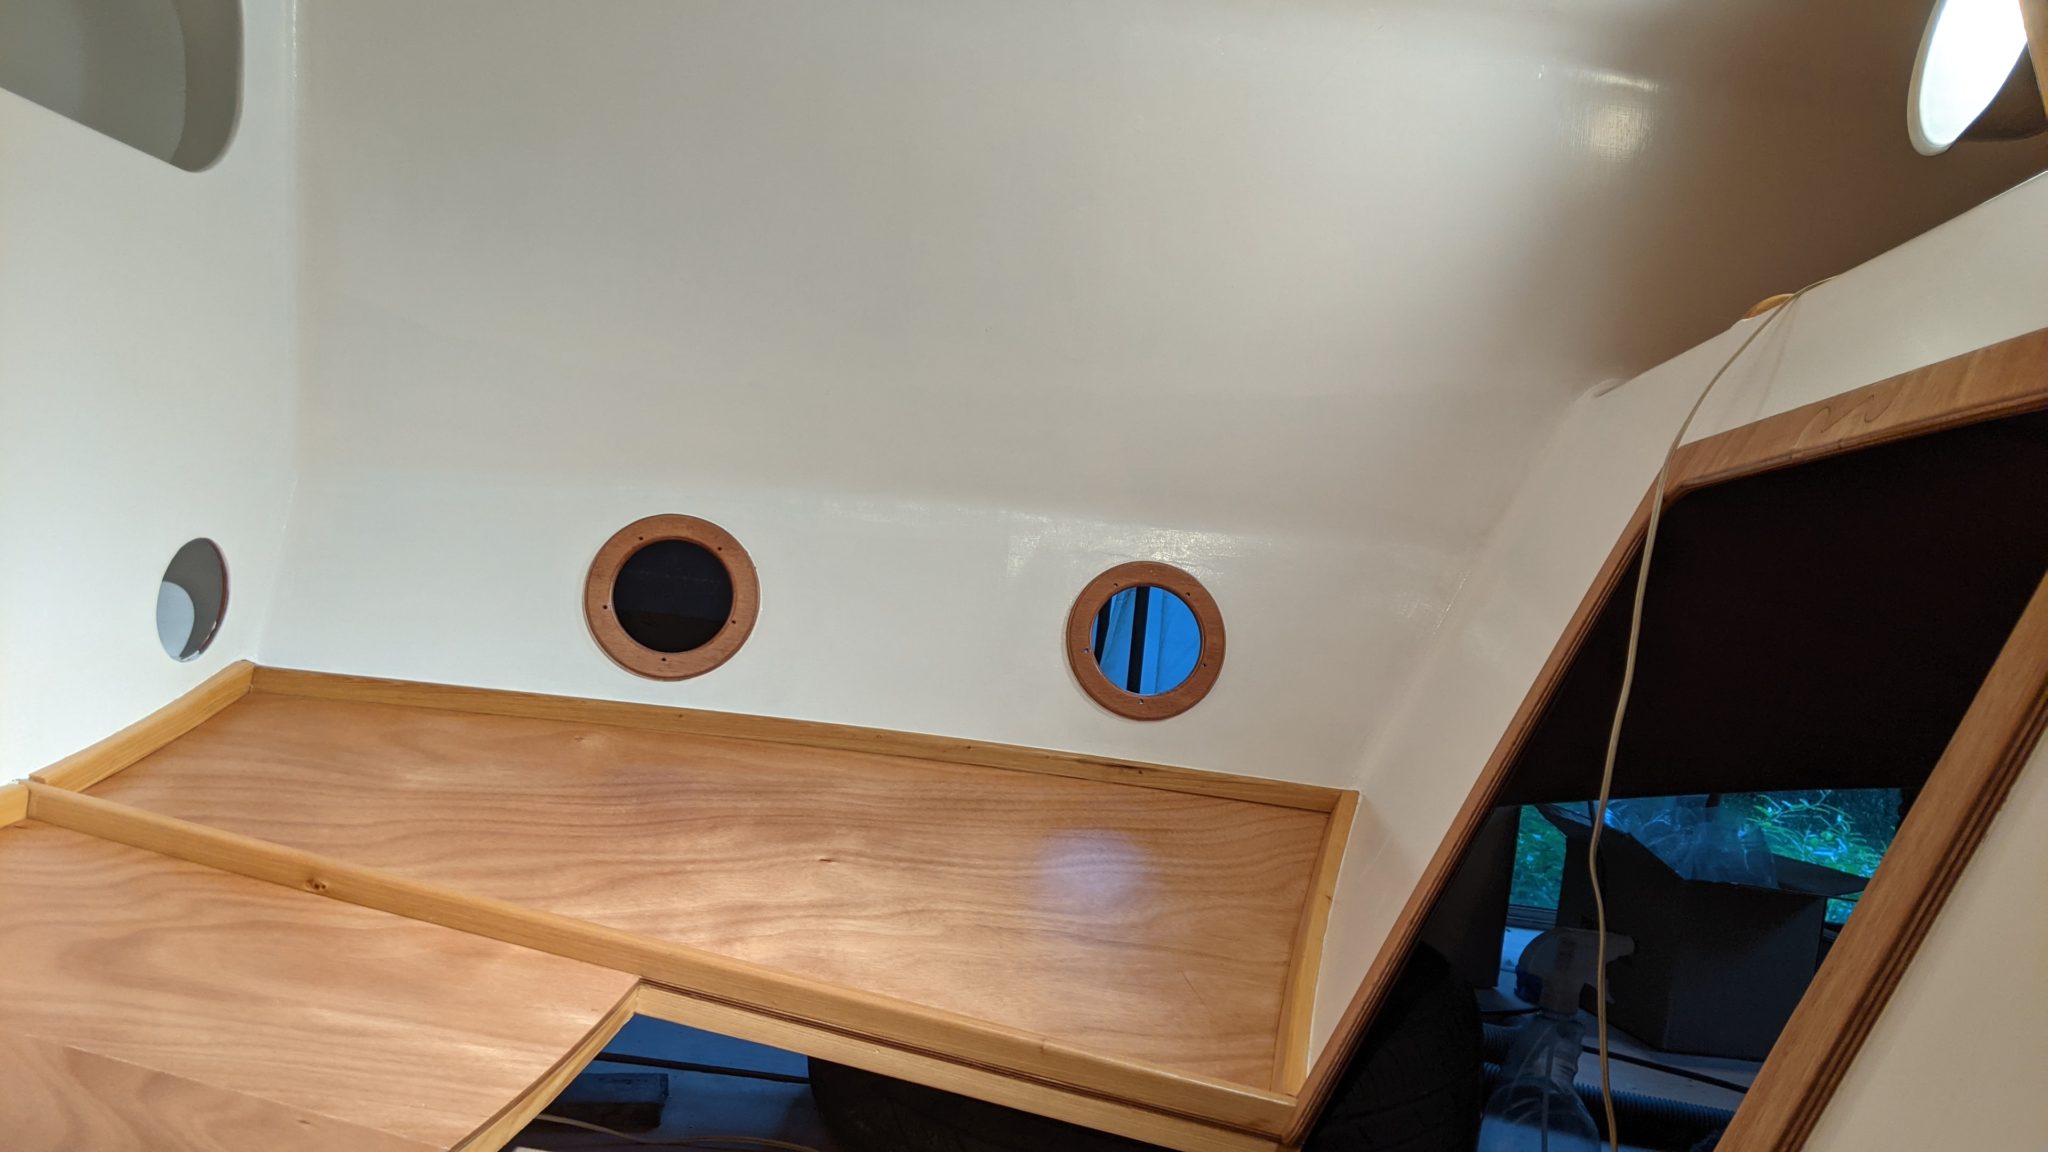
- Finish priming and painting the interior cabin walls (most of it was painted months previously, before the deck and cabin roof were installed.
- Varnish the cabin ceiling, cabin trim, and the rear compartment ceiling.
Lots of work! Once the paint had dried a couple of days, we flipped the boat right side up, back into its cradle. Like the first flip, this was easier than expected.
The centerboard is installed
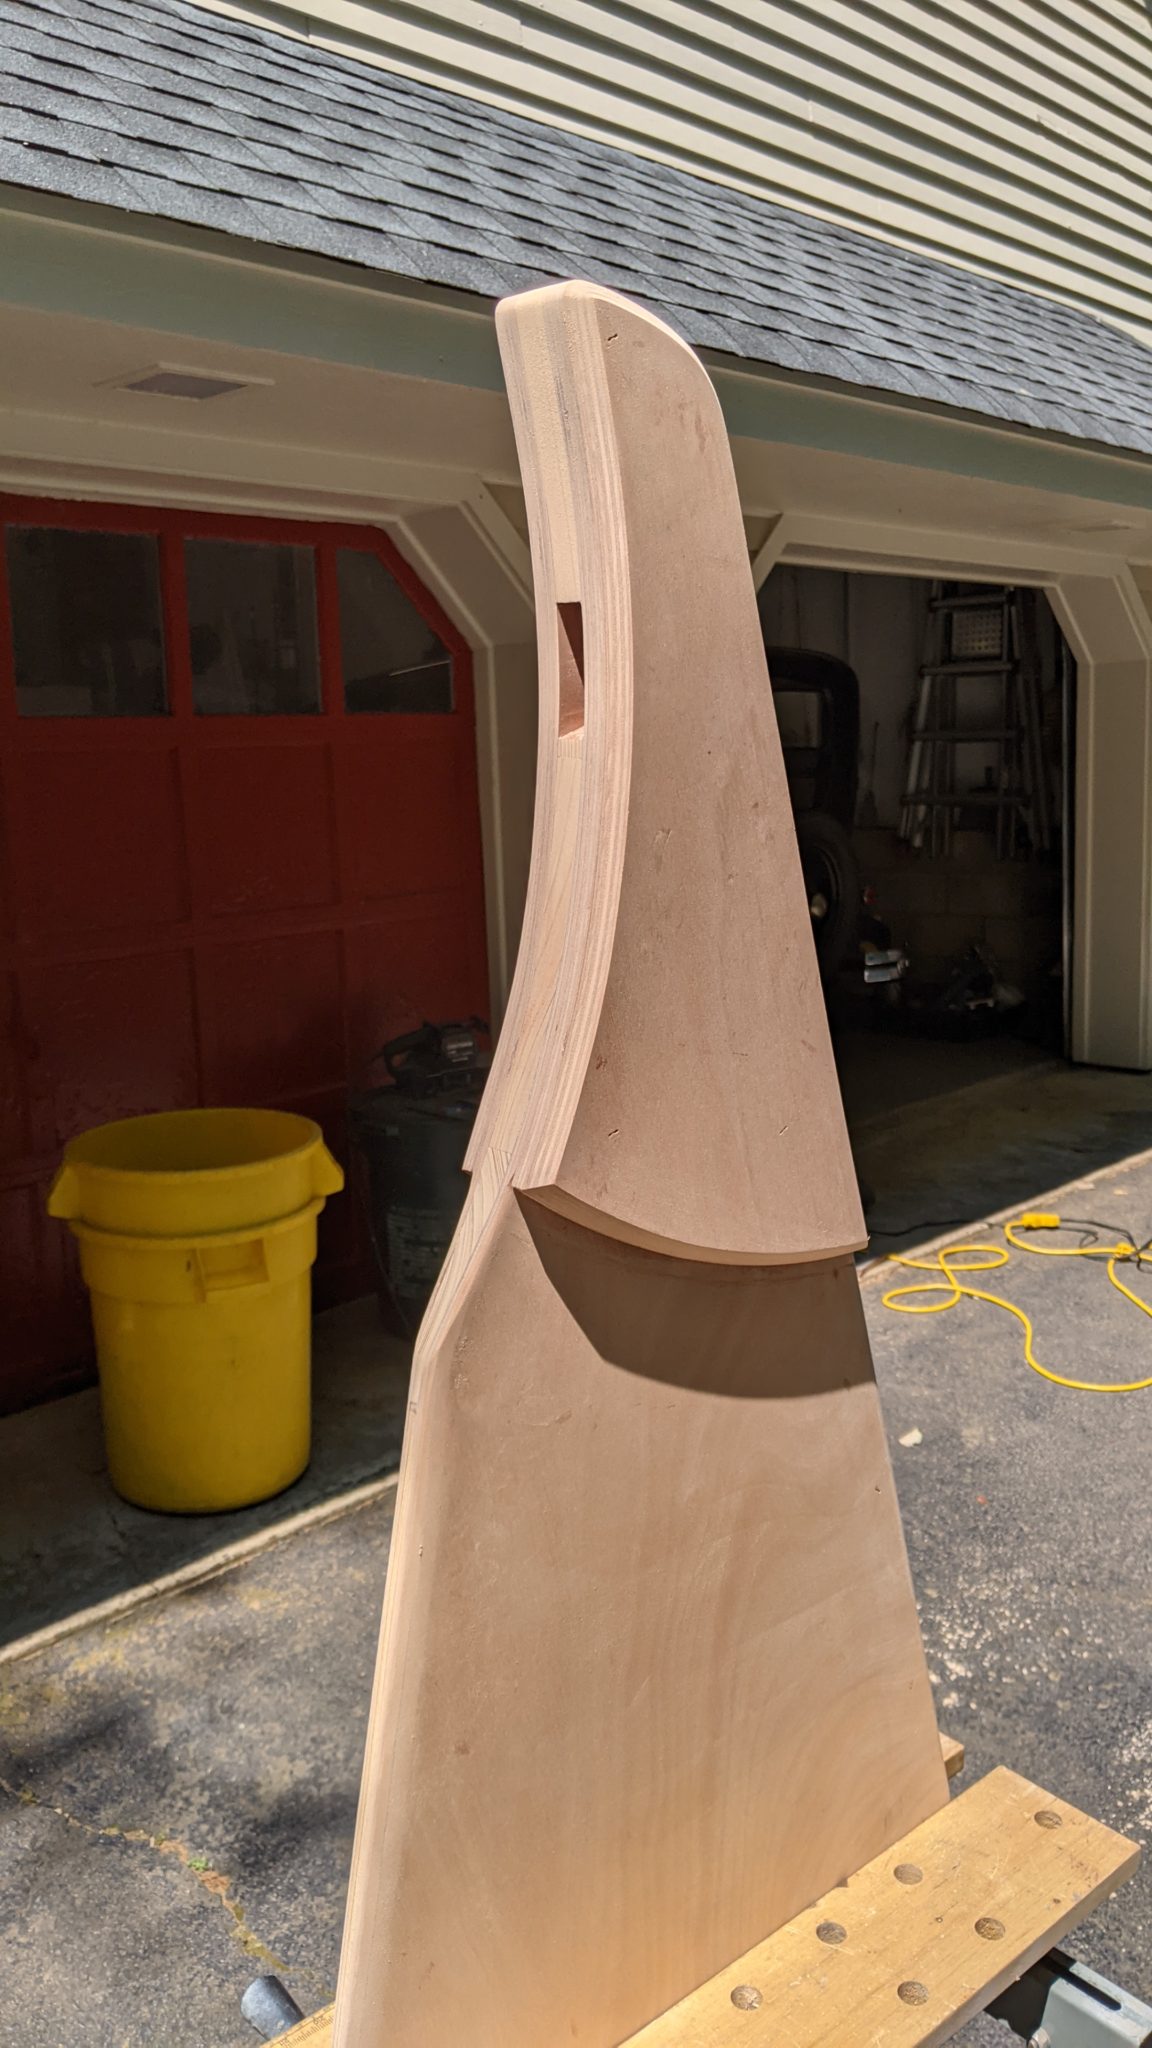
Gluing up the mast and rudder
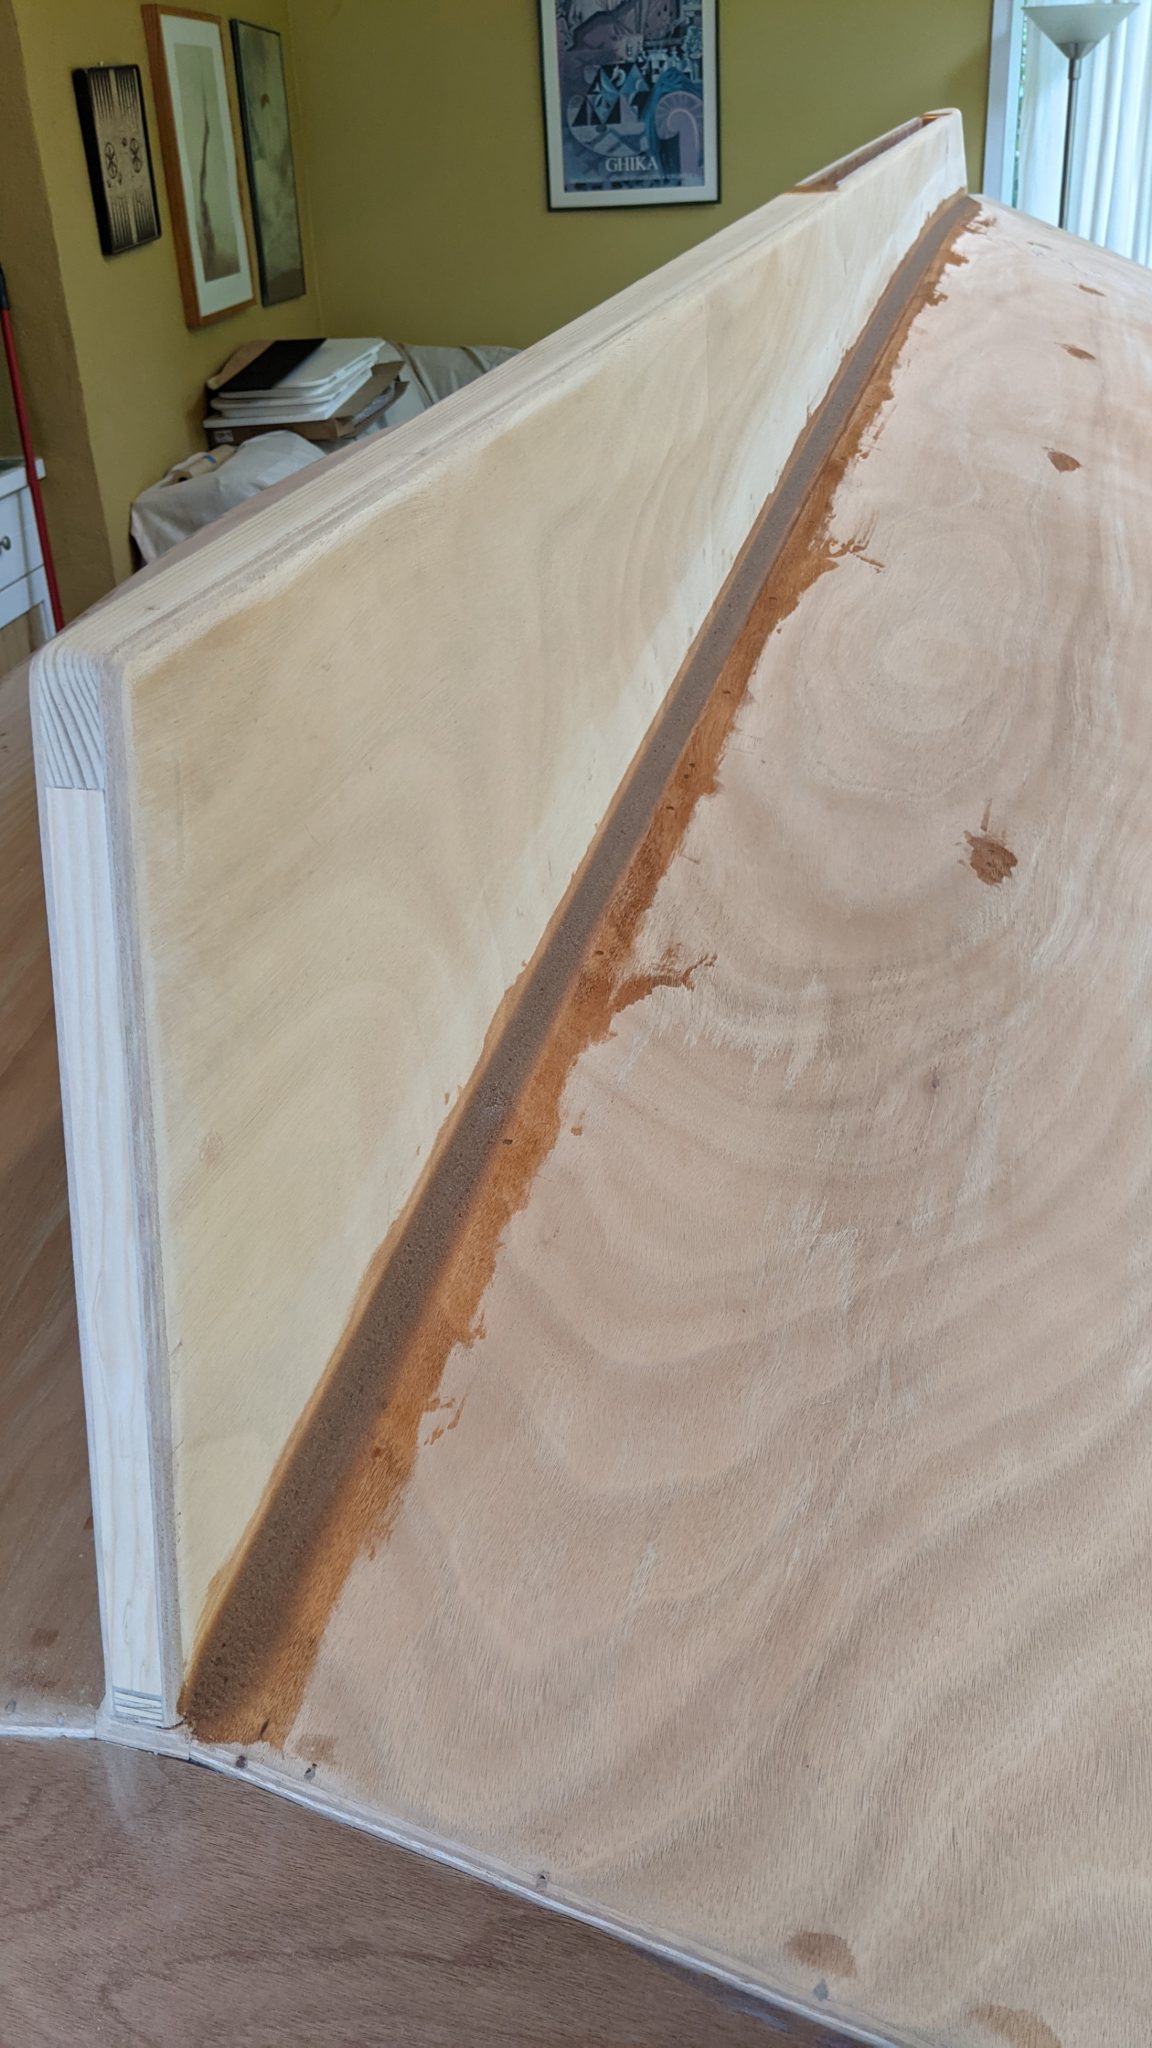
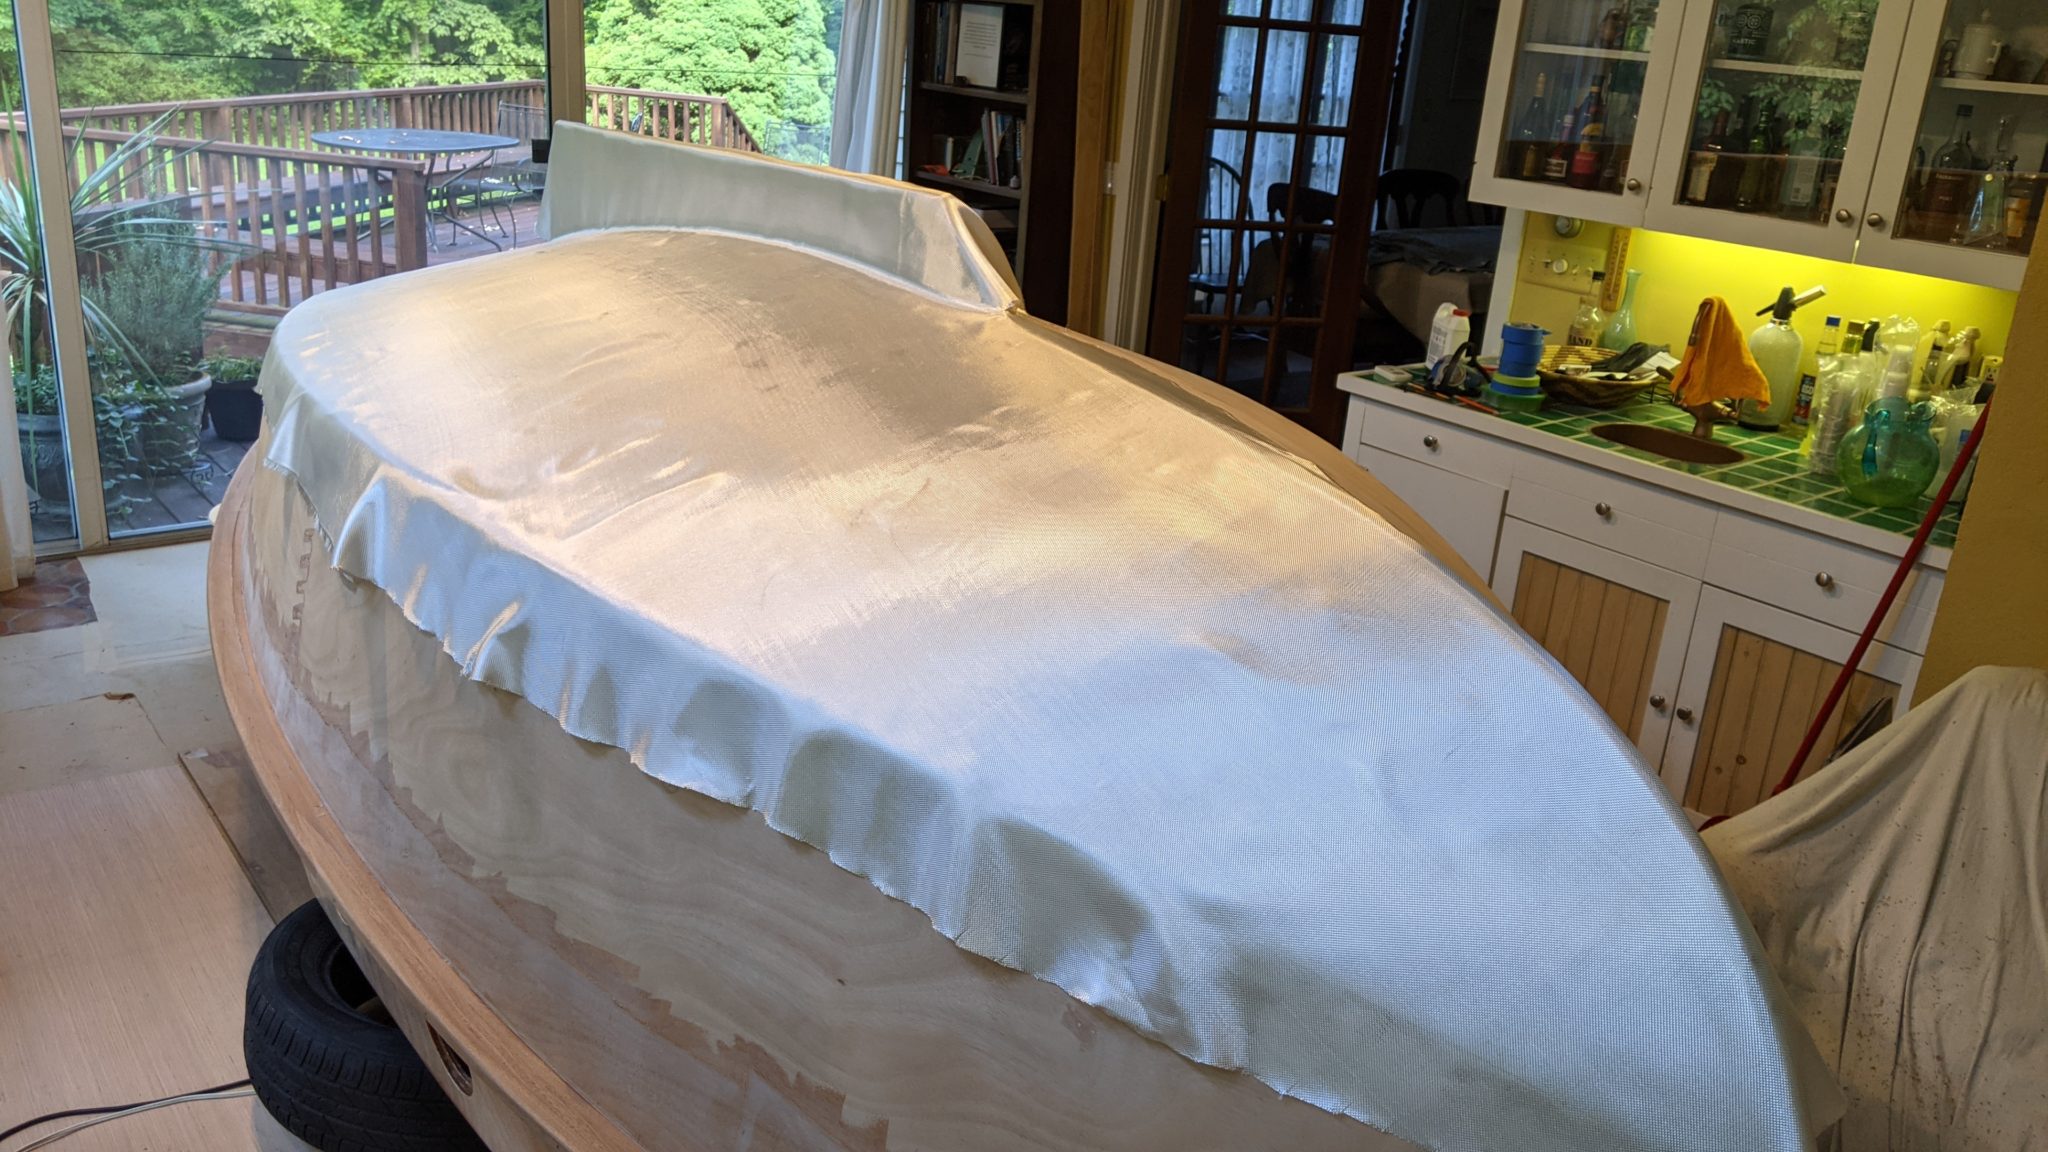
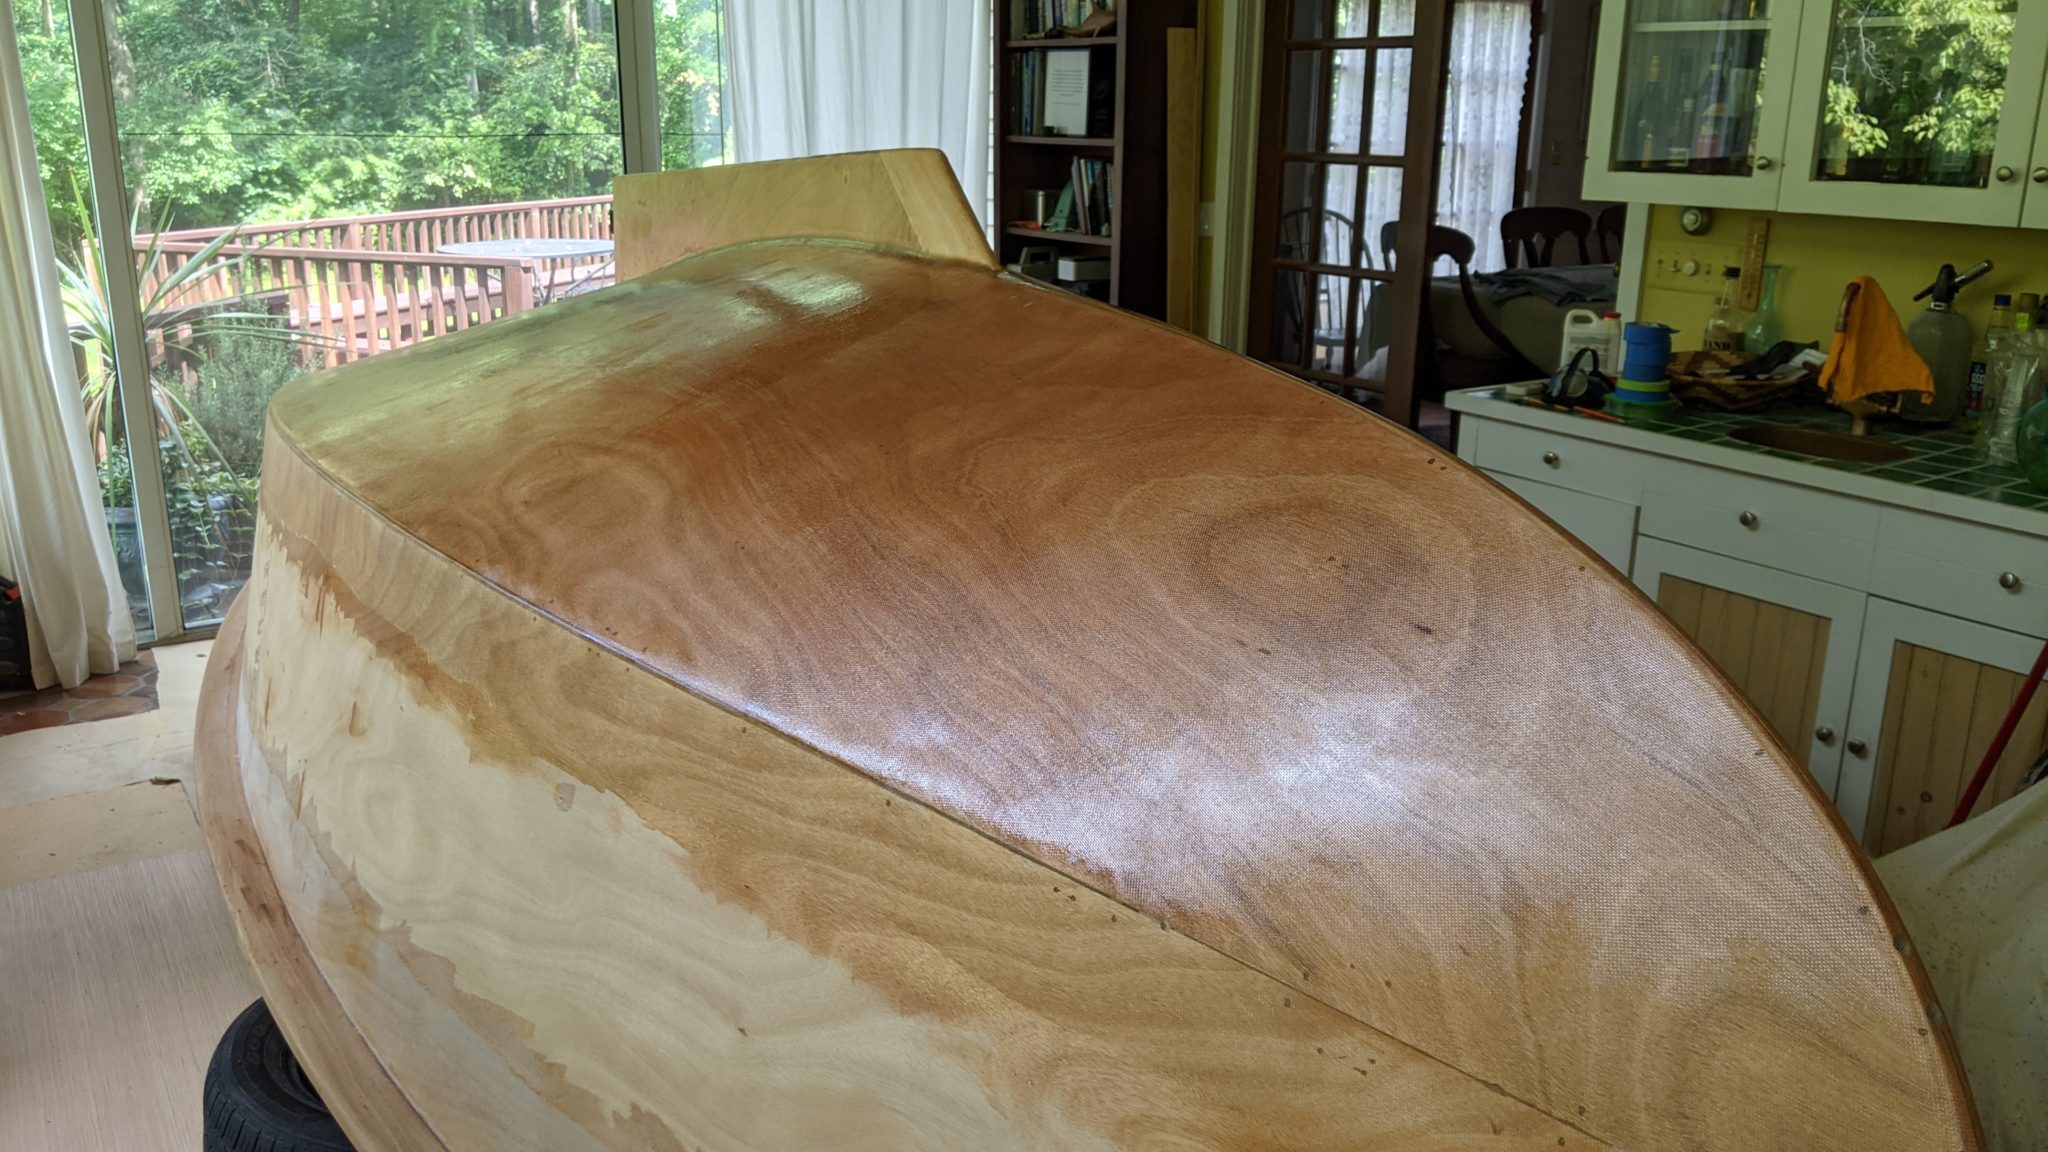
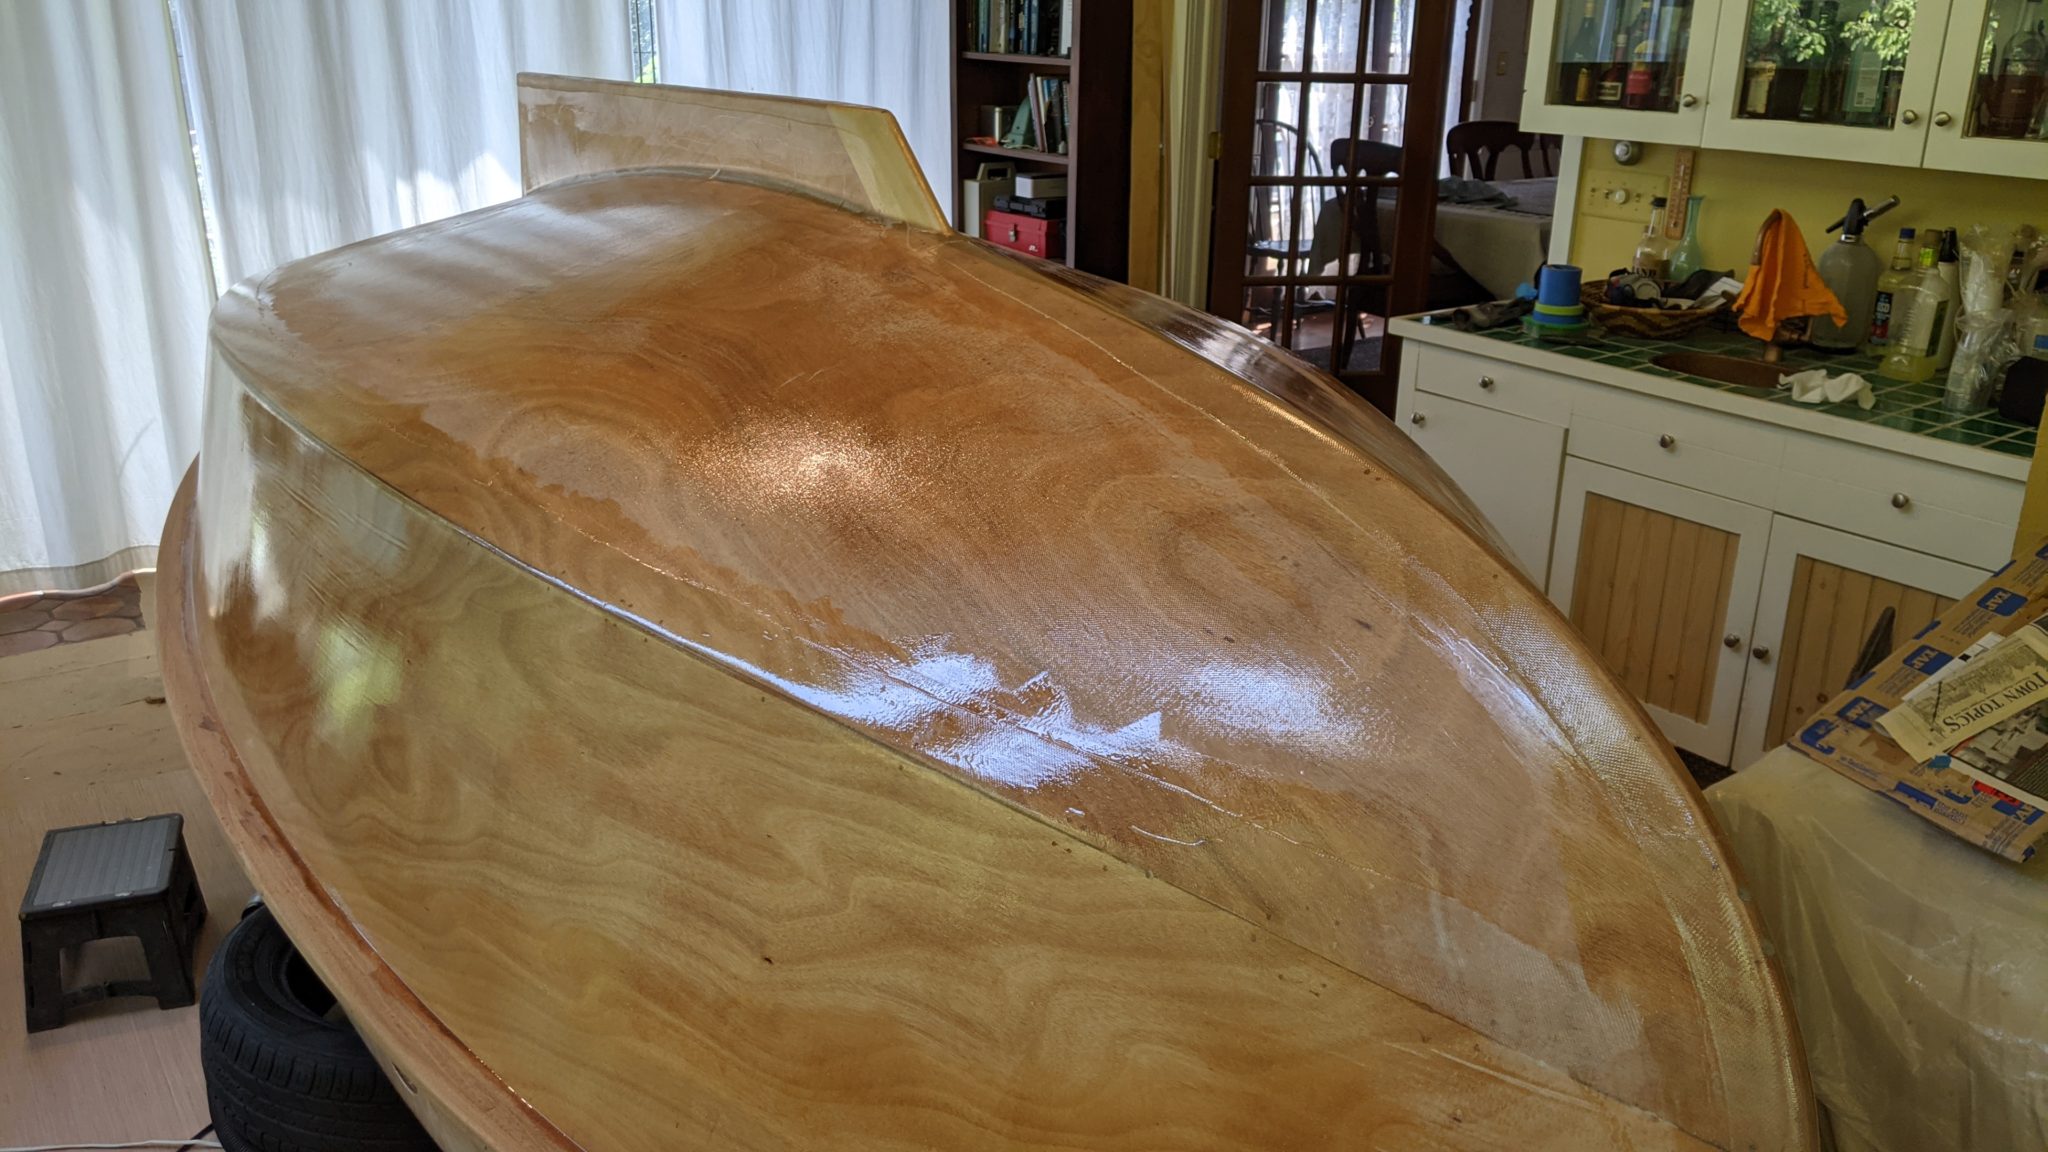
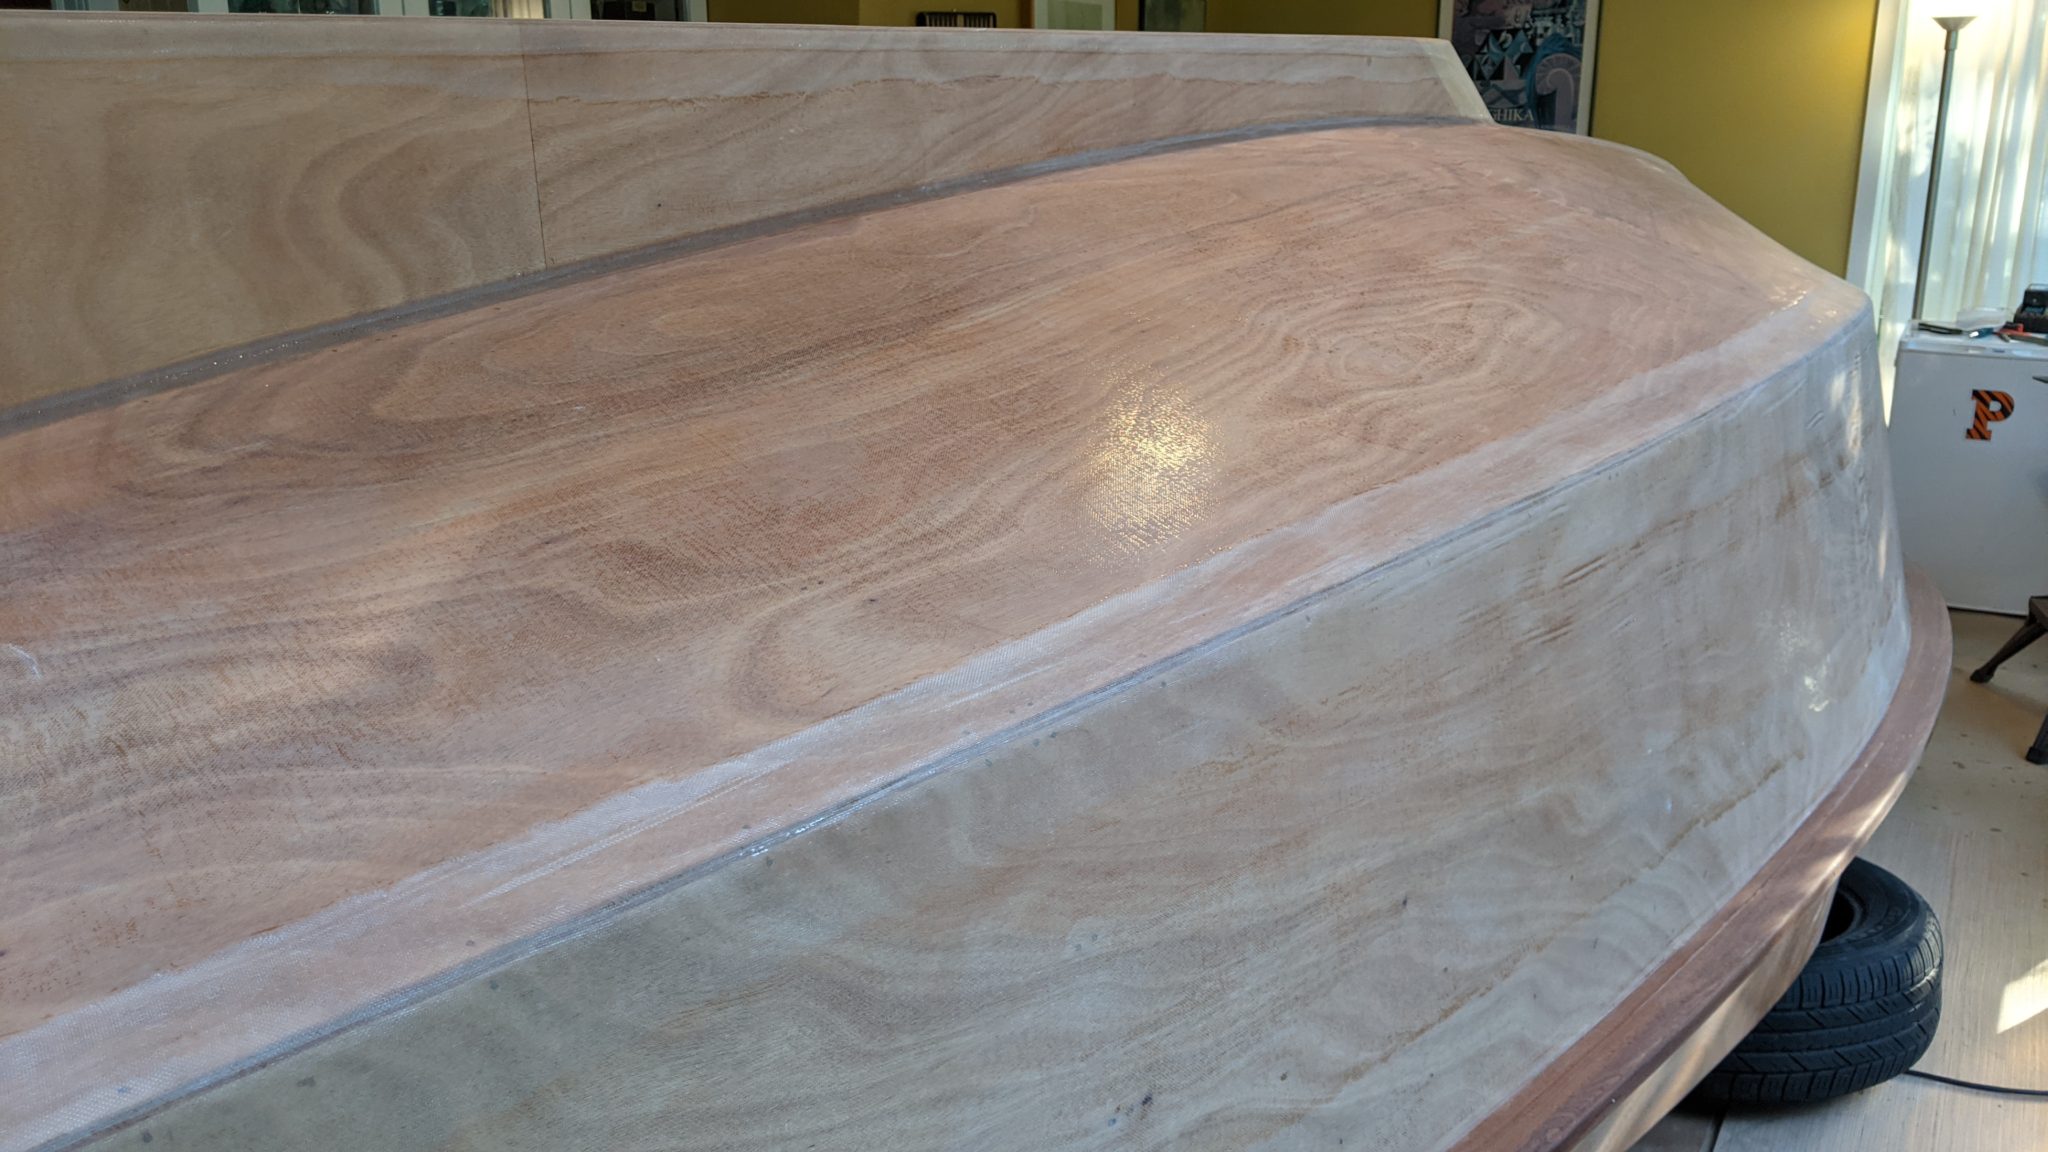
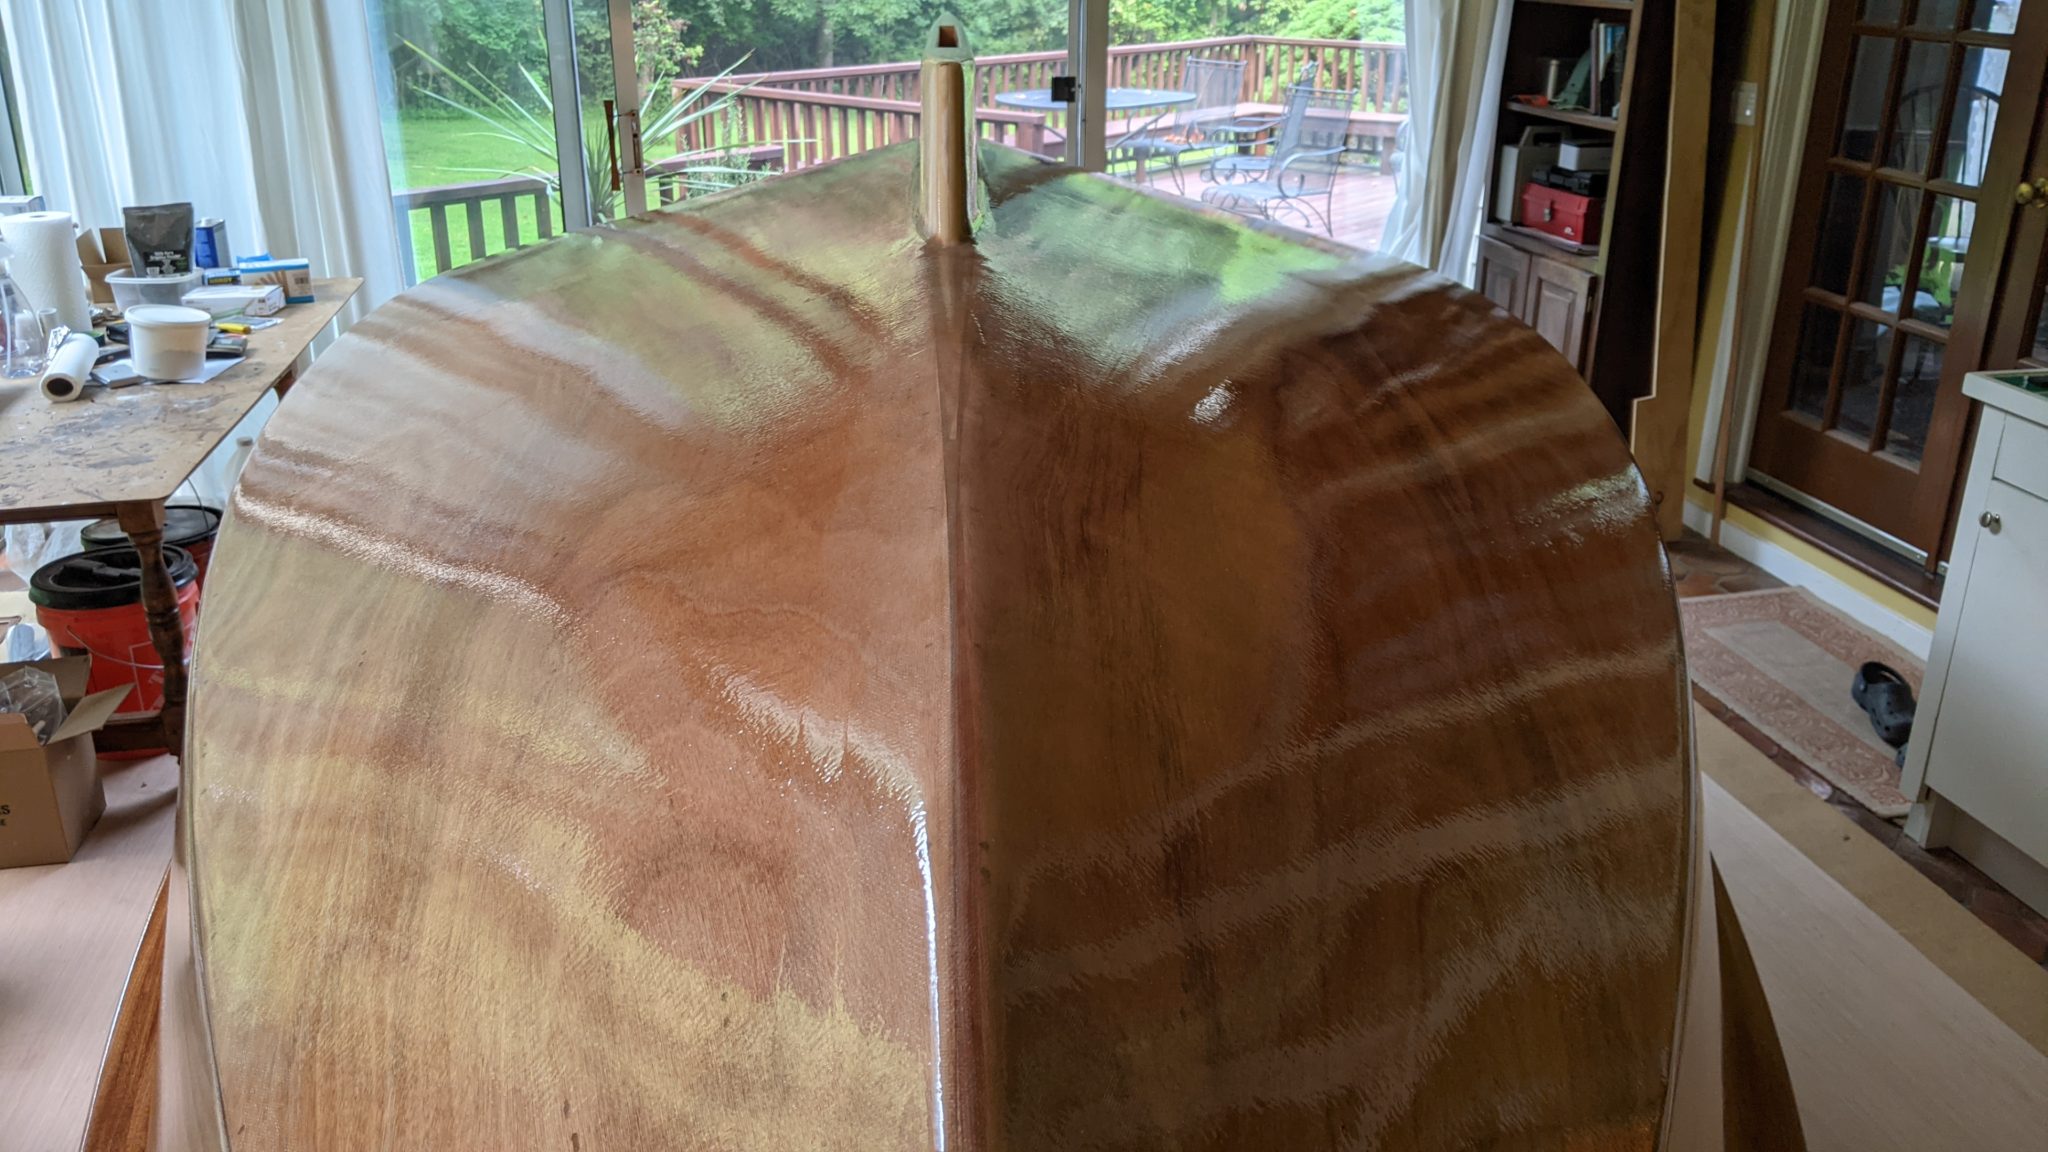
Glassing the bottom of the hull
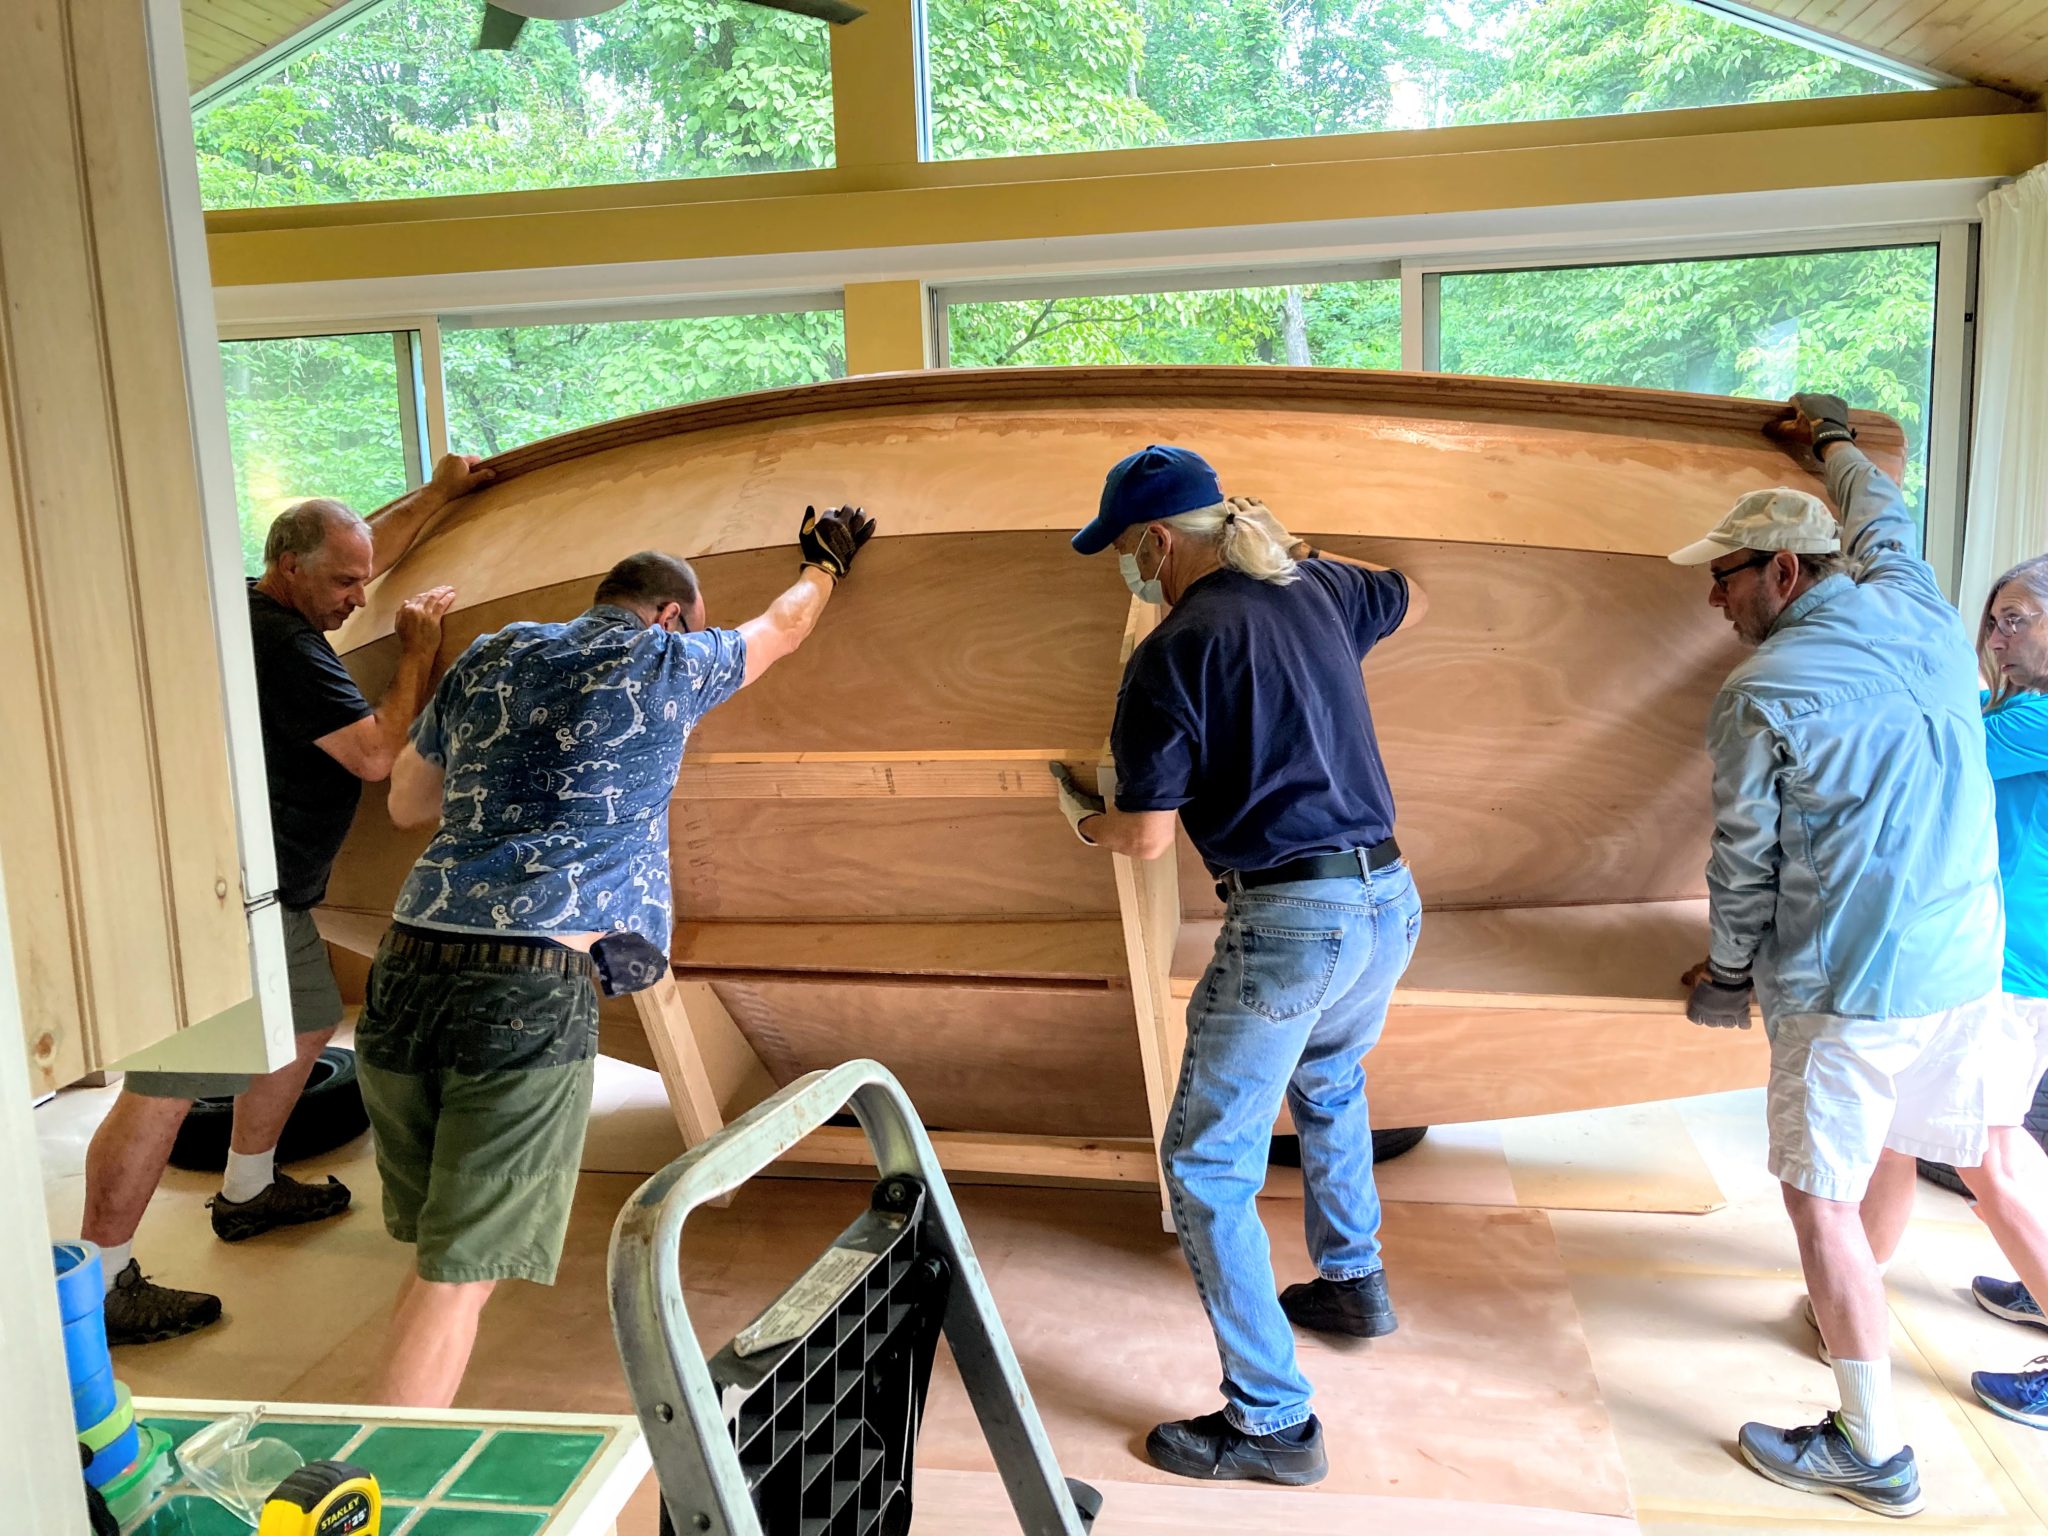
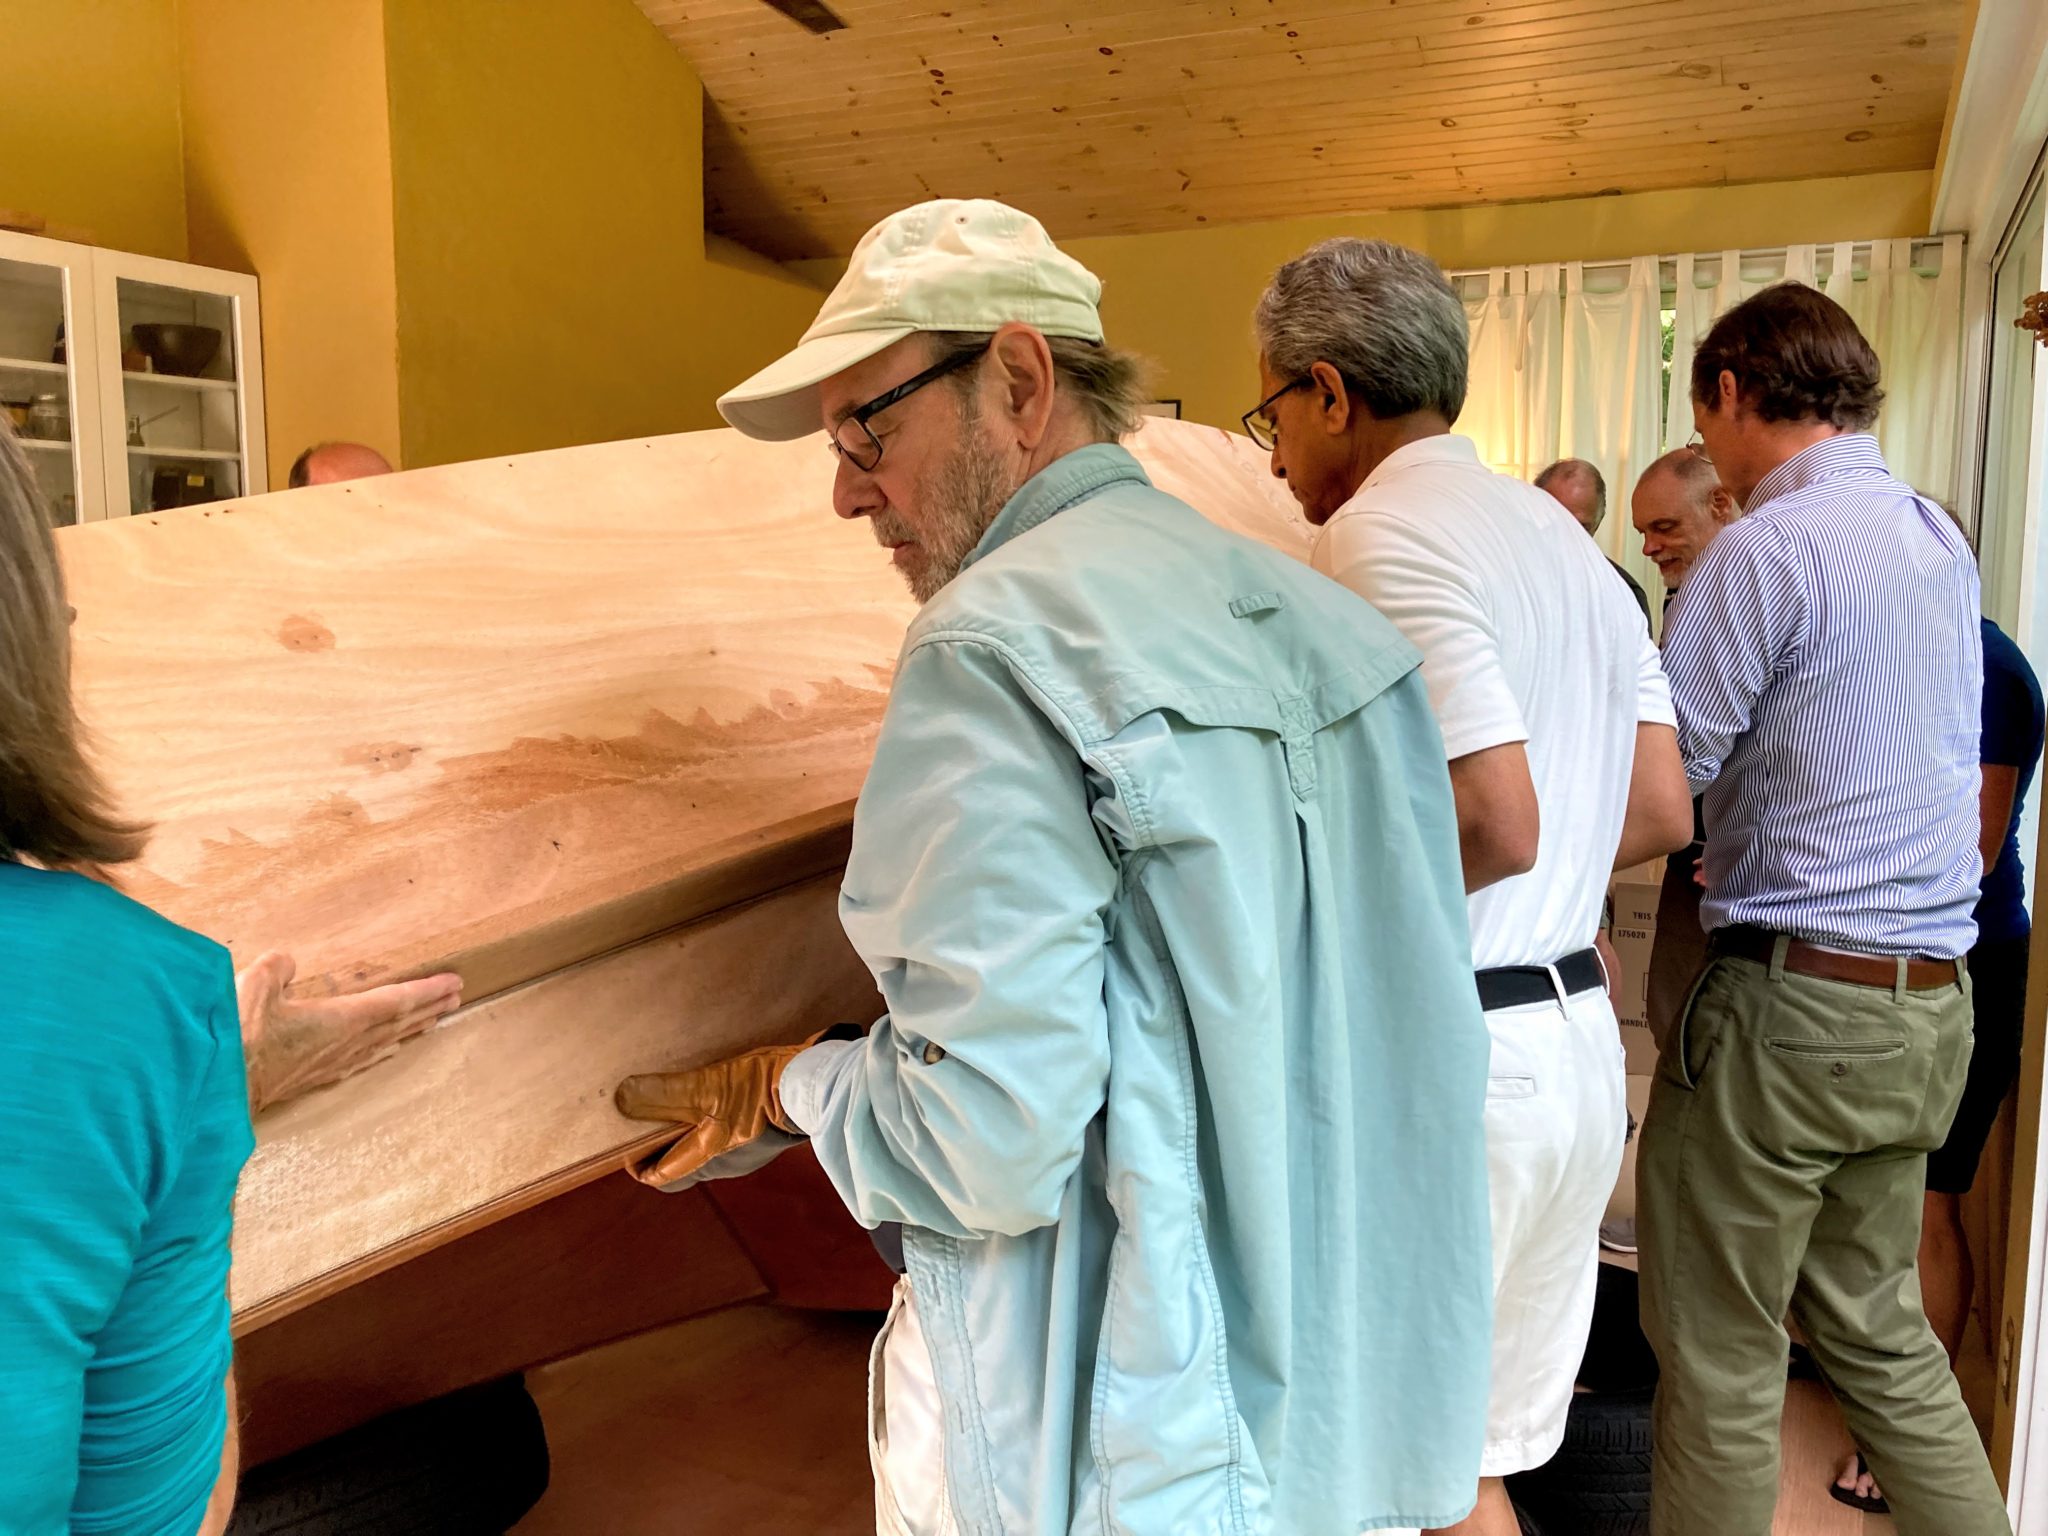
The flip!
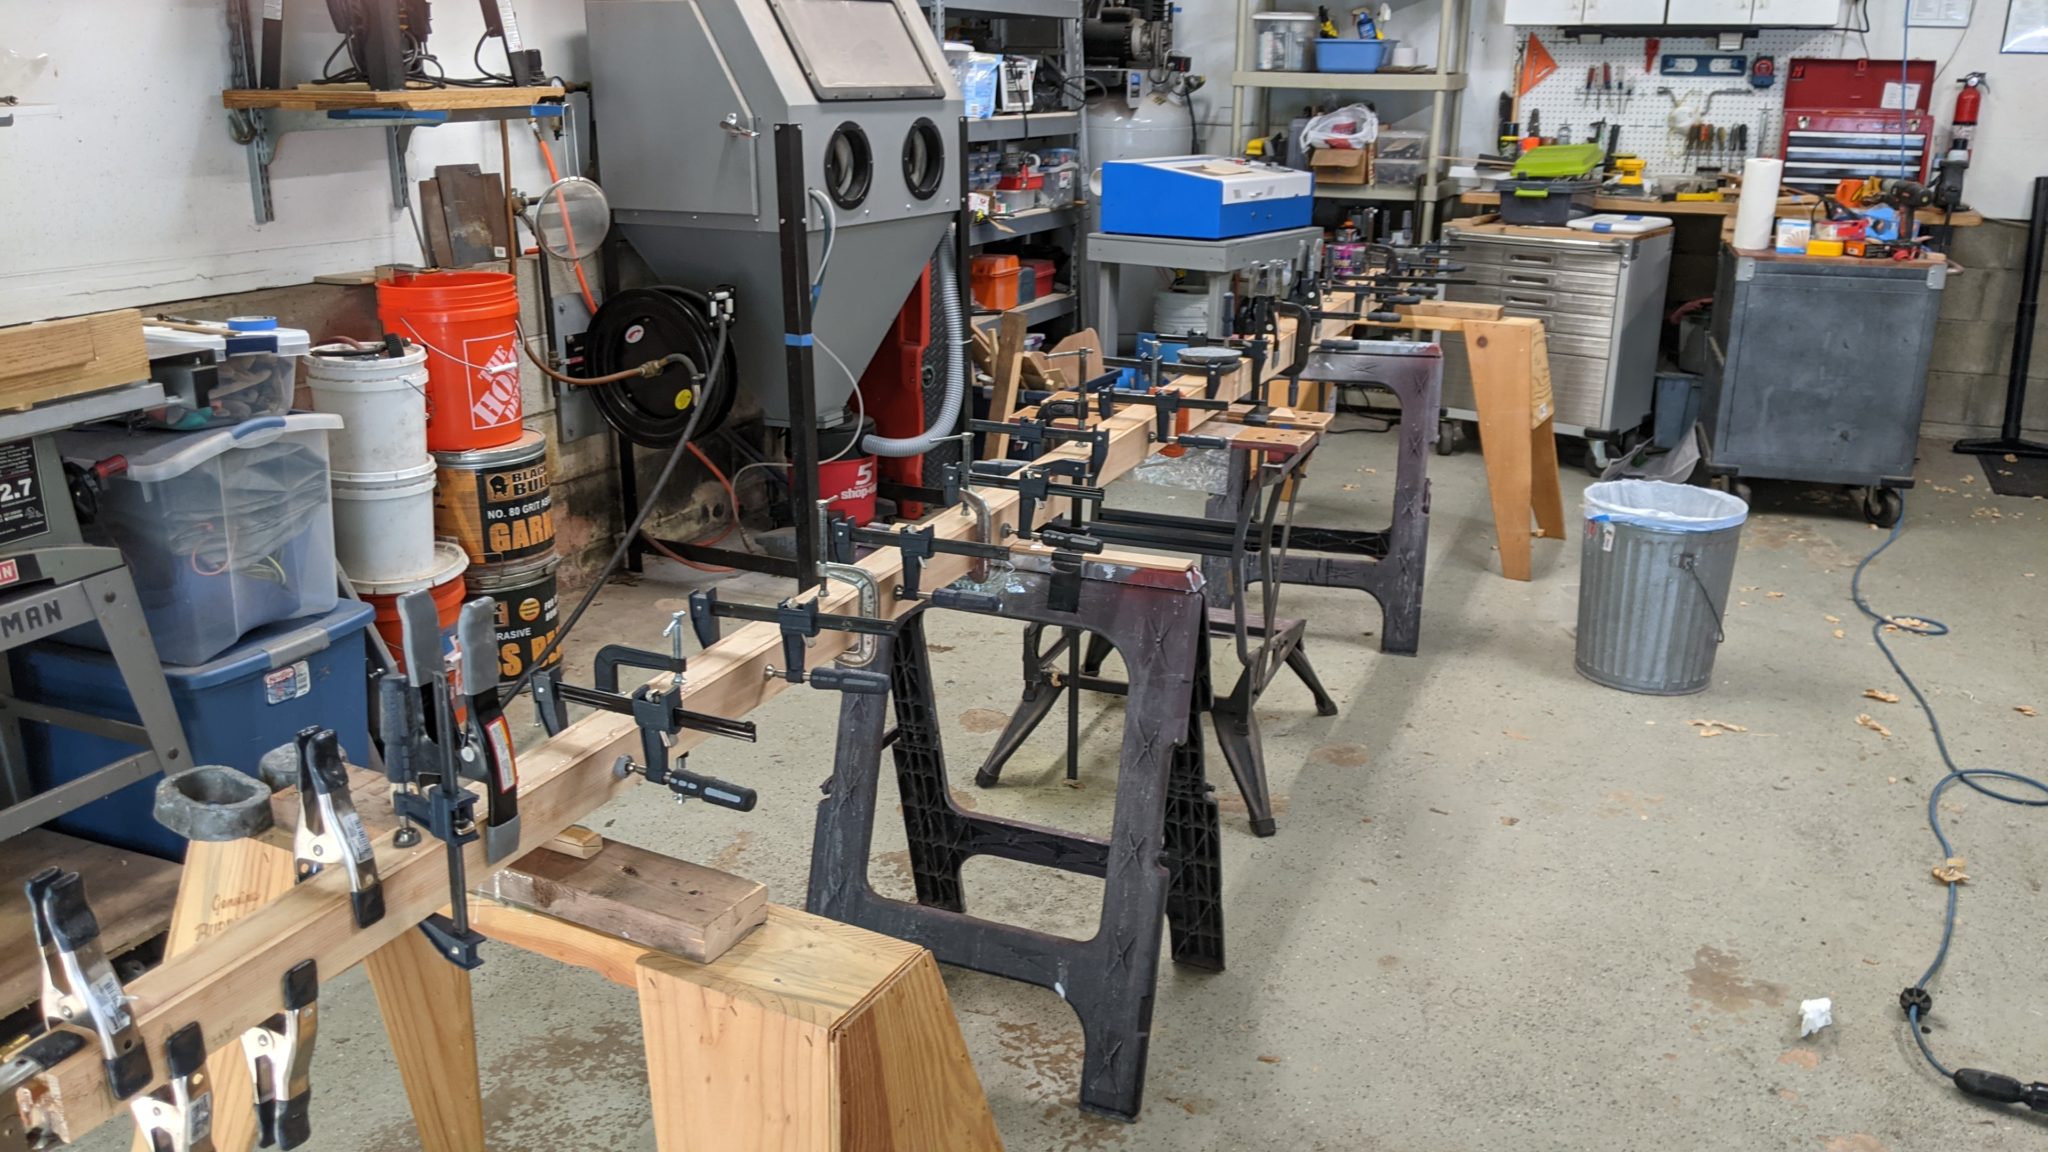
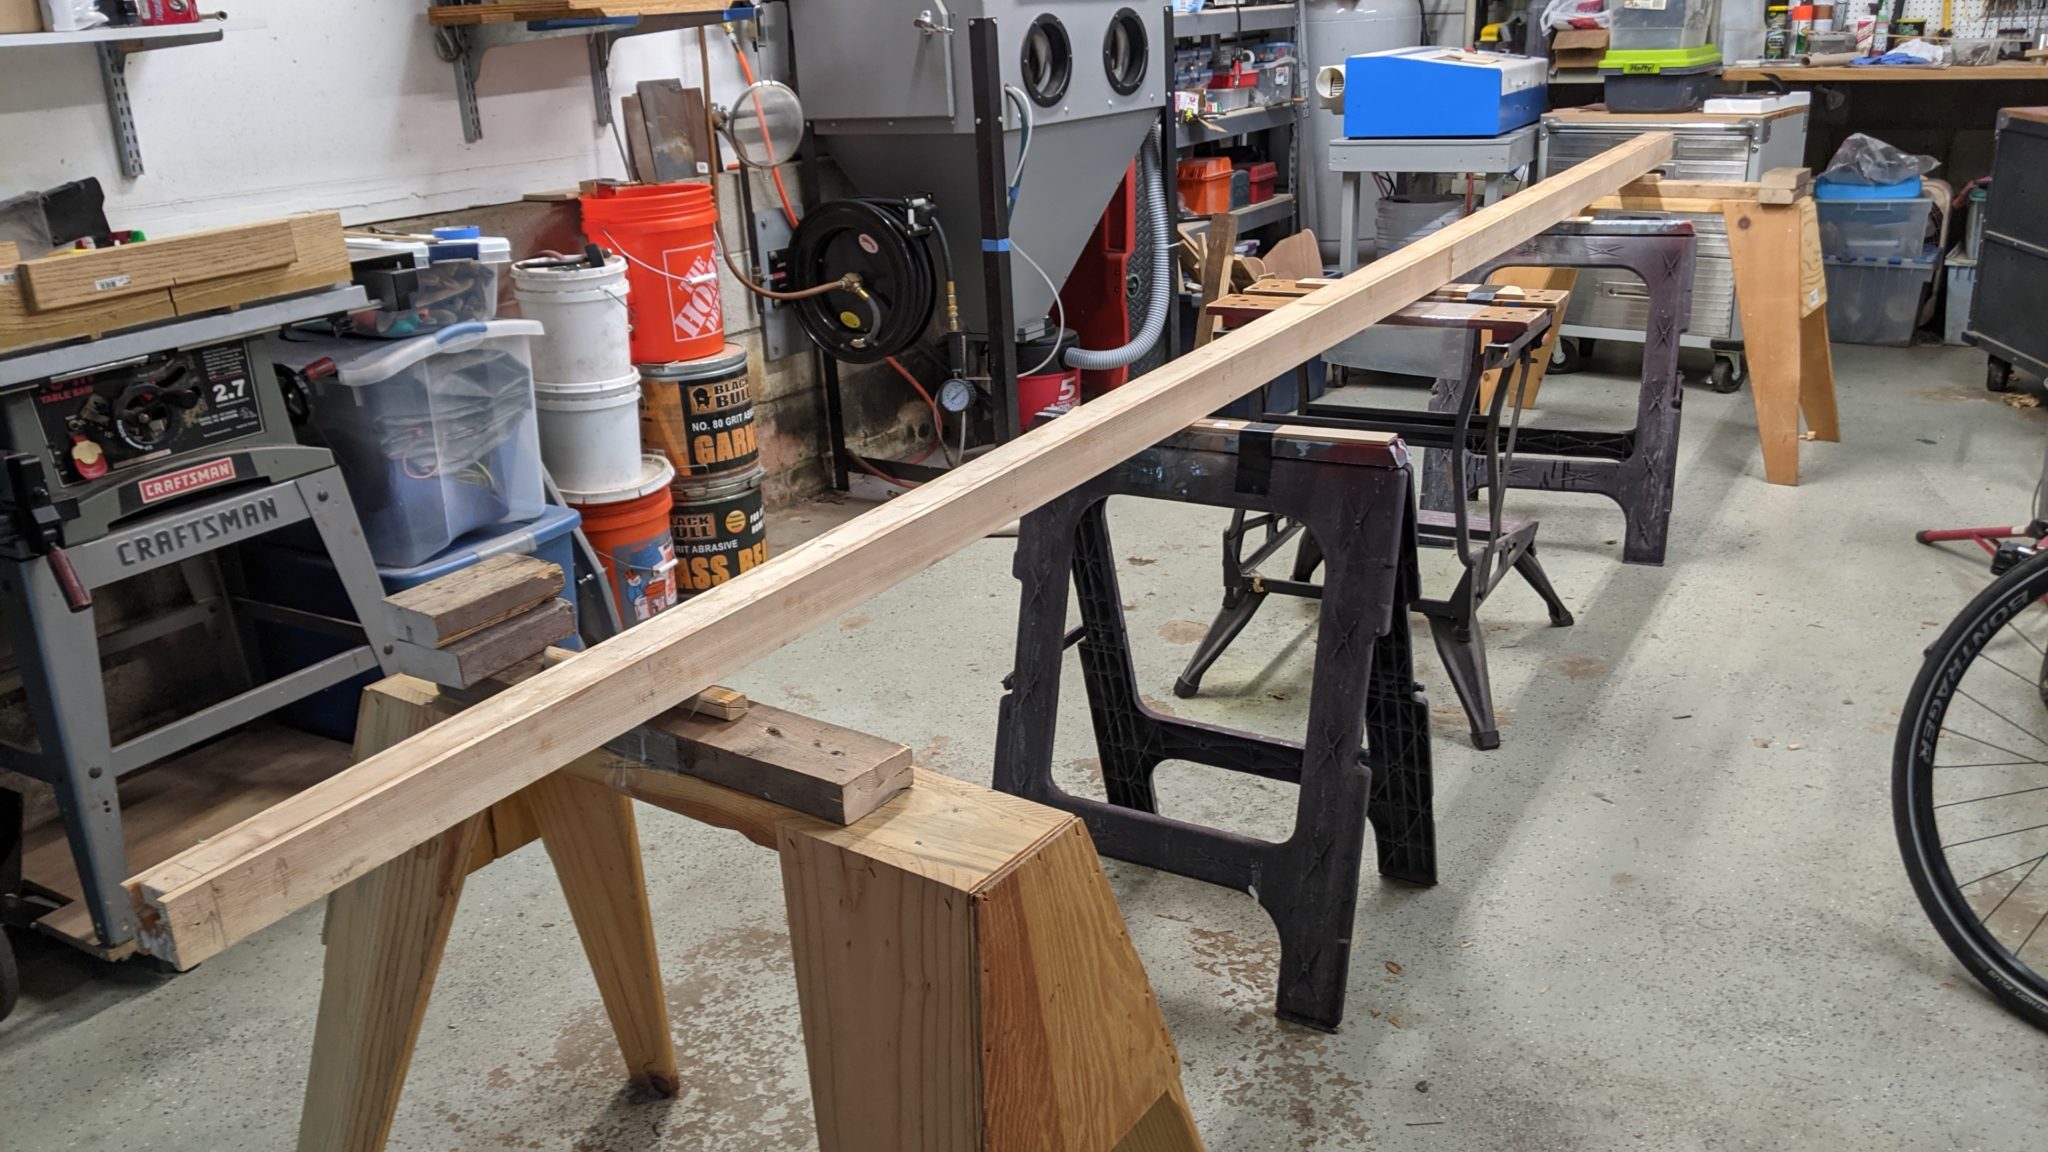
Messing with the spars
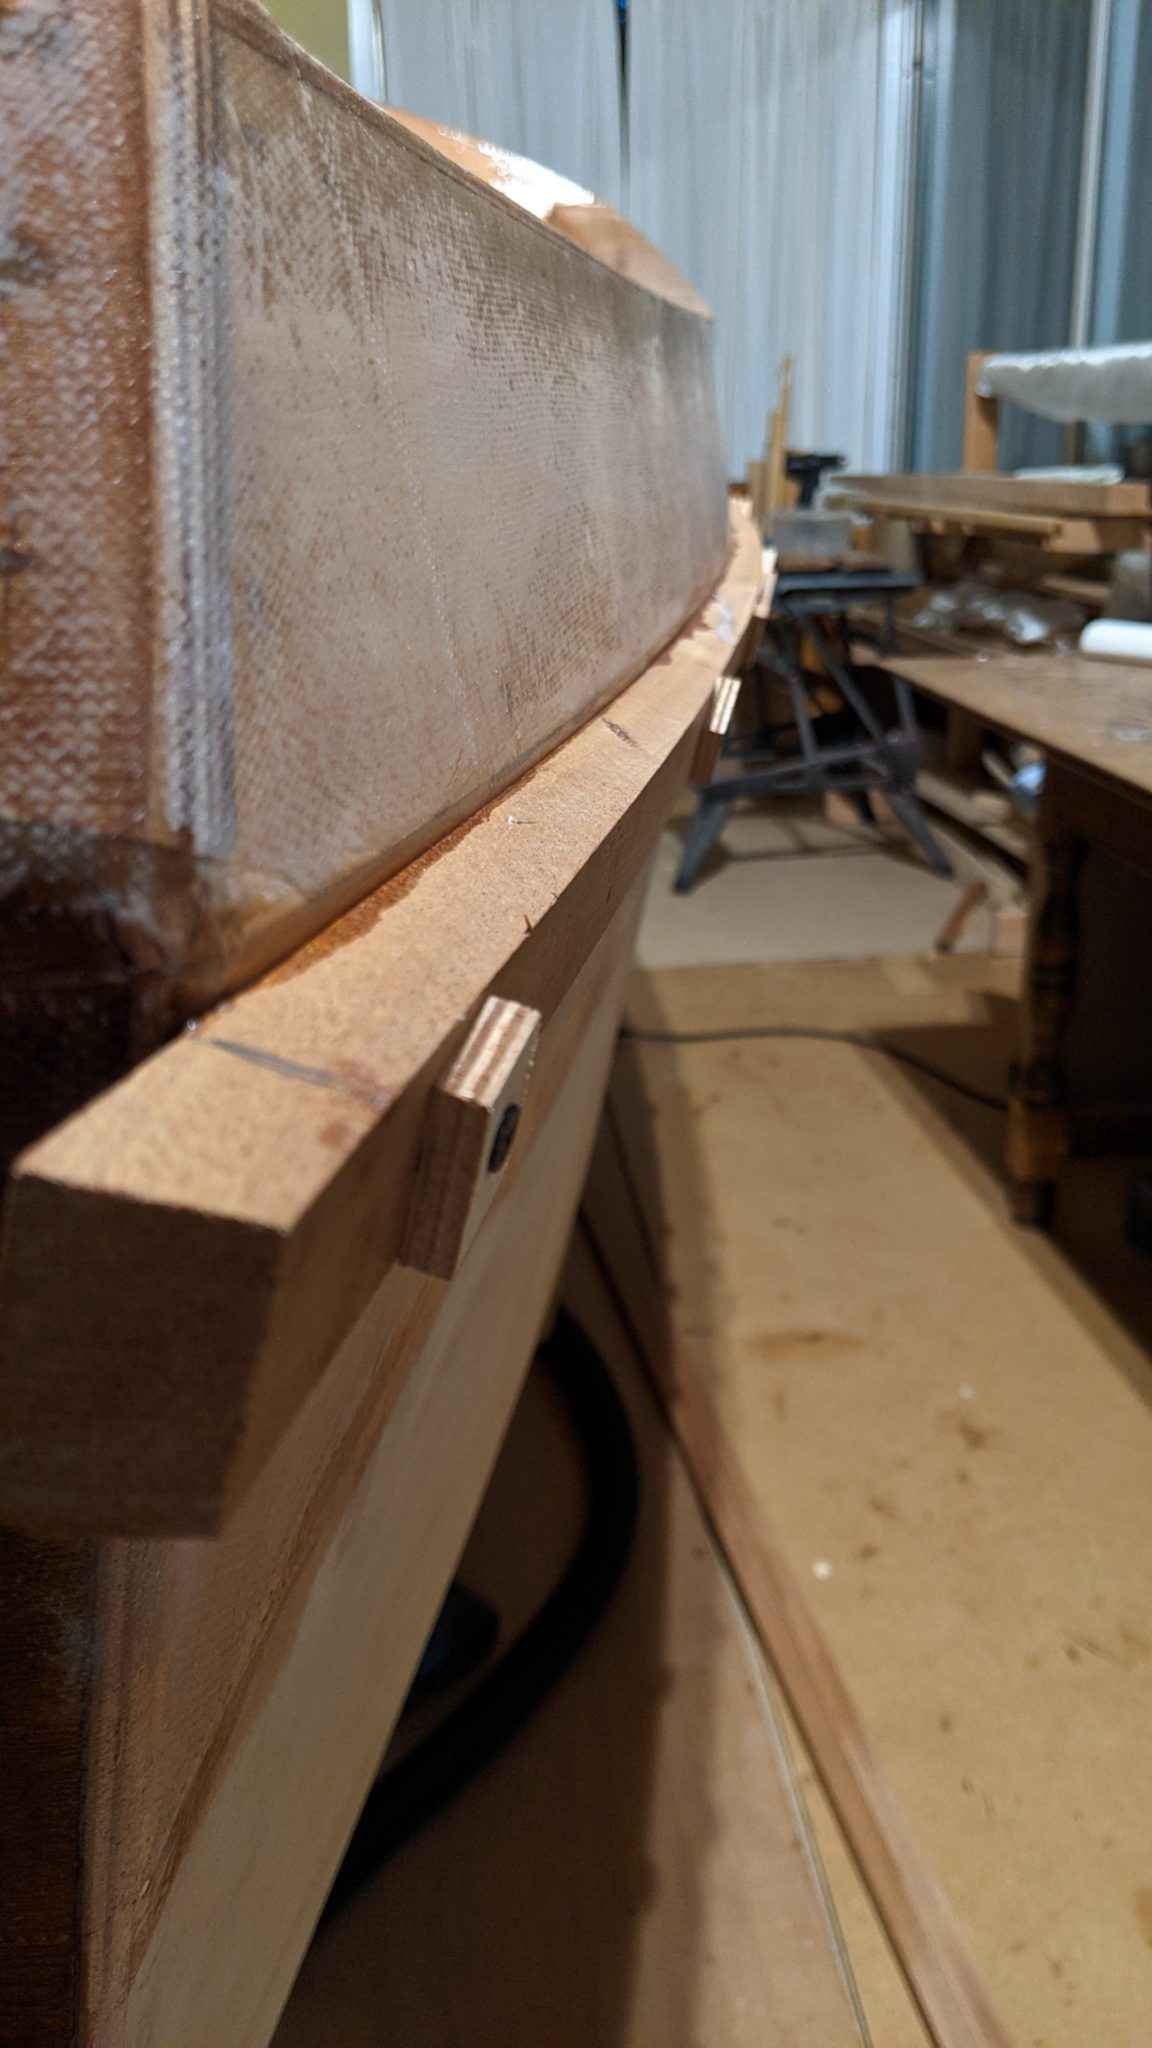
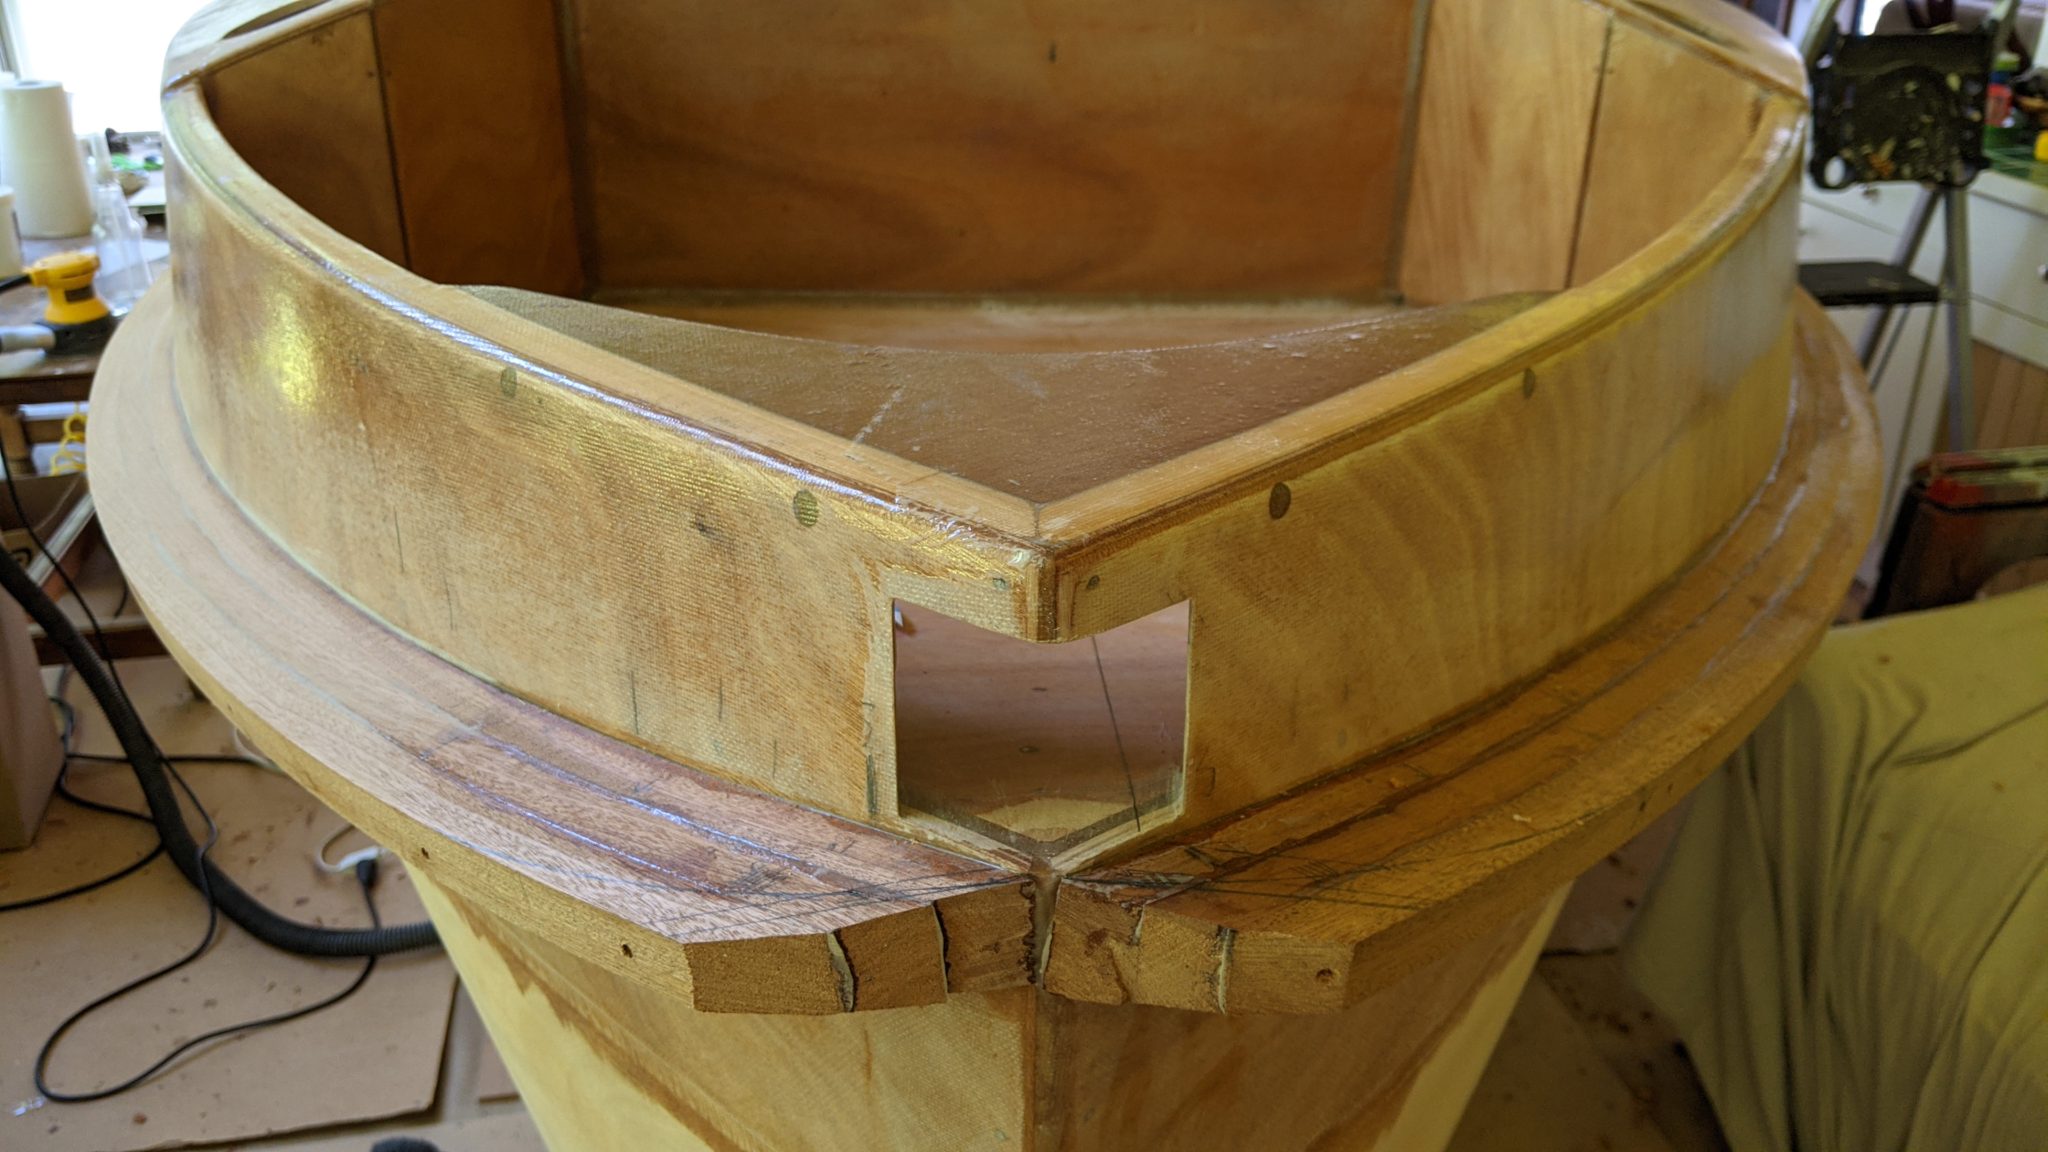
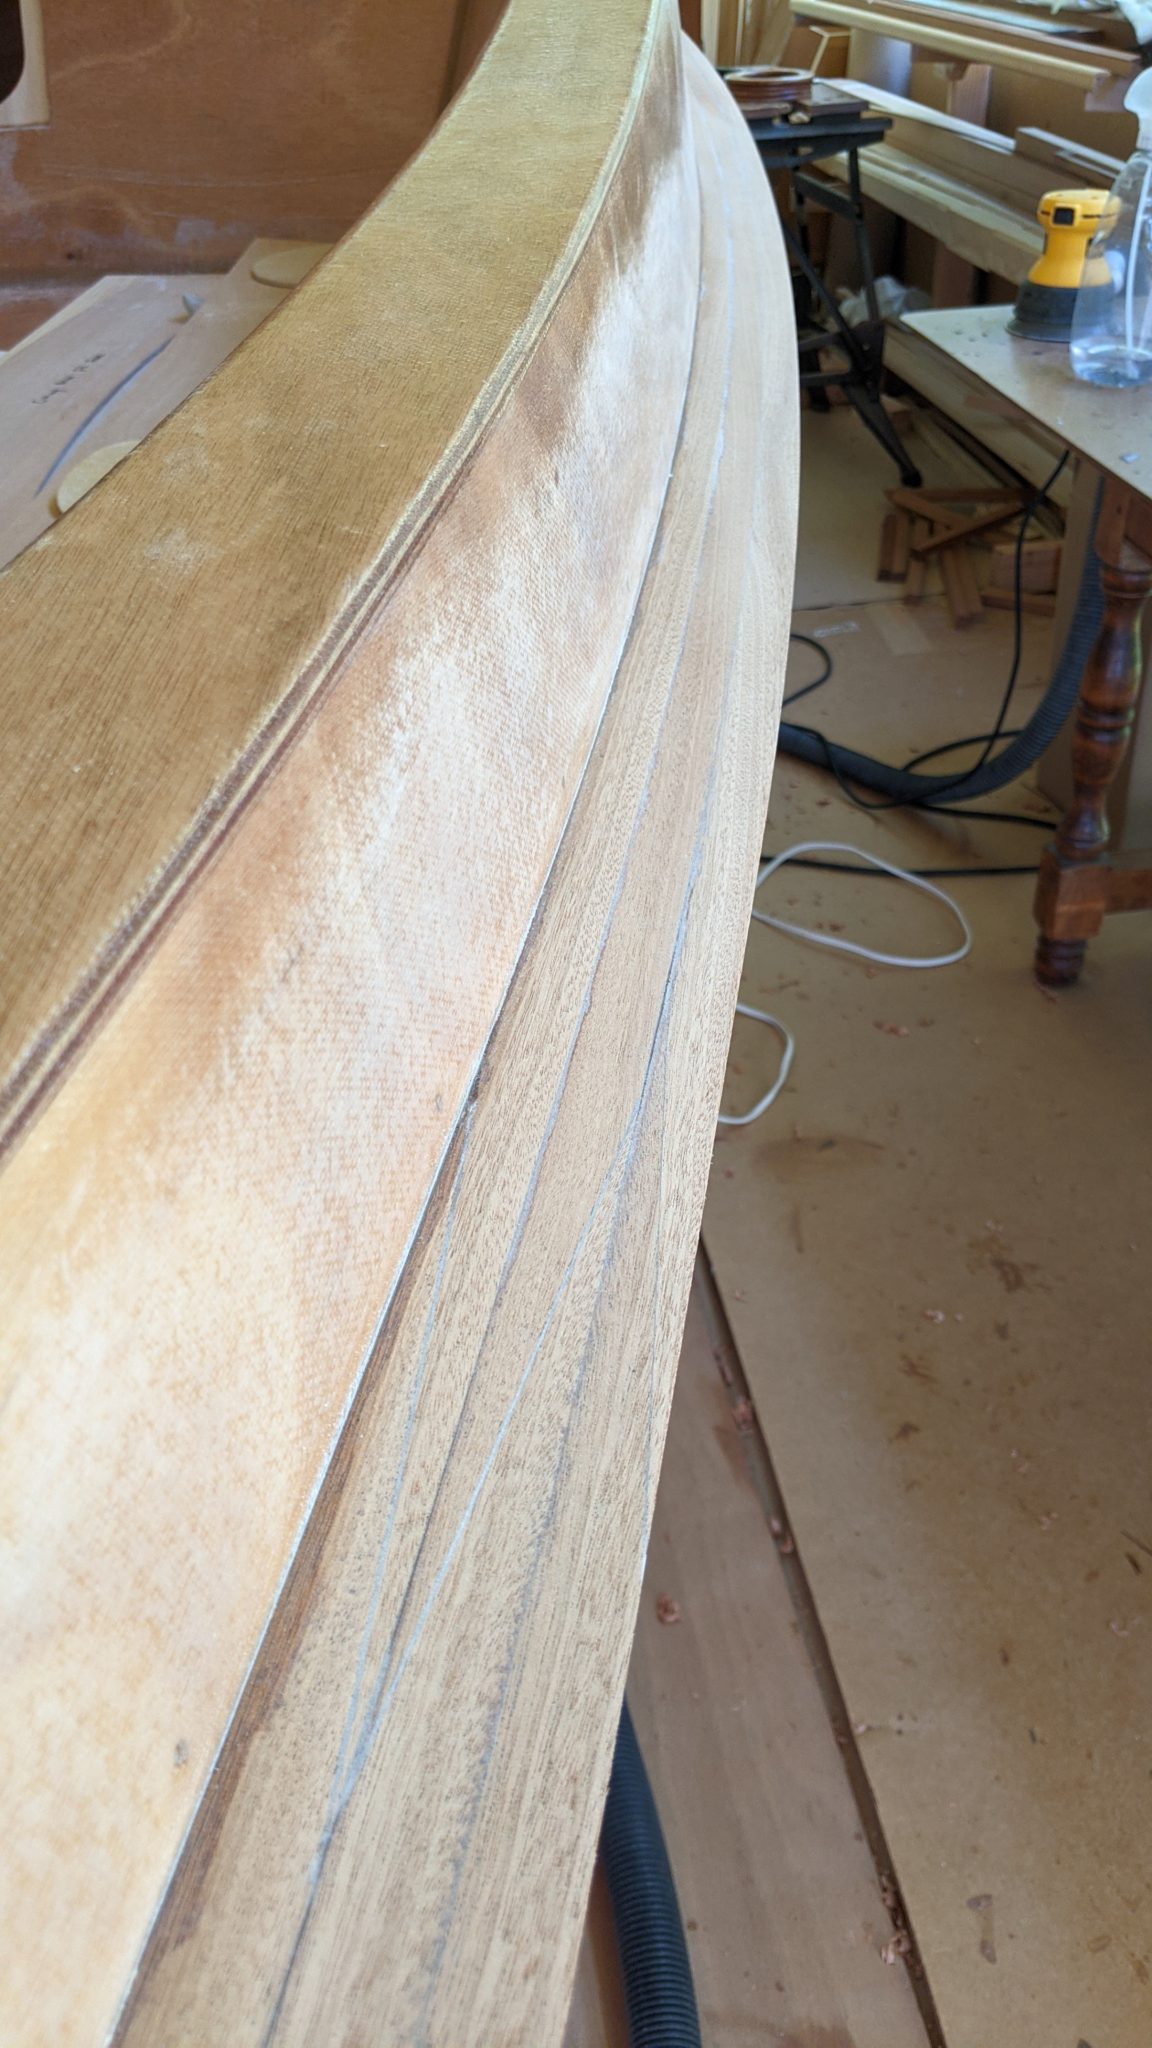
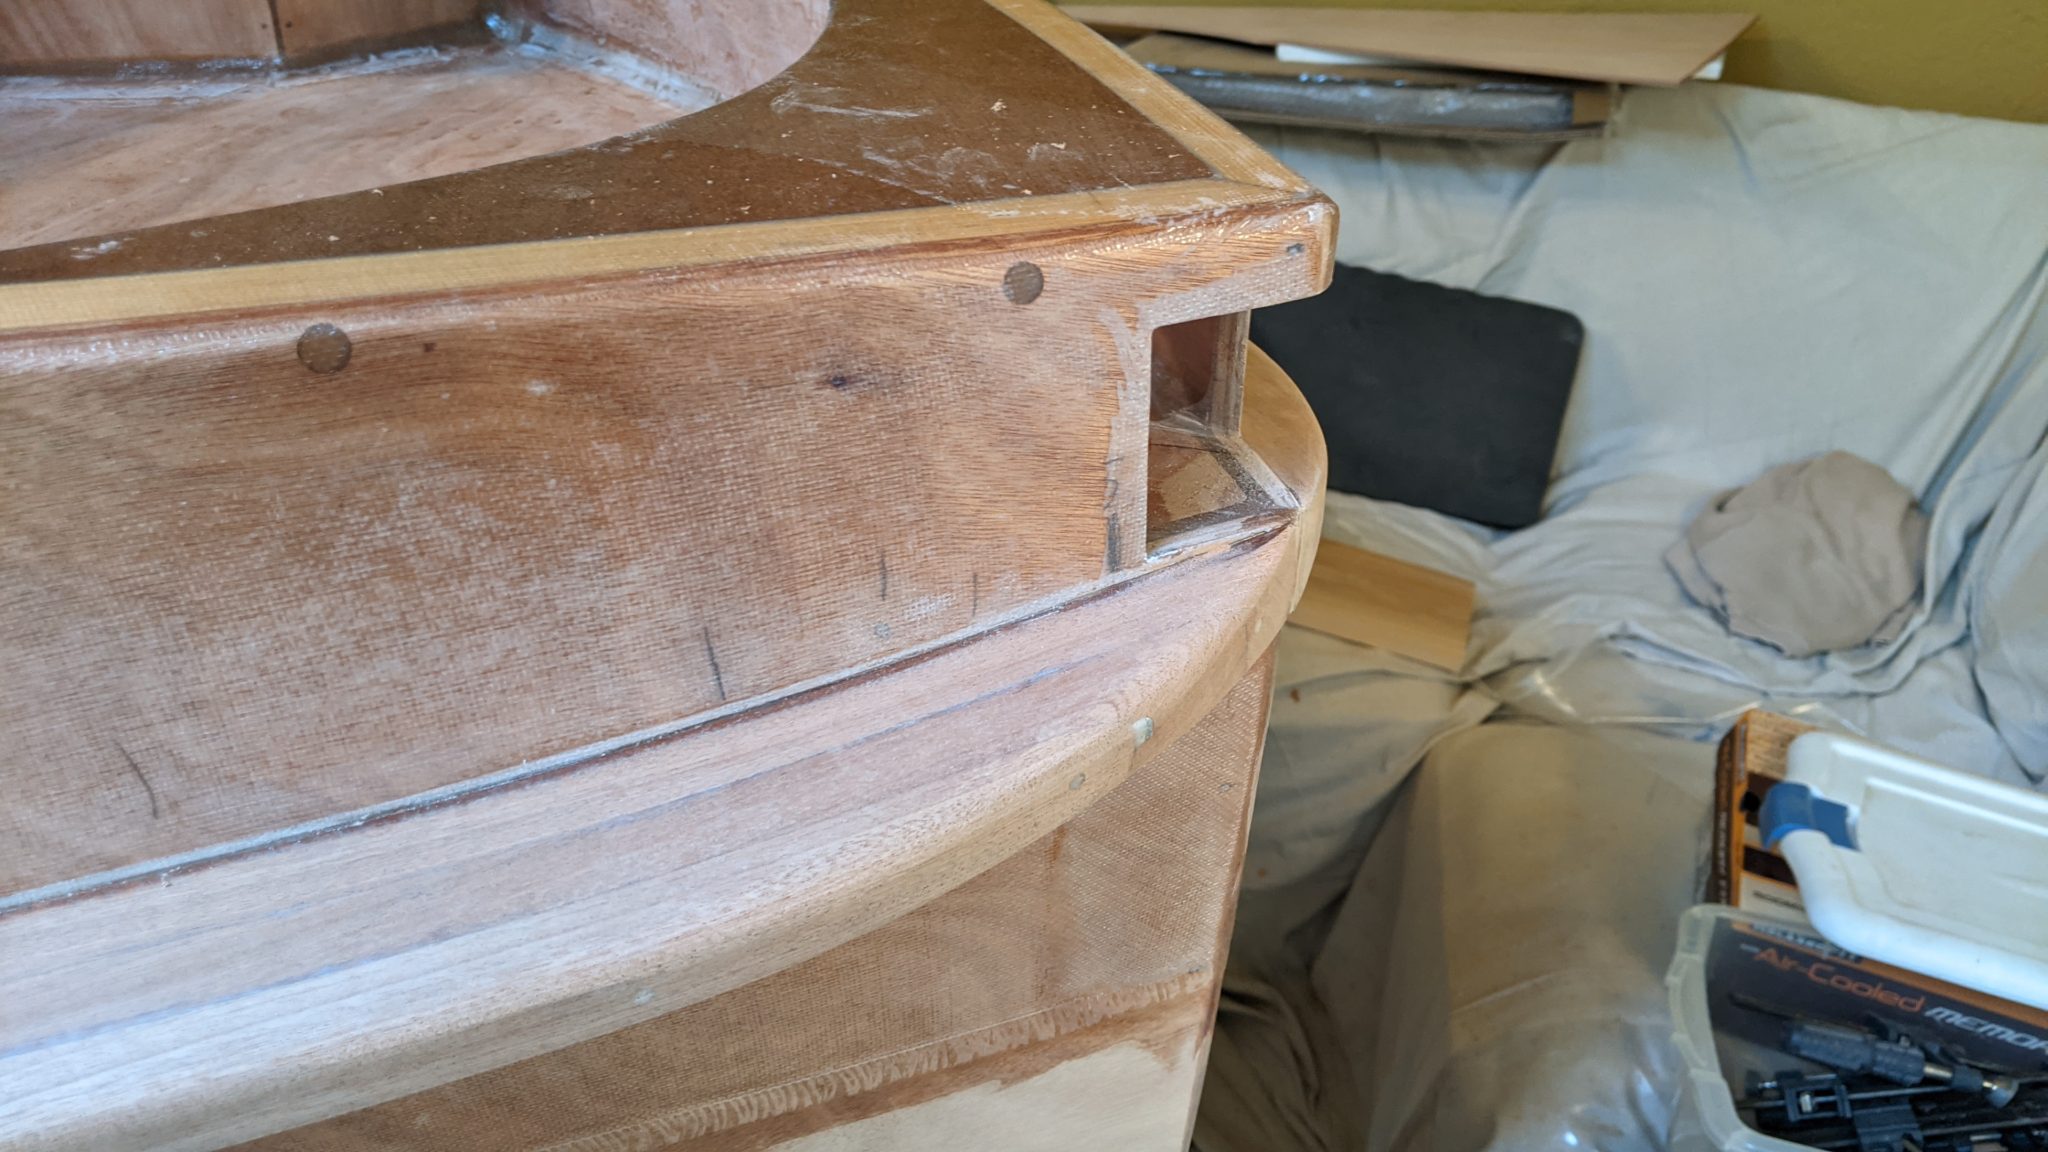
Doing the rails
Lots of work here:
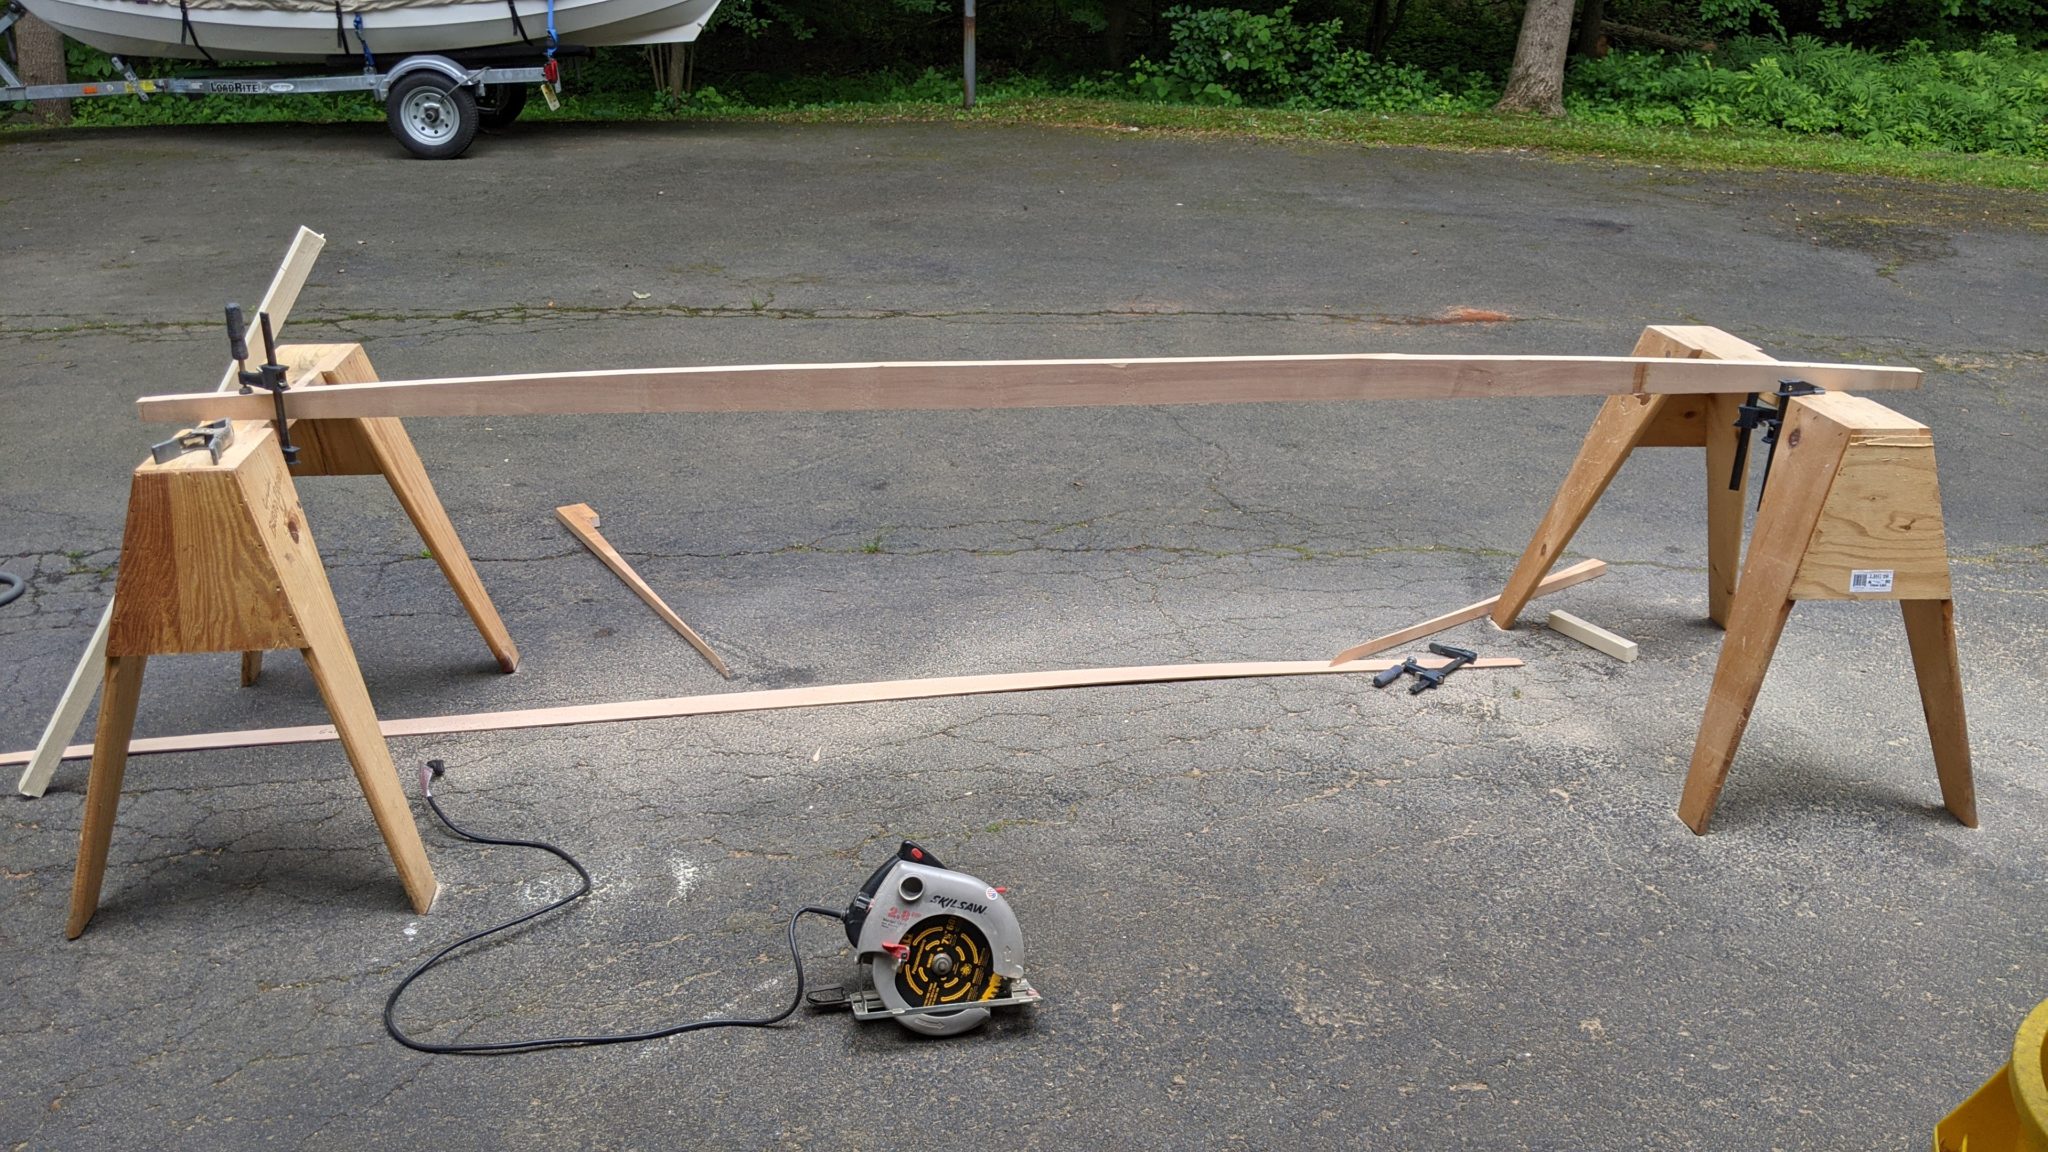
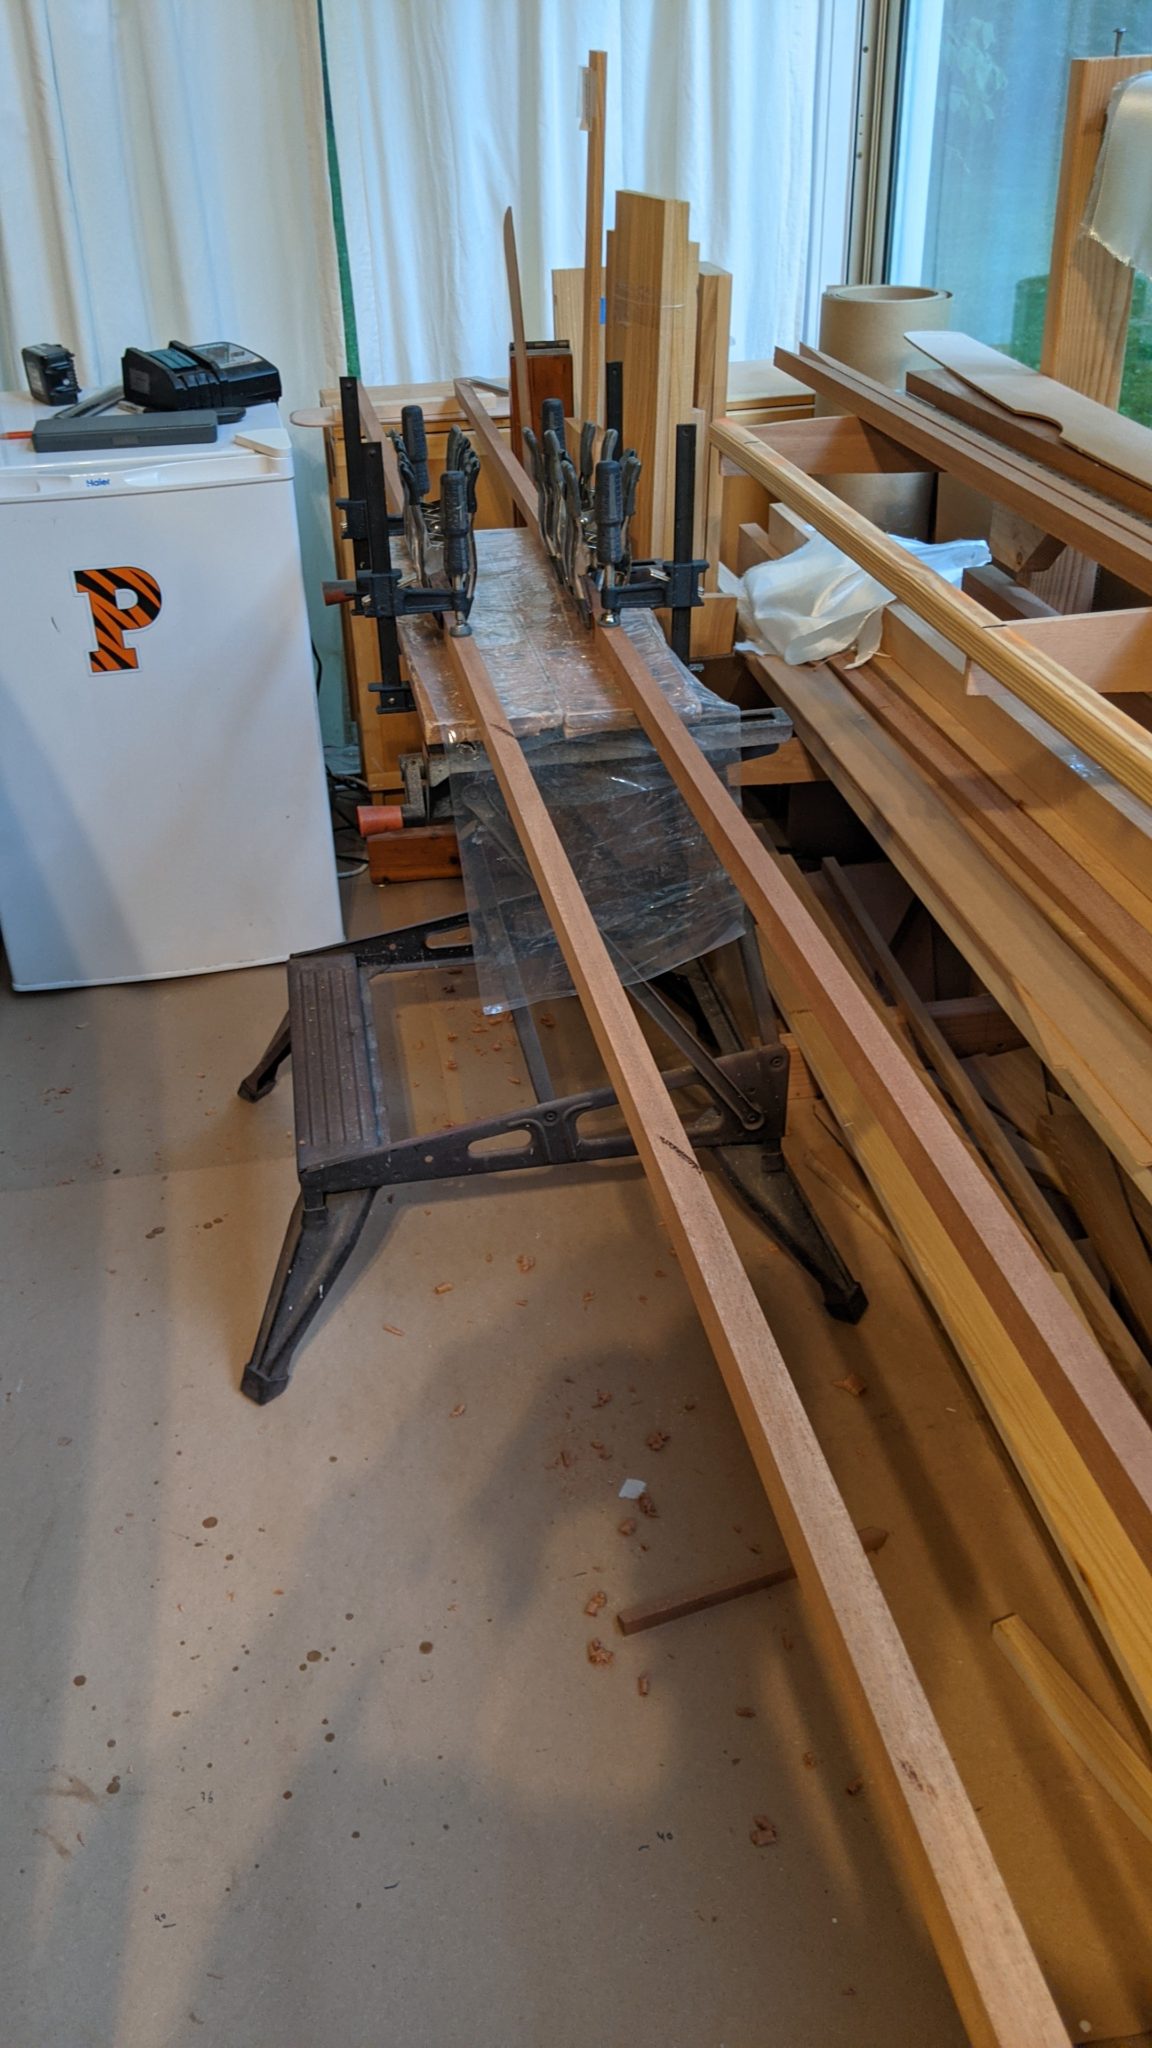
- 24 scarfs had to be cut on the 18 strips of rail material.
- The 18 pieces had to be glued together to make 6 full-length pieces
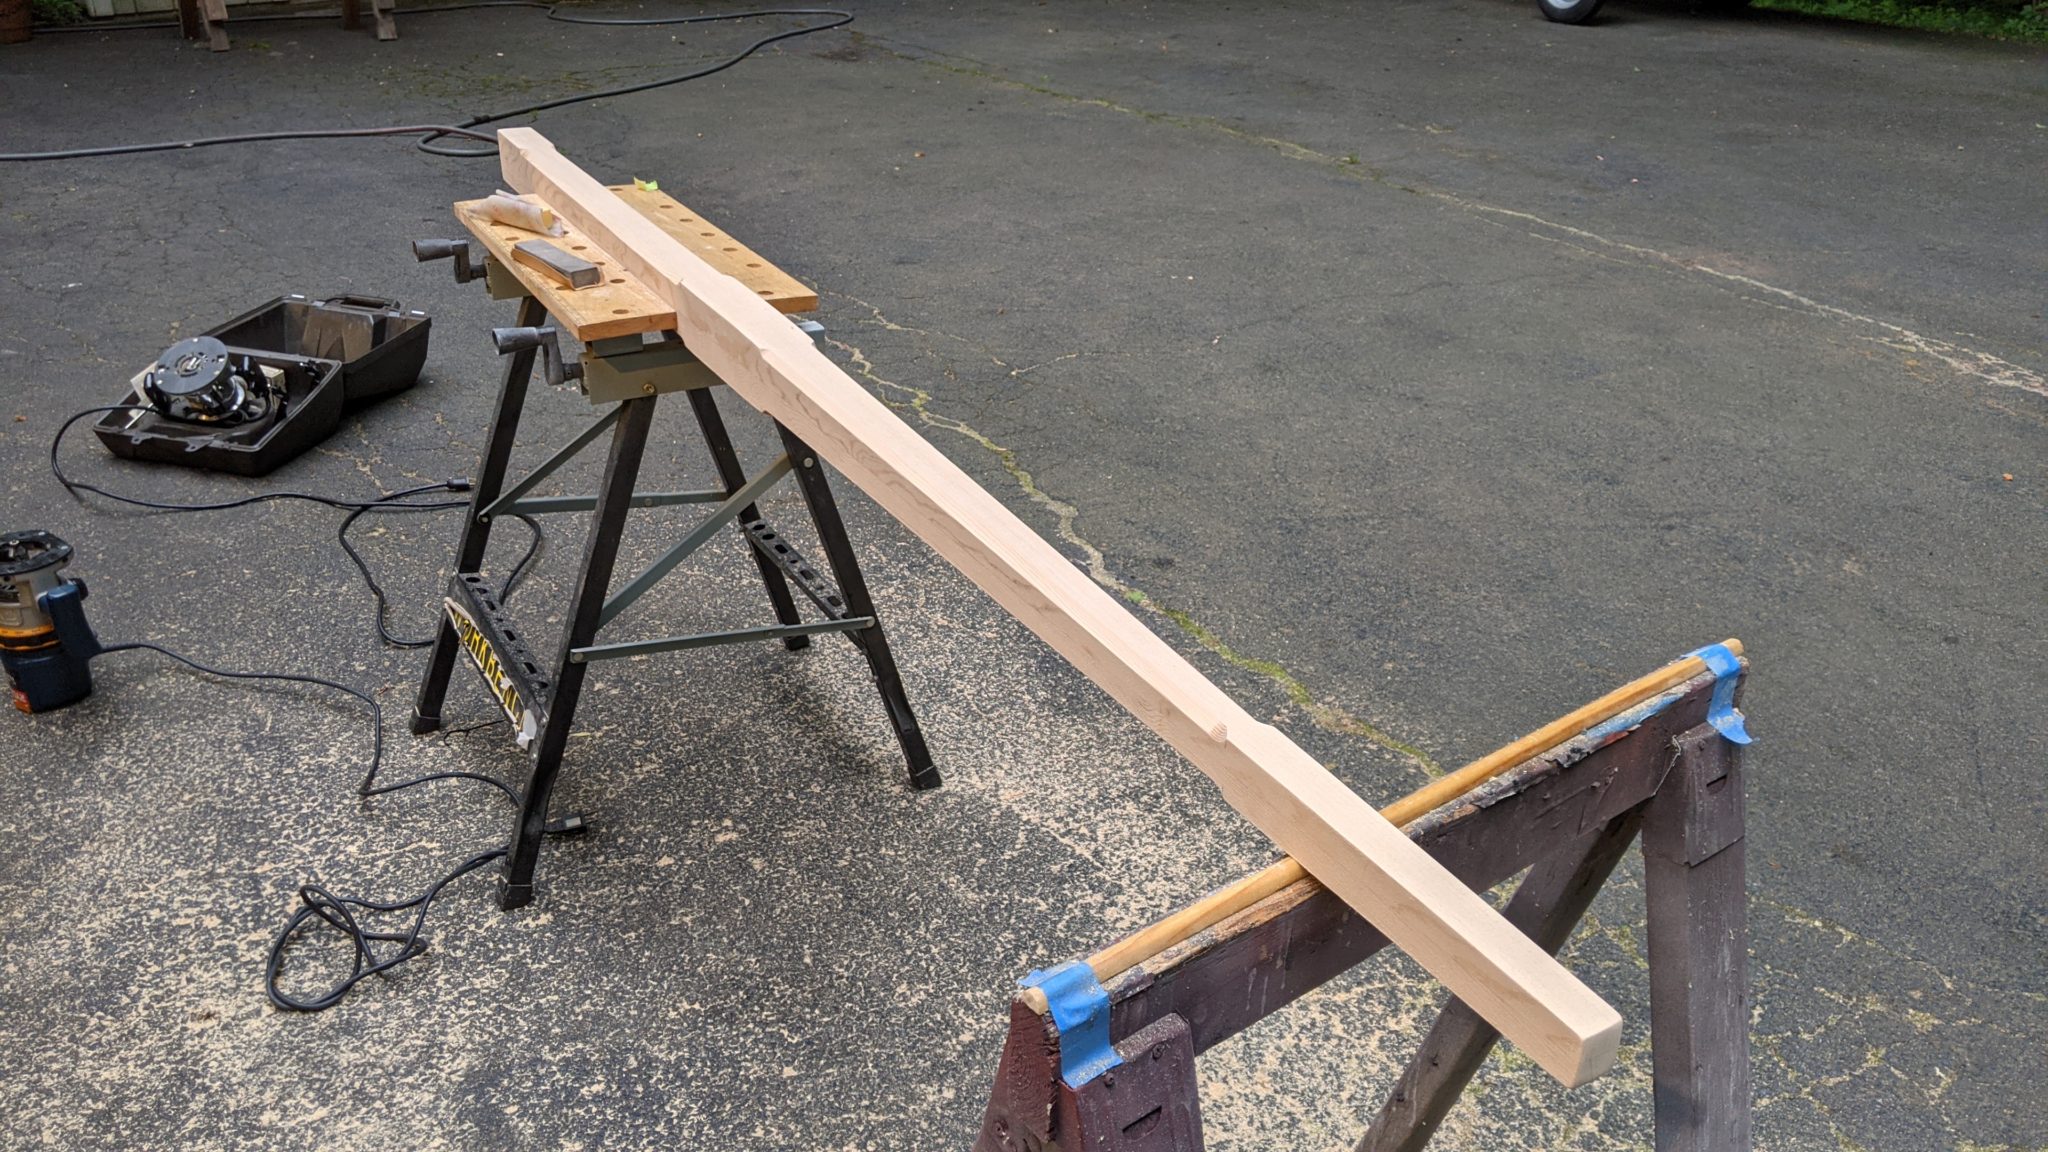
- Each piece needed to be run through the table saw to give it a trapezoidal cross-section.
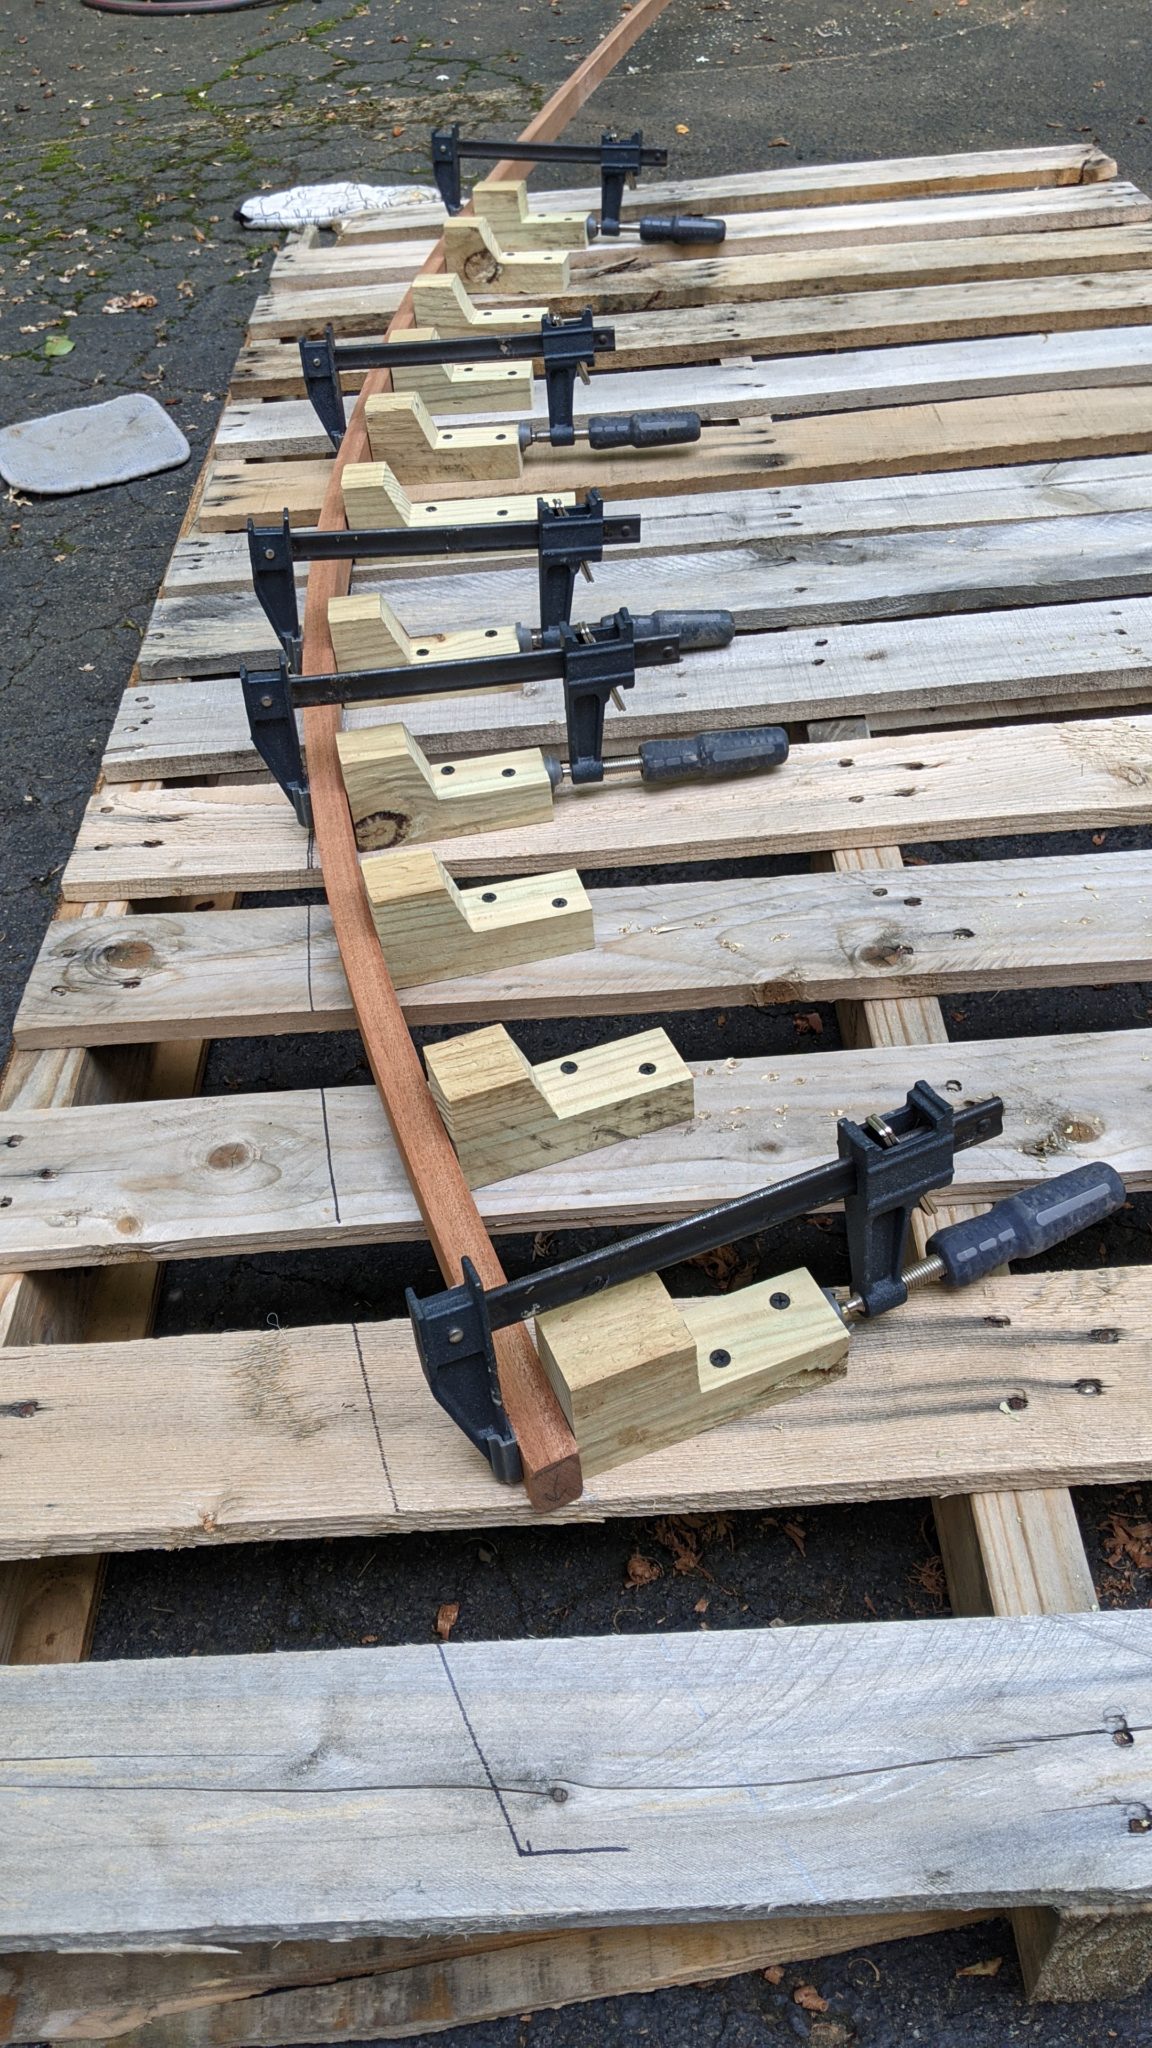
- I had to build a temporary bending jig from scraps and the pallet the kit came on.
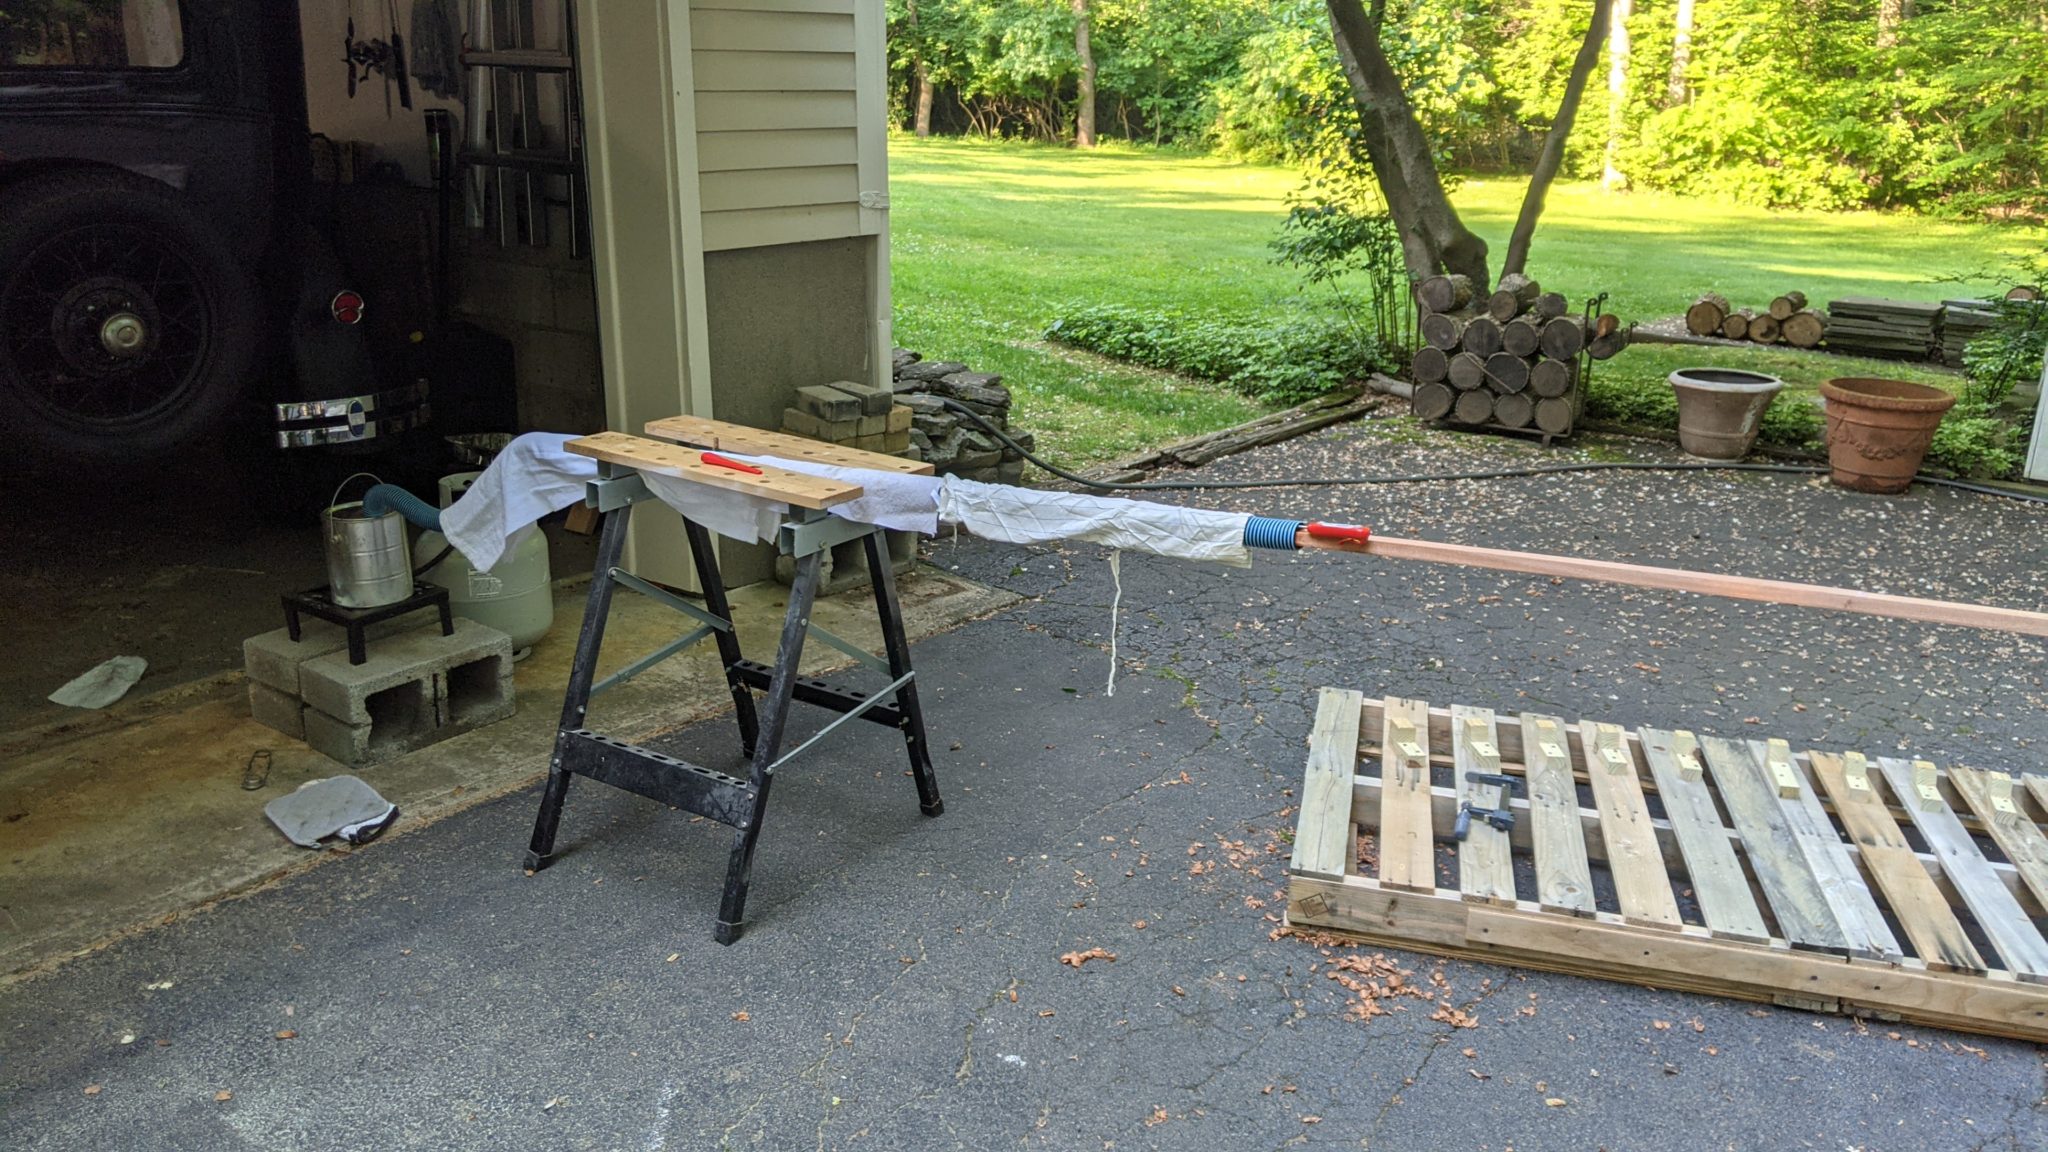
- Each piece needed to be steamed (with the same setup I used for the sheerclamps) and clamped to the jig for a couple of days.
- Each piece had to be test-fitted in place, and the screw holes drilled.
- Each piece had to be glued in place one at a time, and held with temporary screws, clamps, etc.
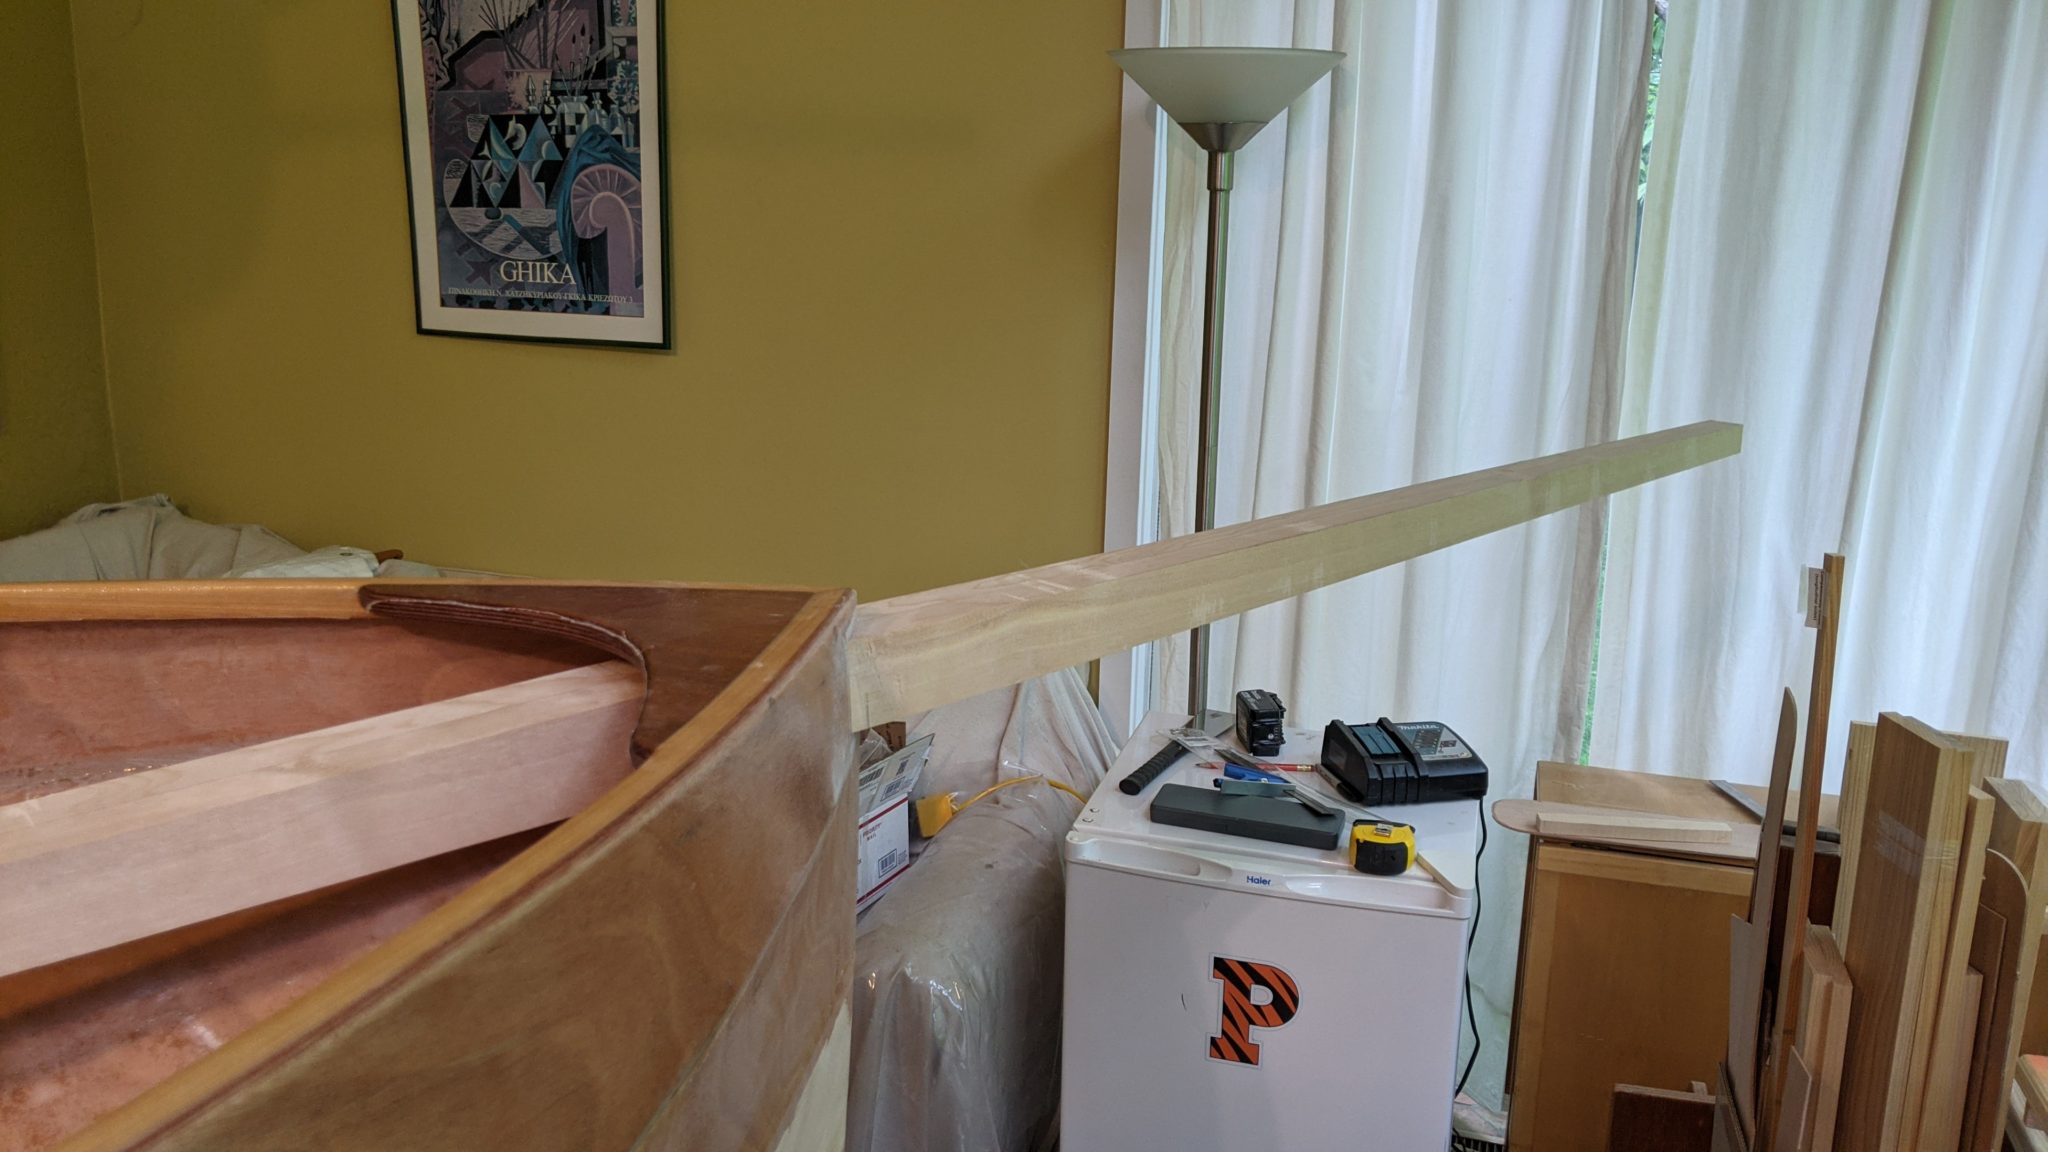
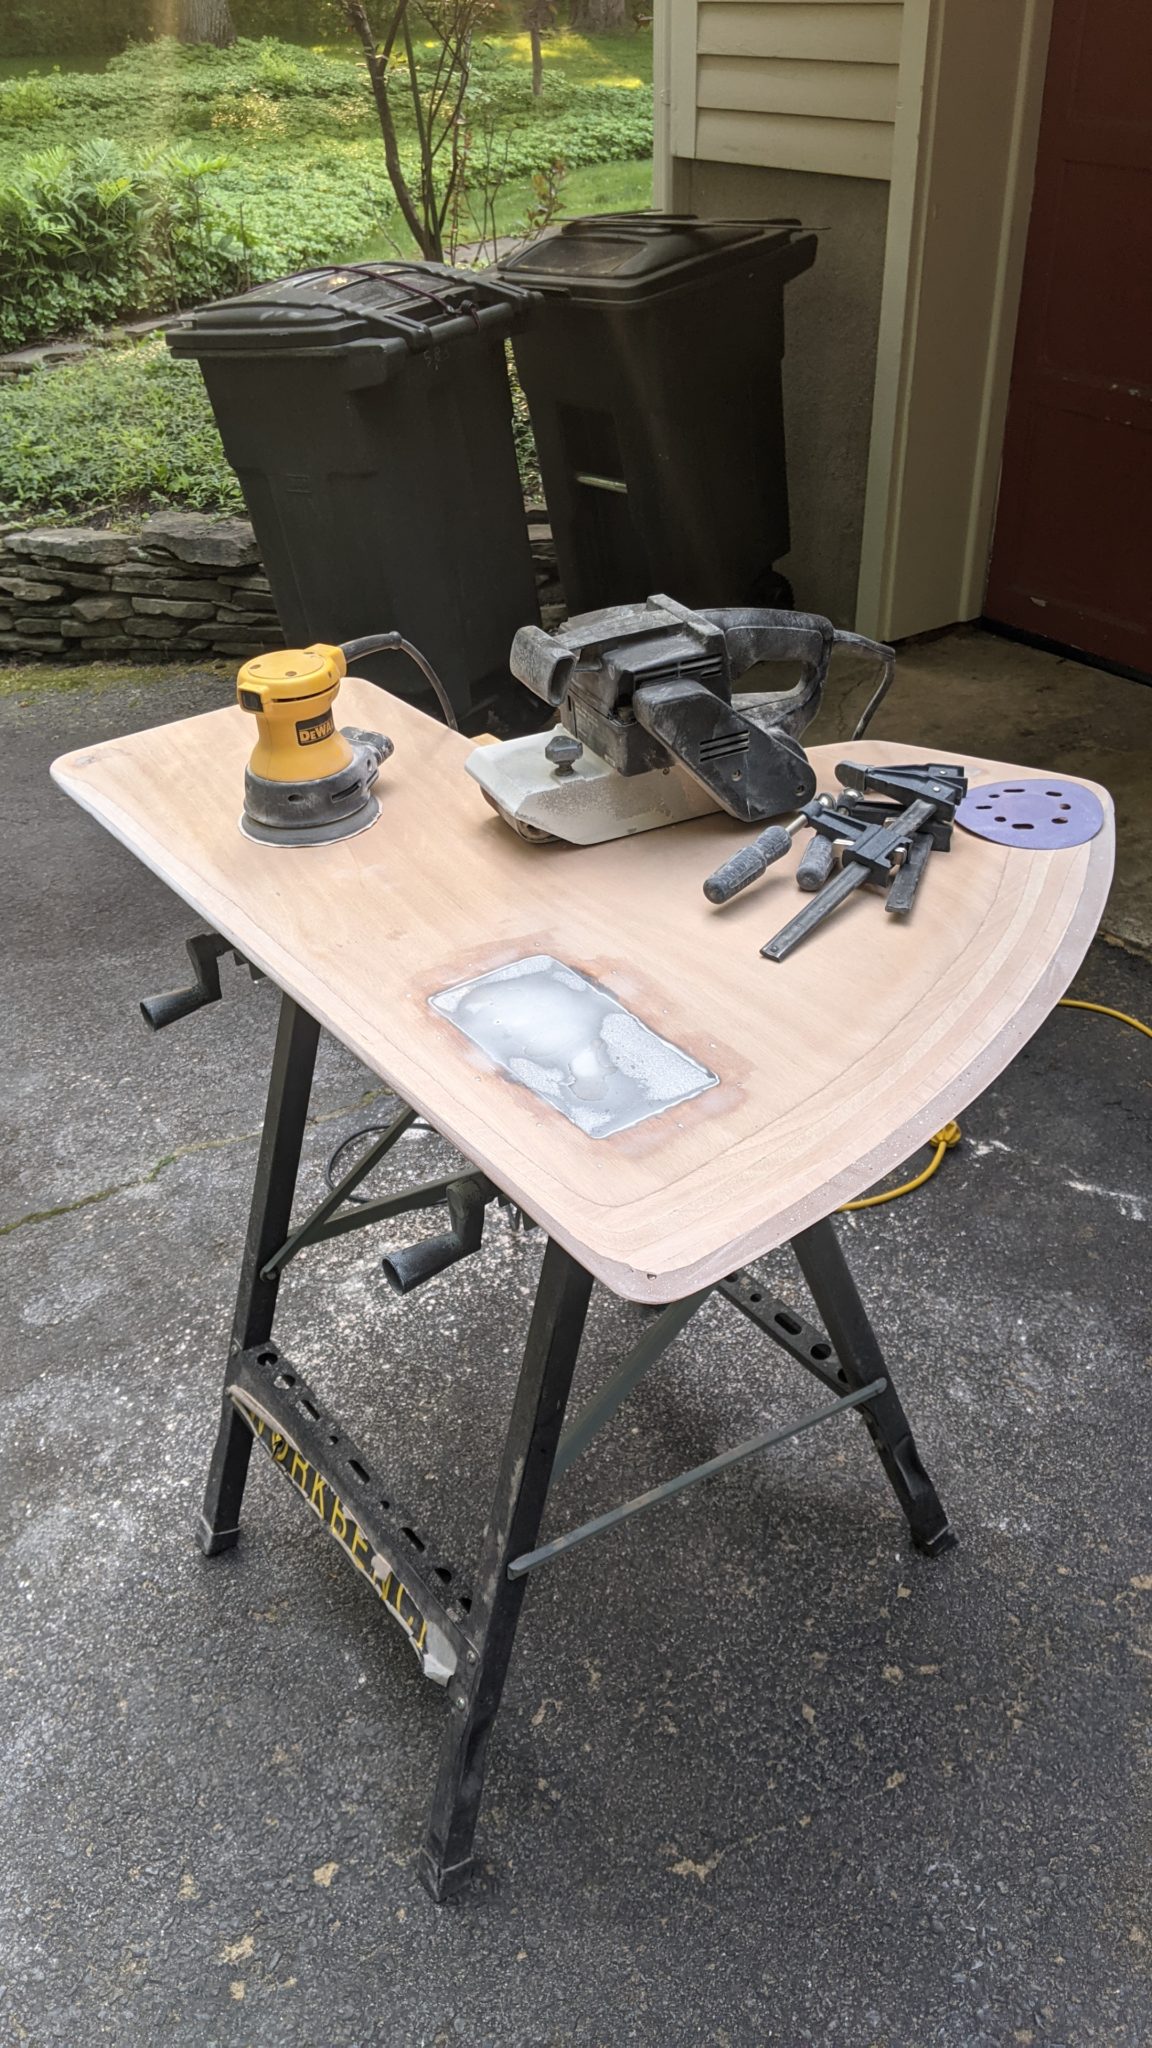
- Finally, the completed rails were planed and sanded smooth, and the ends were rounded.

