Category: Uncategorized


Lots of glassing on the interior
This took quite a while. There was a lot of area to cover.


Finishing up the cabin roof
I glassed the cabin roof and installed the cleats around the edge of the companionway.


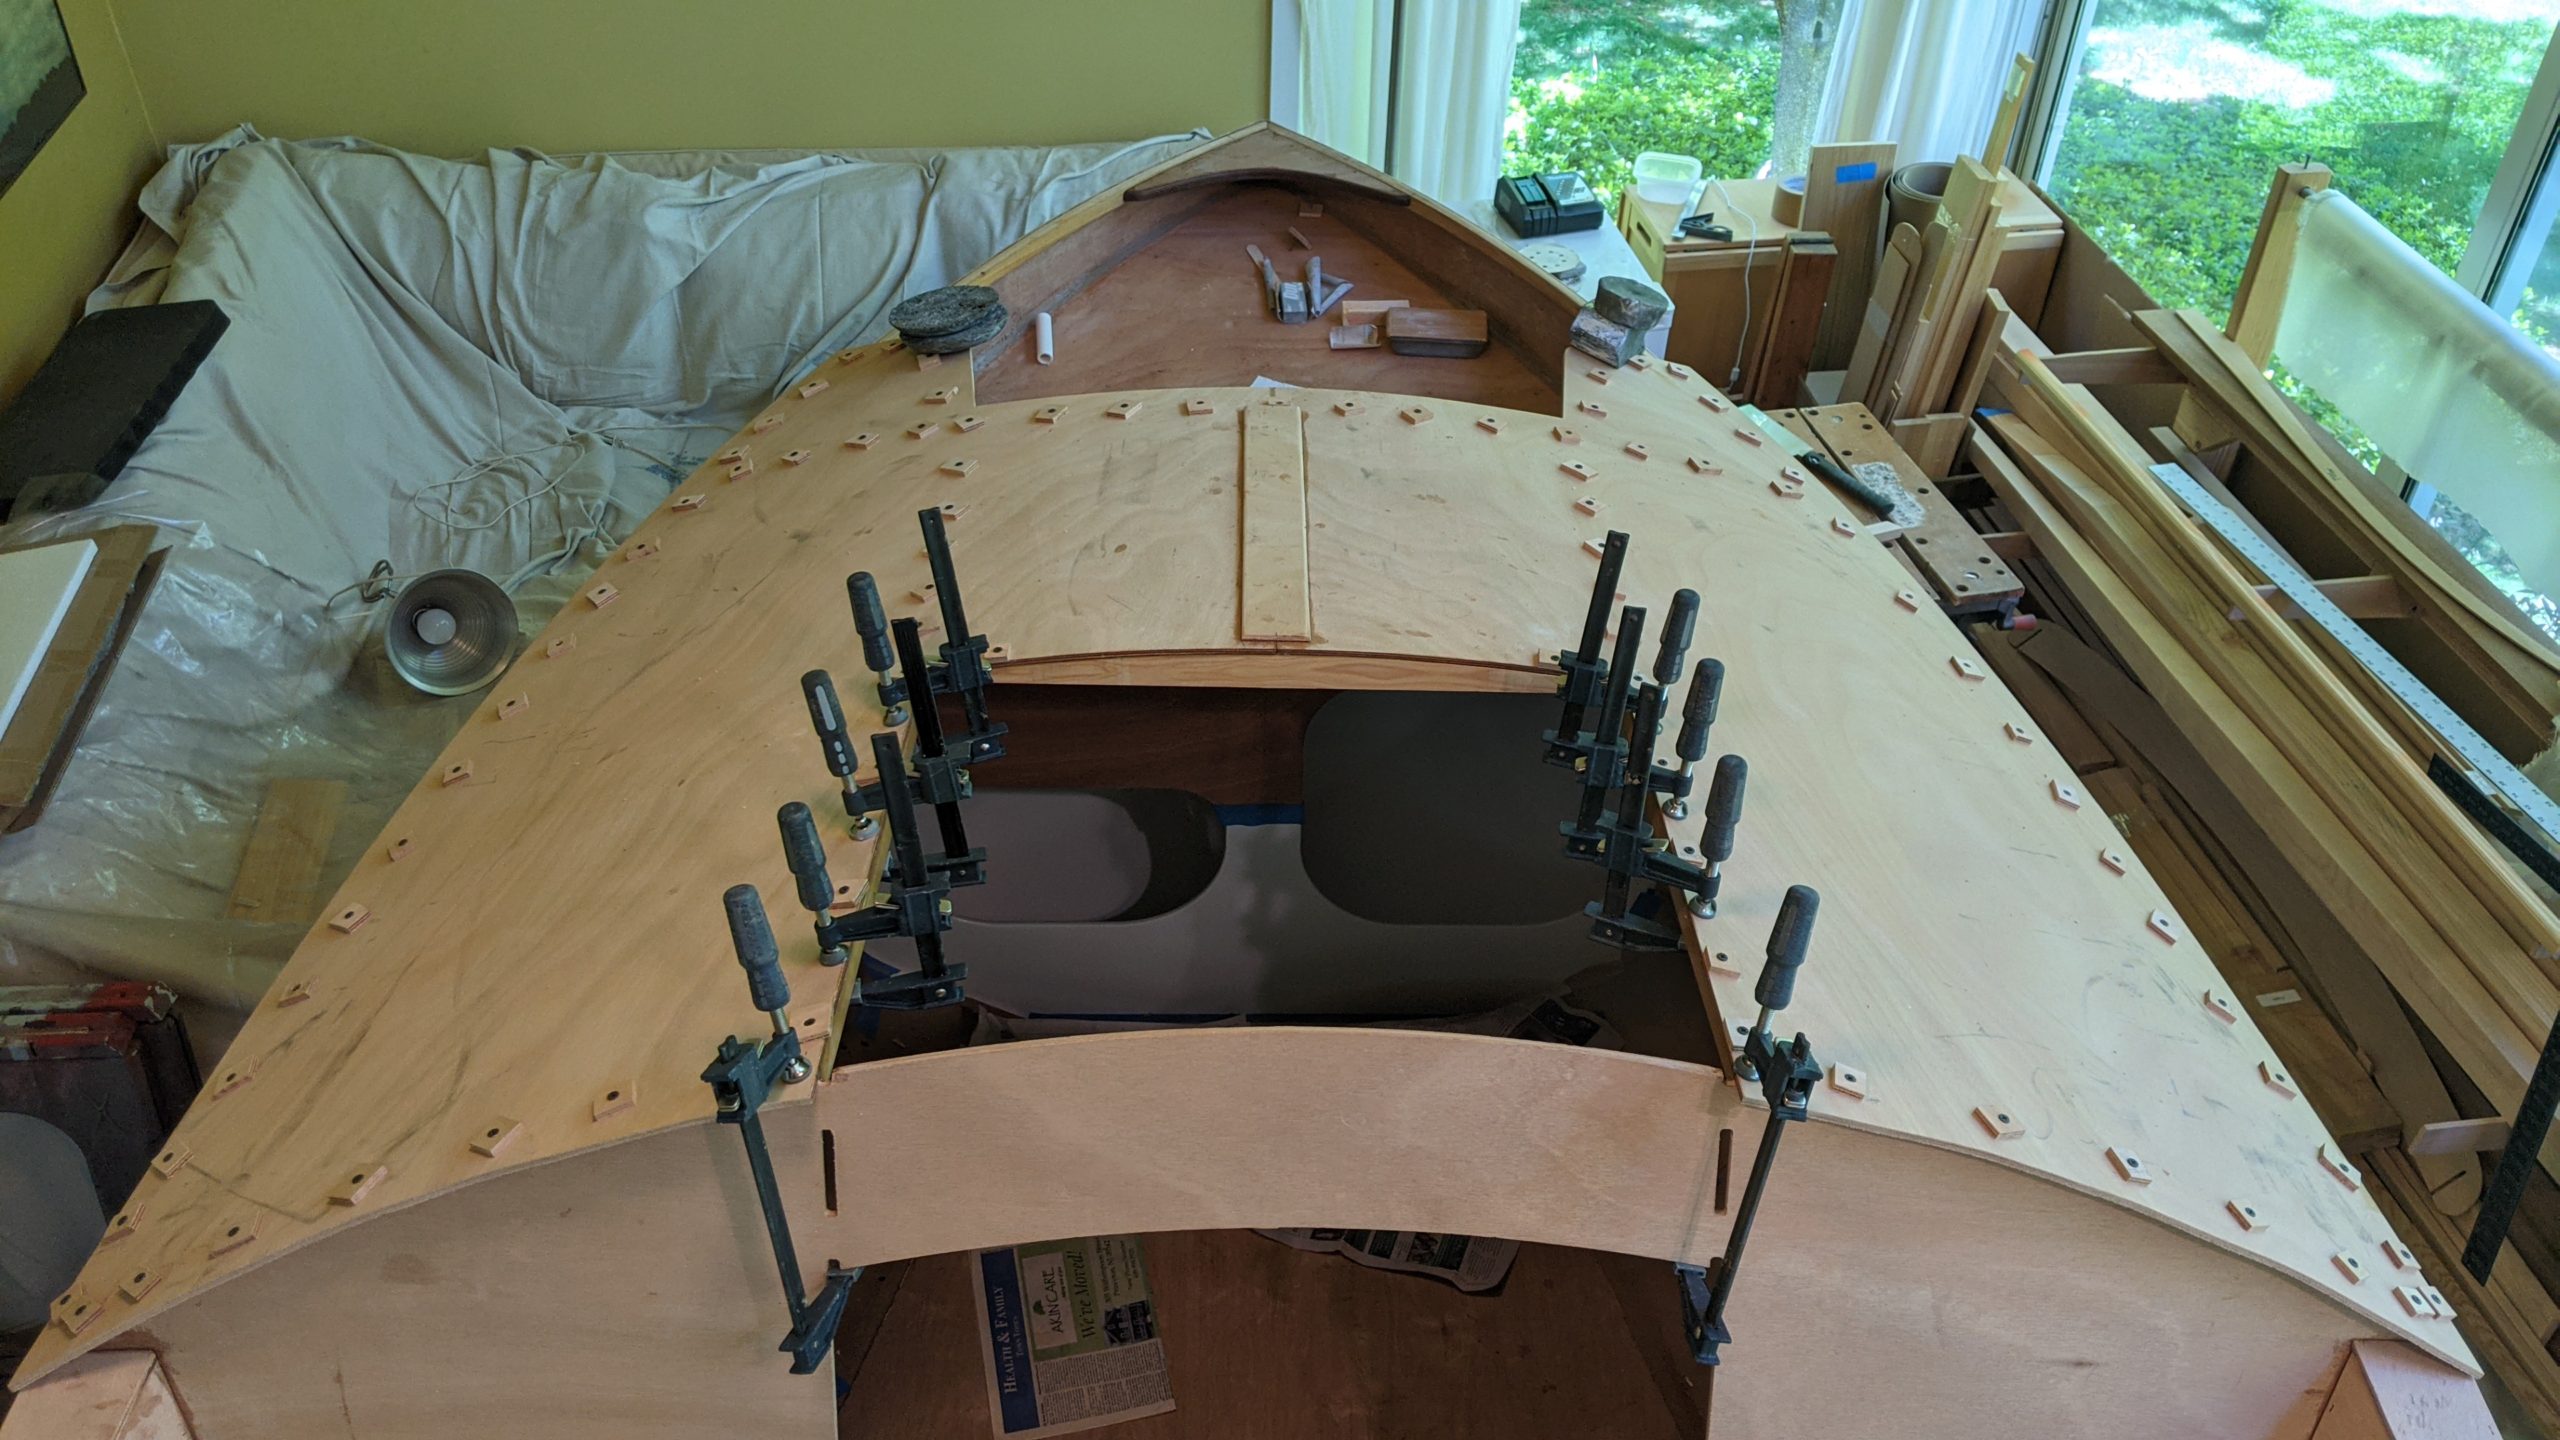
A major milestone: putting on the cabin roof
This went basically according to plan: I put 3 coats of epoxy on the underside of the two pieces, glued them together, and carefully checked its fit on the hull. I used lots of glue and temporary screws, working quickly to get it all done before the epoxy started setting up. Afterwards I used a router and a plane to trim off the excess.
This was the last major component to be added to the hull. The next steps are a lot of filleting on the cockpit, lots of sanding all over the upper hull, and glassing the entire cockpit and cabin roof.


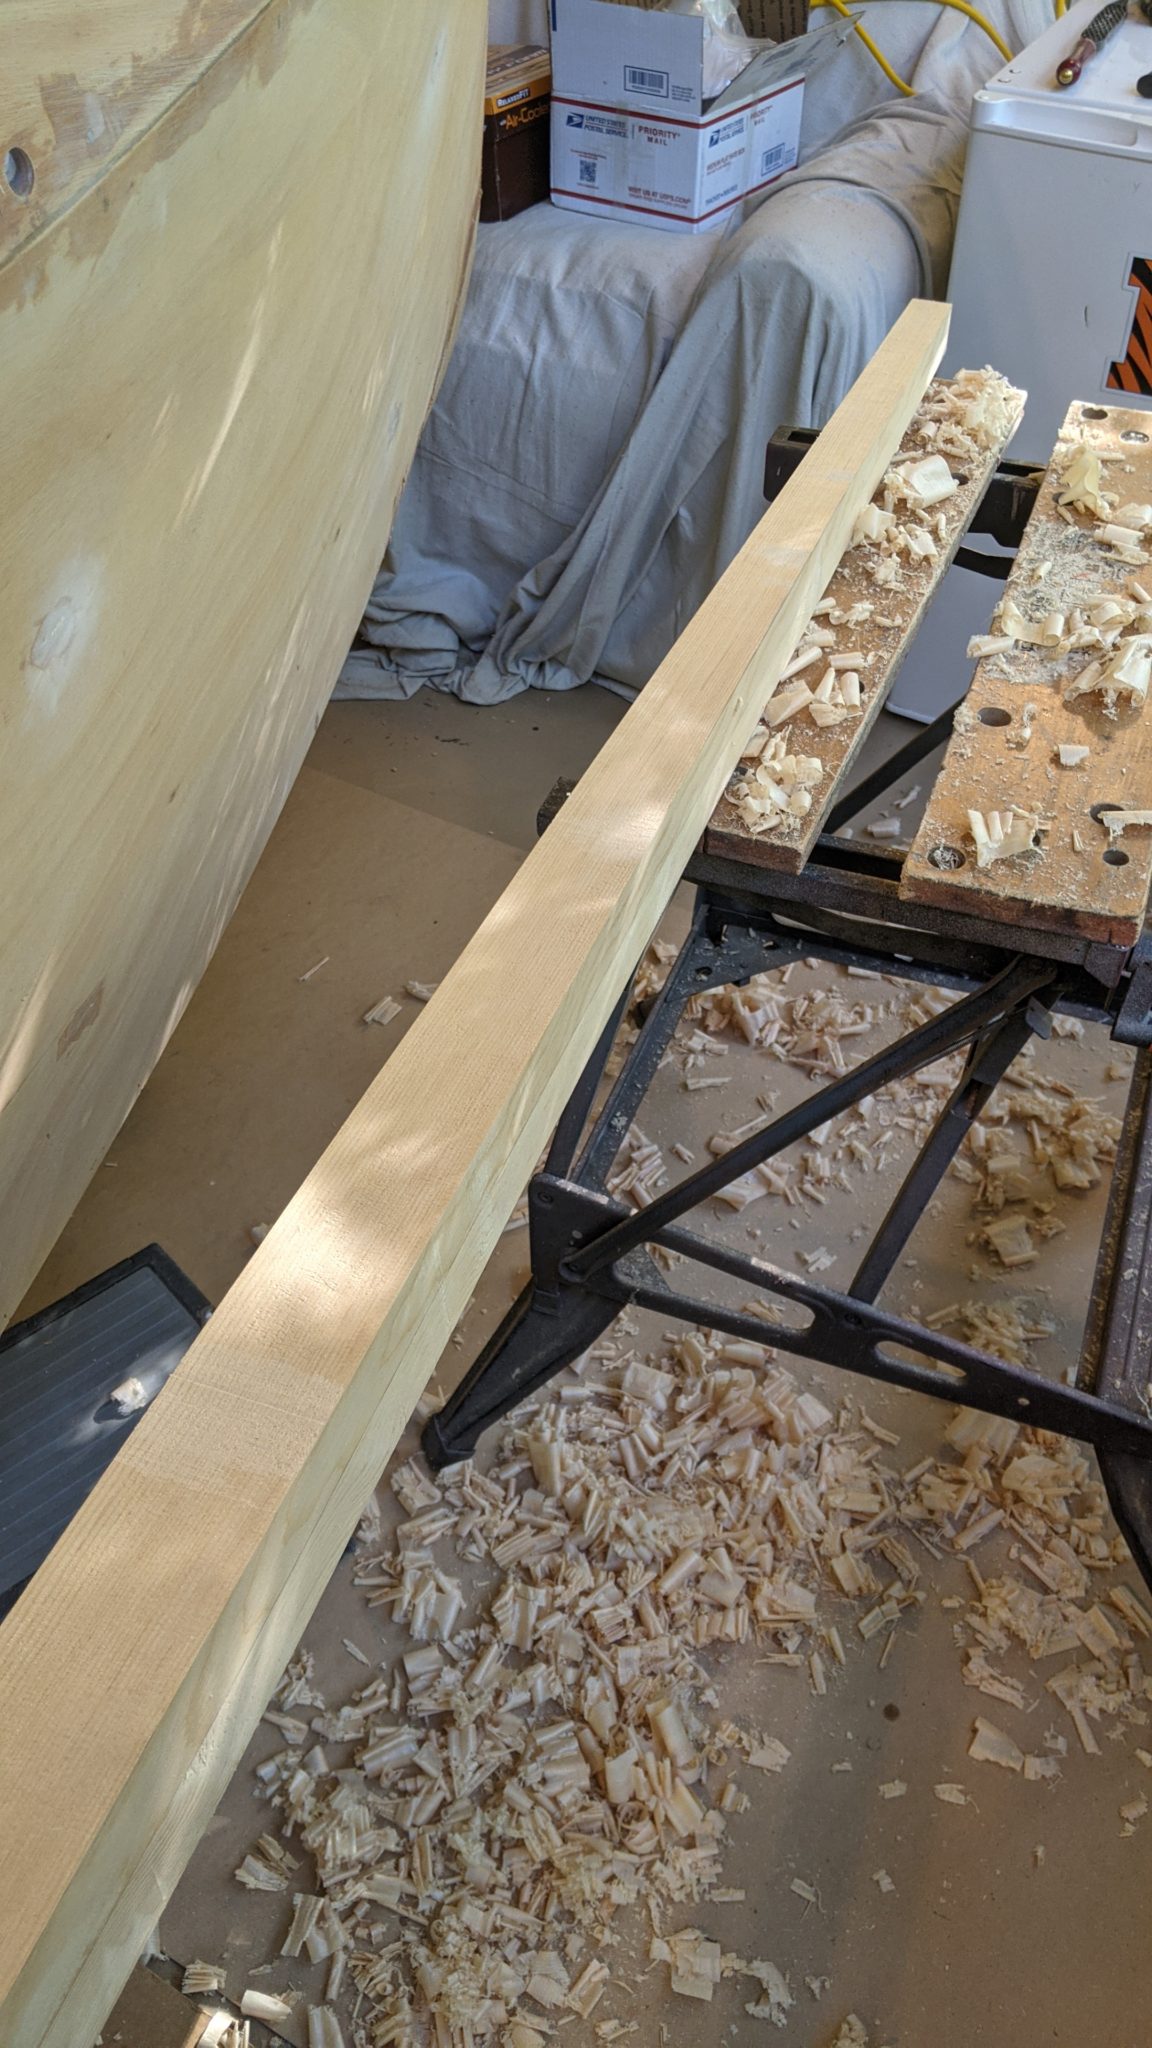
A brief diversion: cutting the bowsprit
I cut it with a bandsaw (which made a rather wavy cut), and got it flat with a plane.
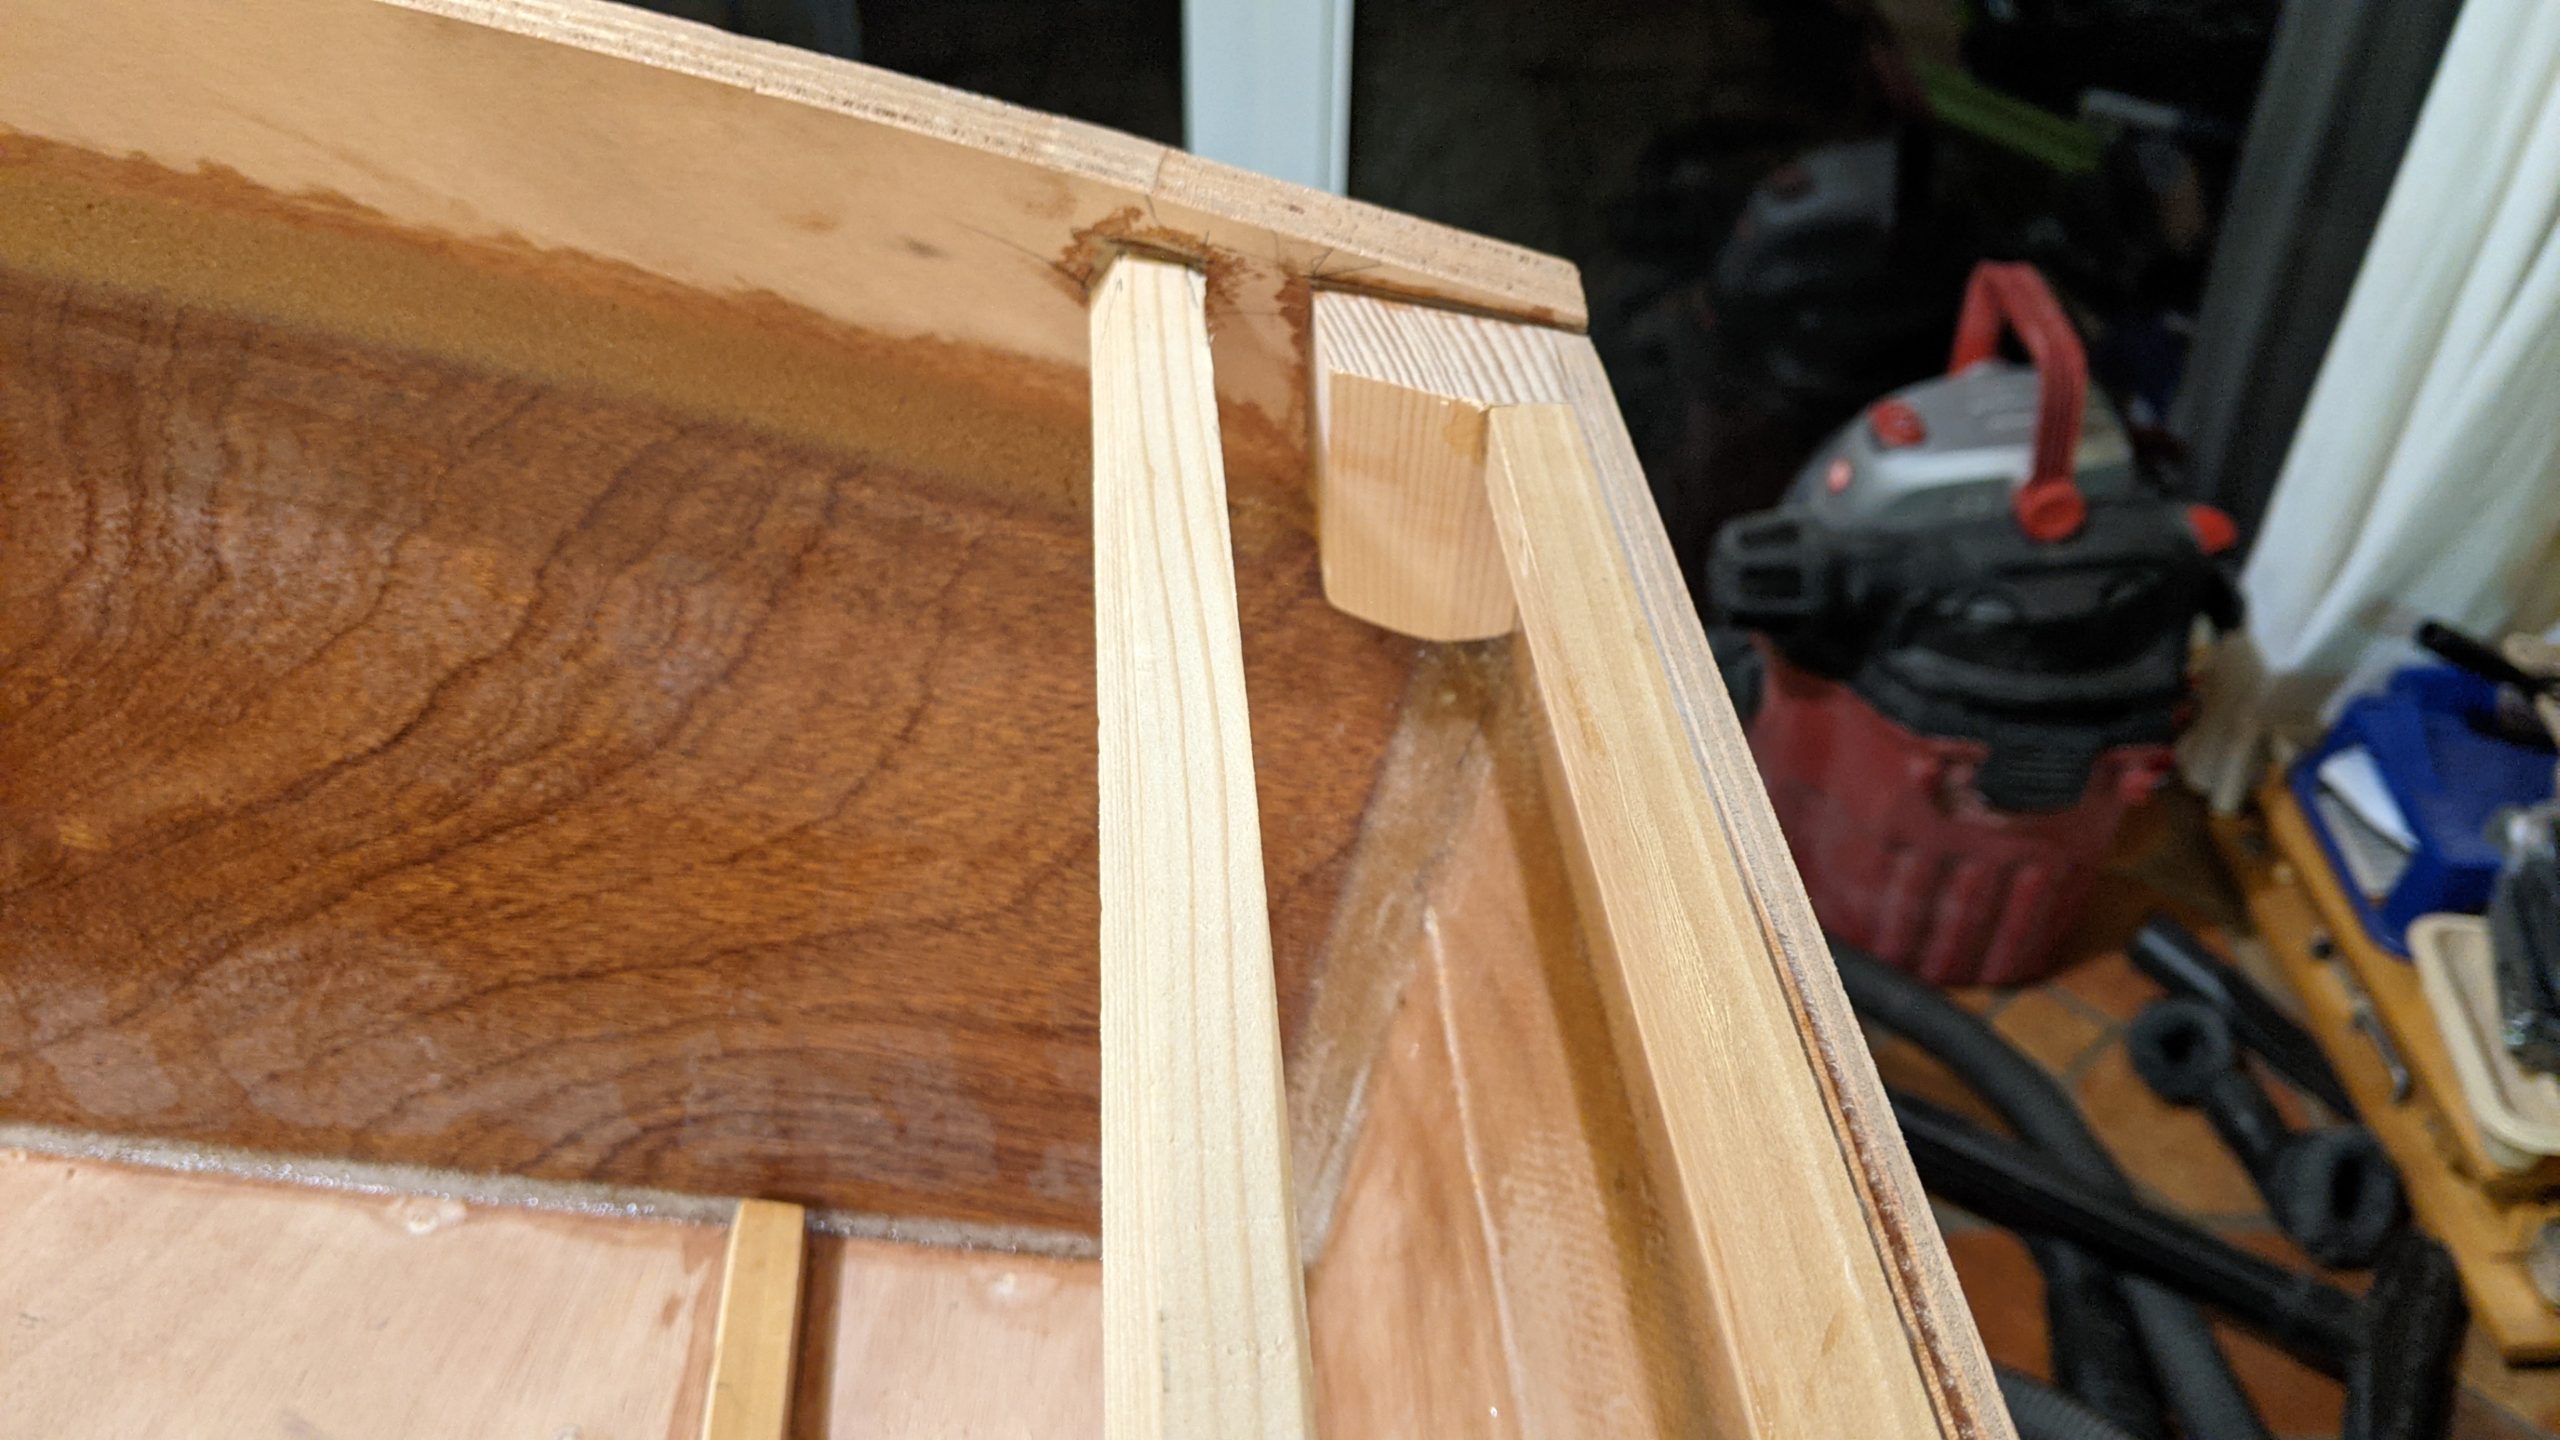
Attaching a lot of stuff to the front of the boat
I installed the dorade boxes and their reinforcing blocks and cleats. Then I cut and installed the curved cleats on the front and rear cabin walls.. Finally, I installed the breasthook. All these pieces needed some routing and sanding, and three coats of epoxy.


Bending and clamping strips of wood
I finally glued in place the front sheerclamps. which I had steam-bent a couple of weeks previously. I also installed the transom skirt cap pieces. Both of these jobs required a lot of clamps!


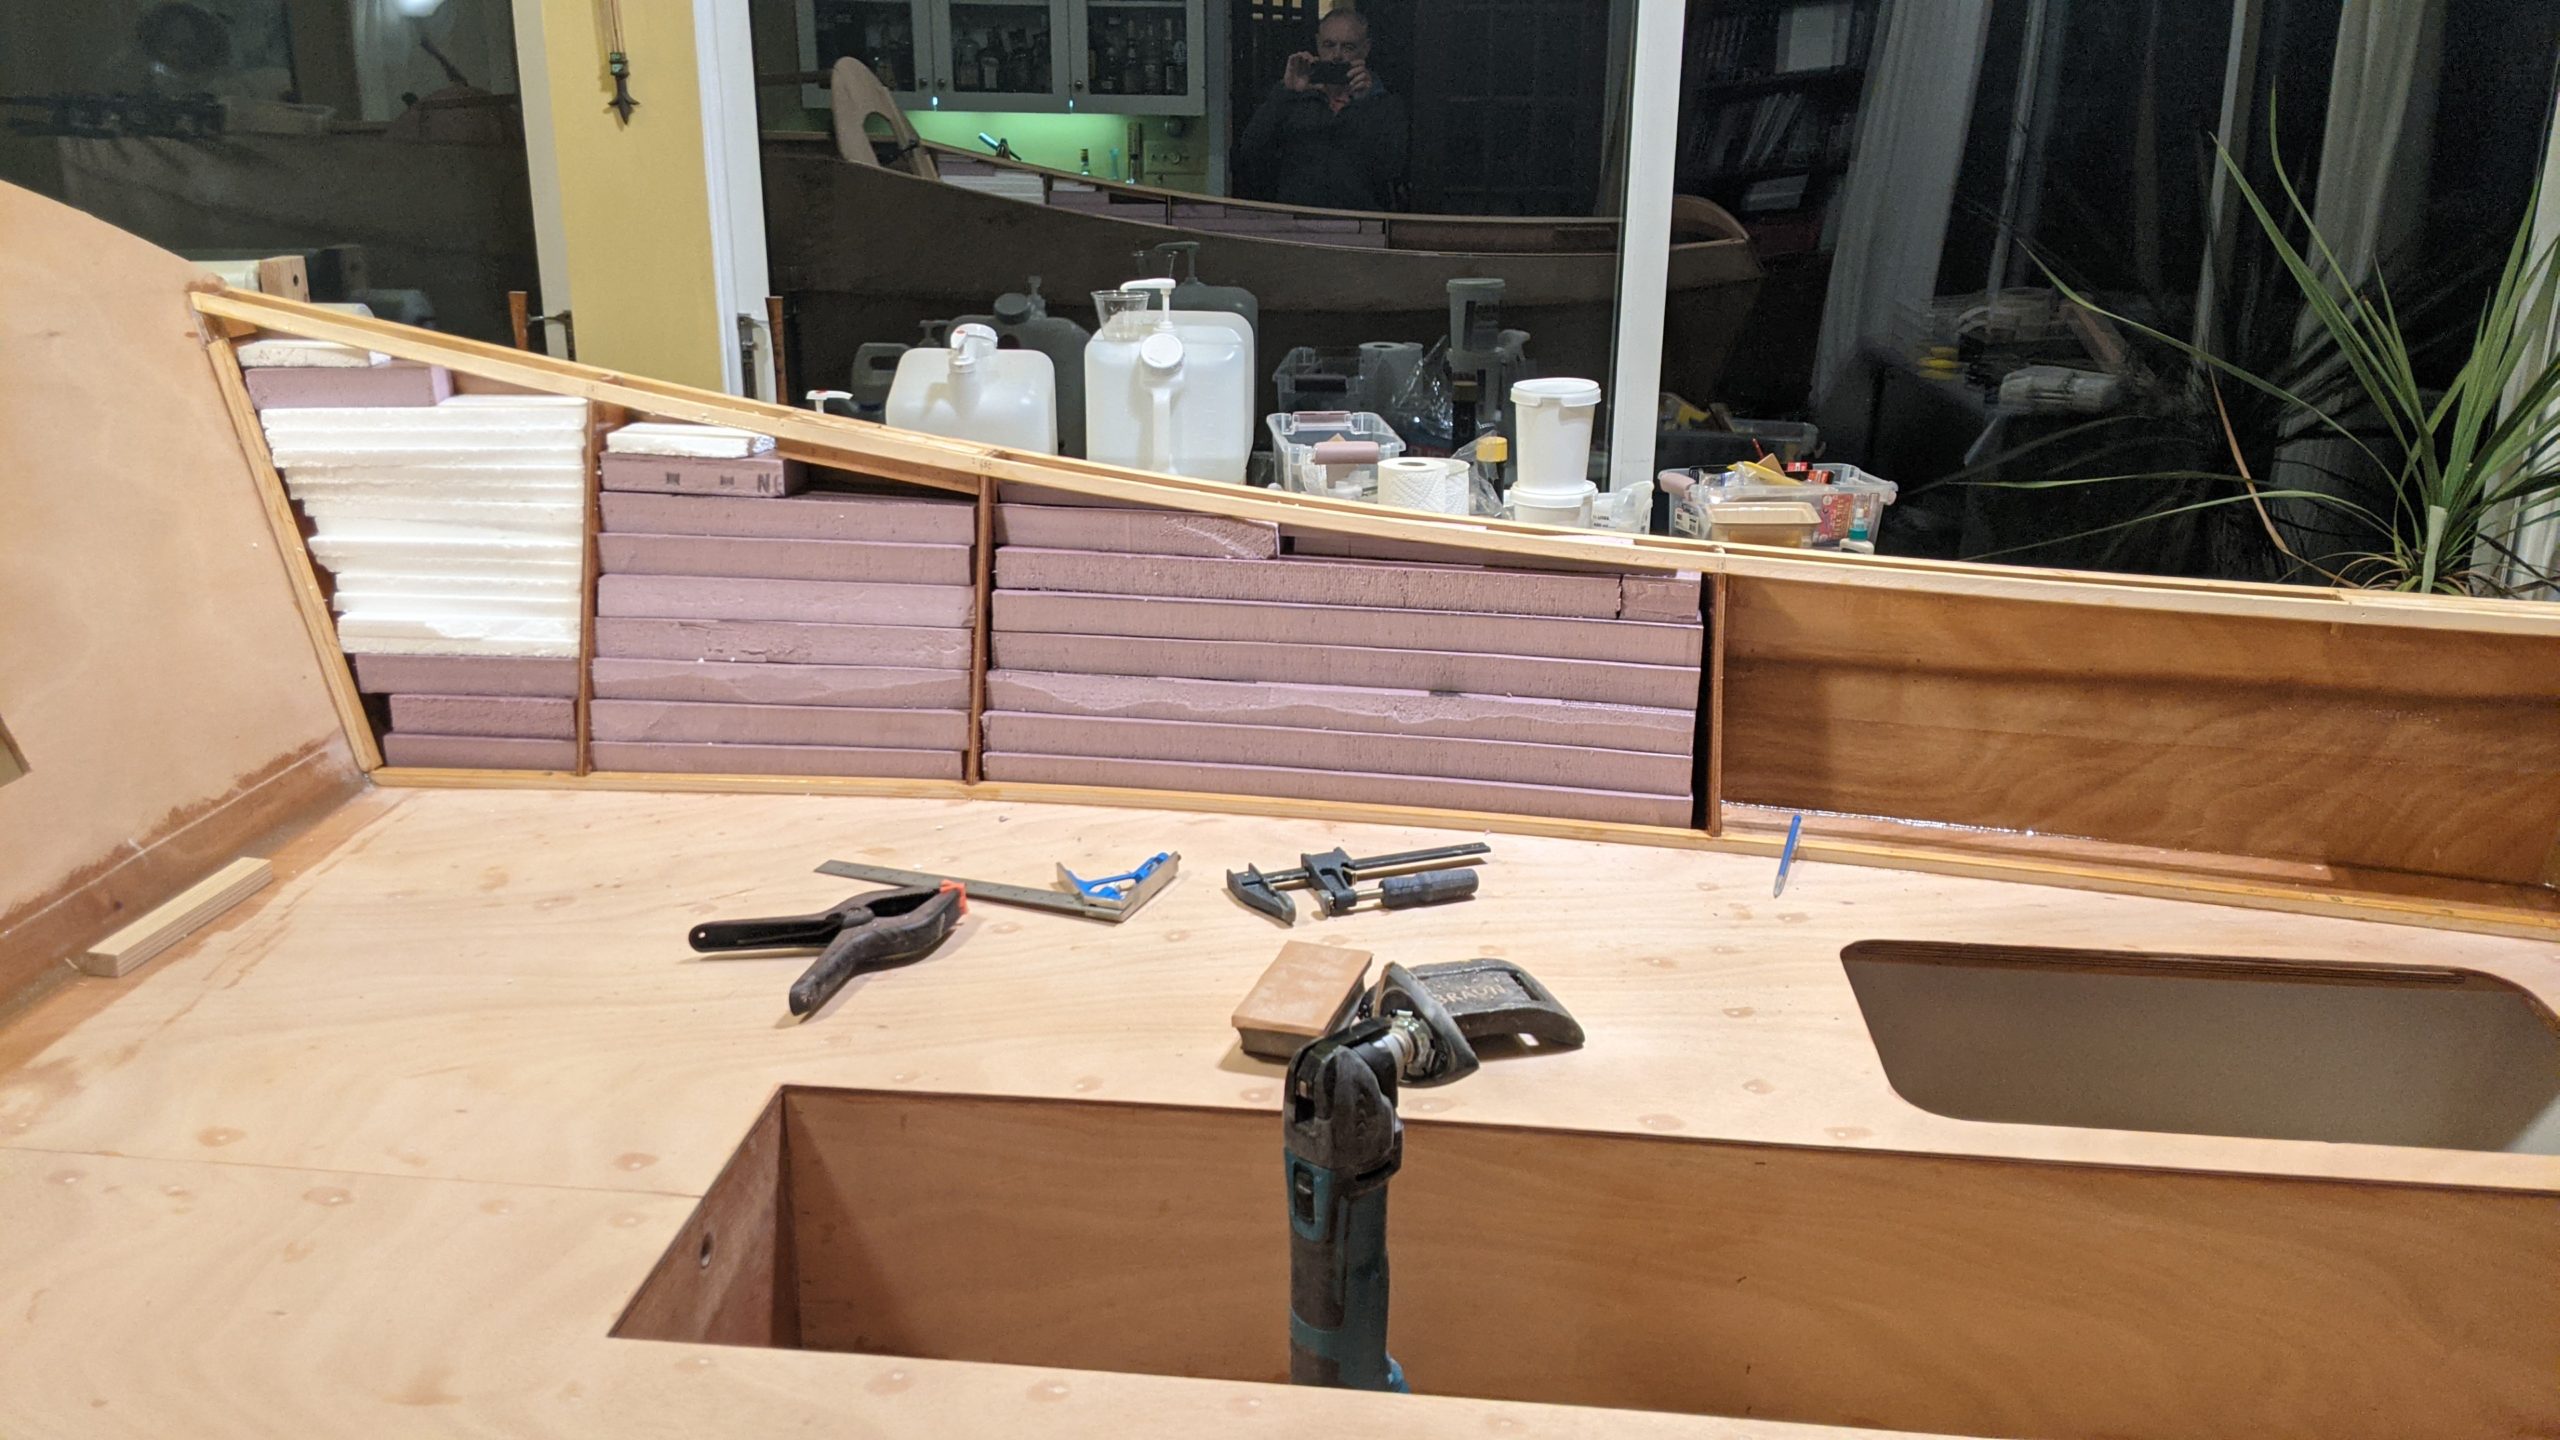
Finishing the seatbacks
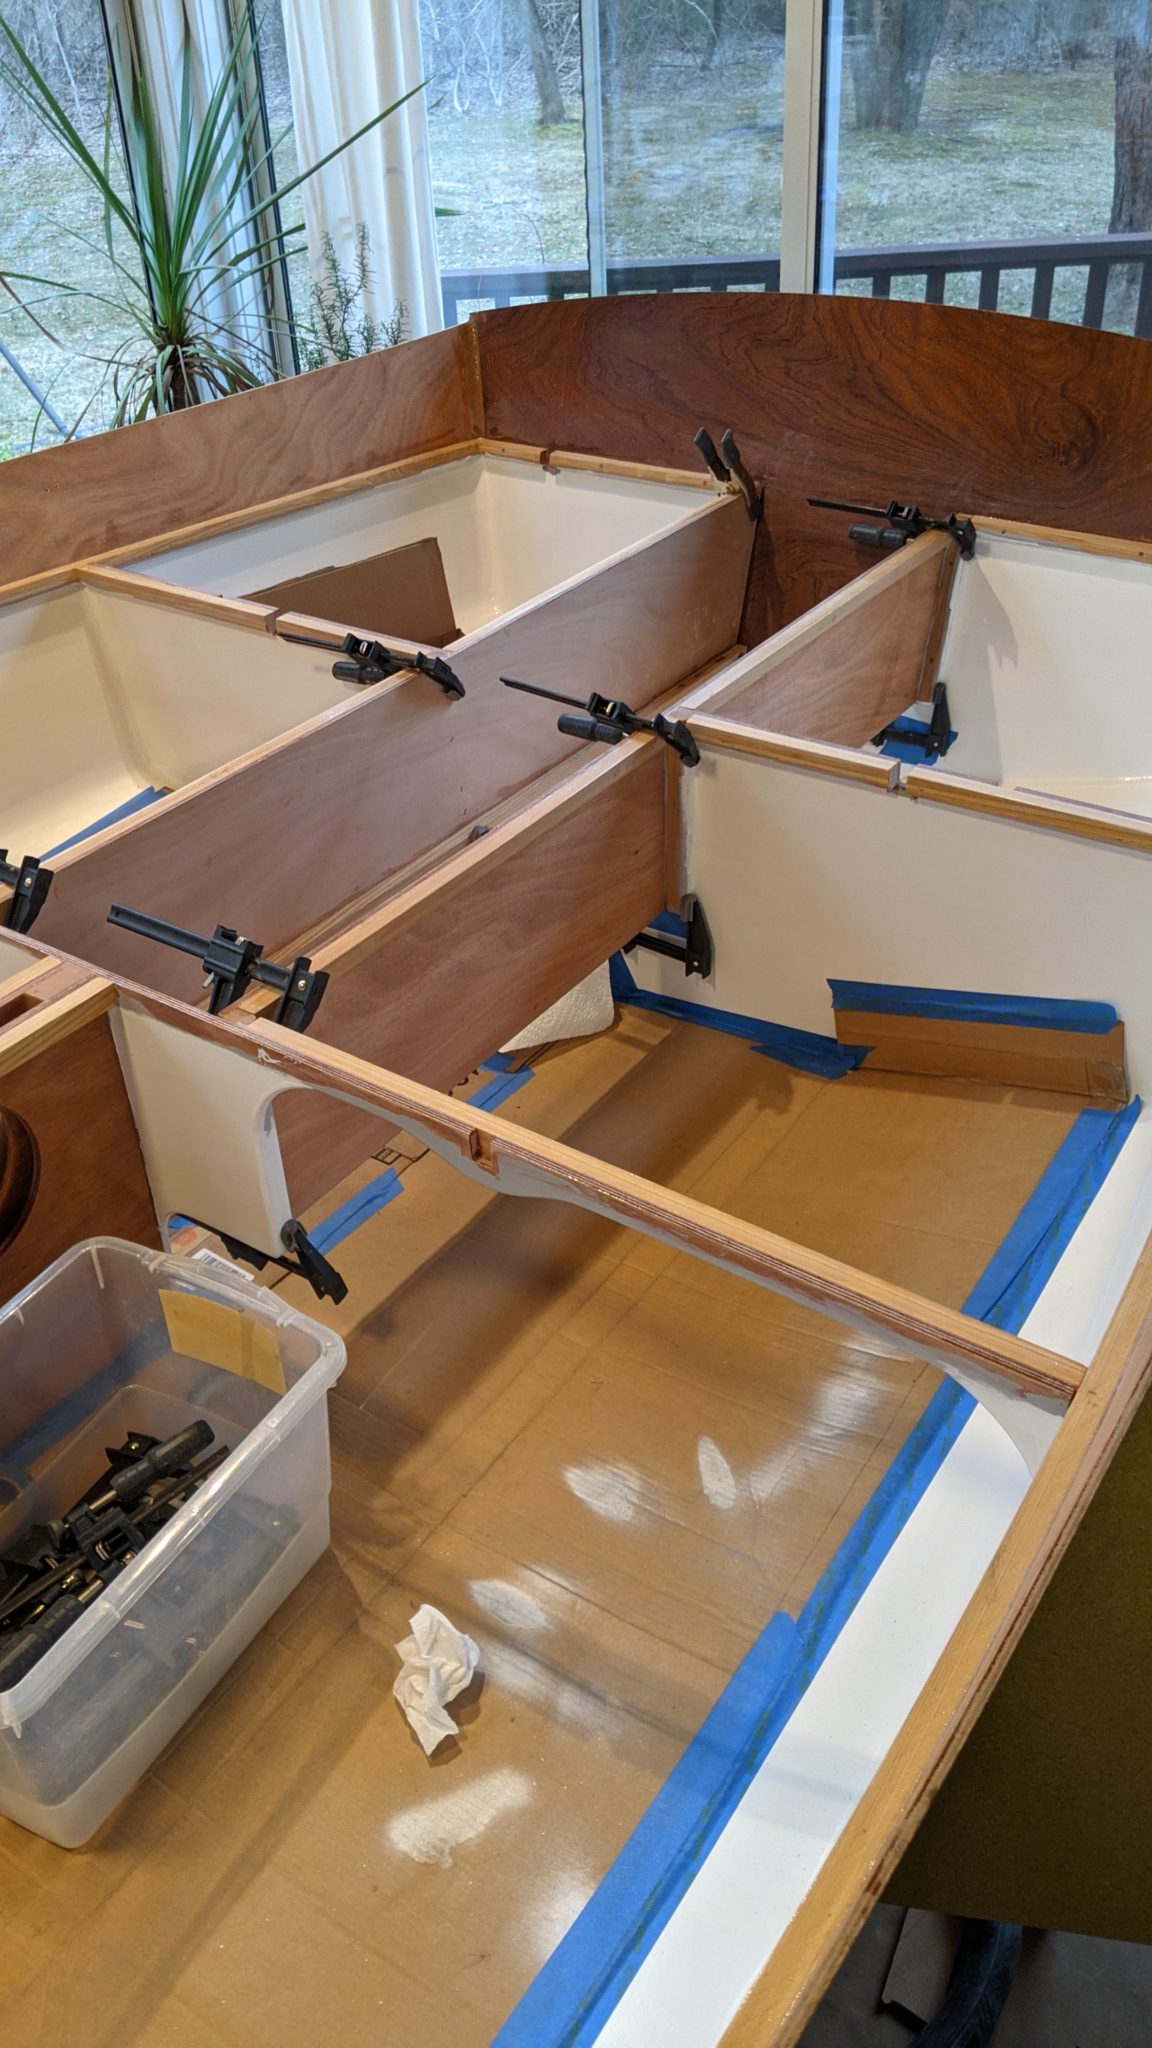
I cut lots of pieces of styrofoam insulation and put them in the buoyancy chambers. I also primed and painted the storage compartments at the rear. Next I glued the seatback panels into place. They are held in place with clamps, stainless-steel pneumatic brads, and a couple of weights. The last step was to glue down the top pieces.


The current state of things

The transom skirt, and steam-bending
I installed the transom skirt:

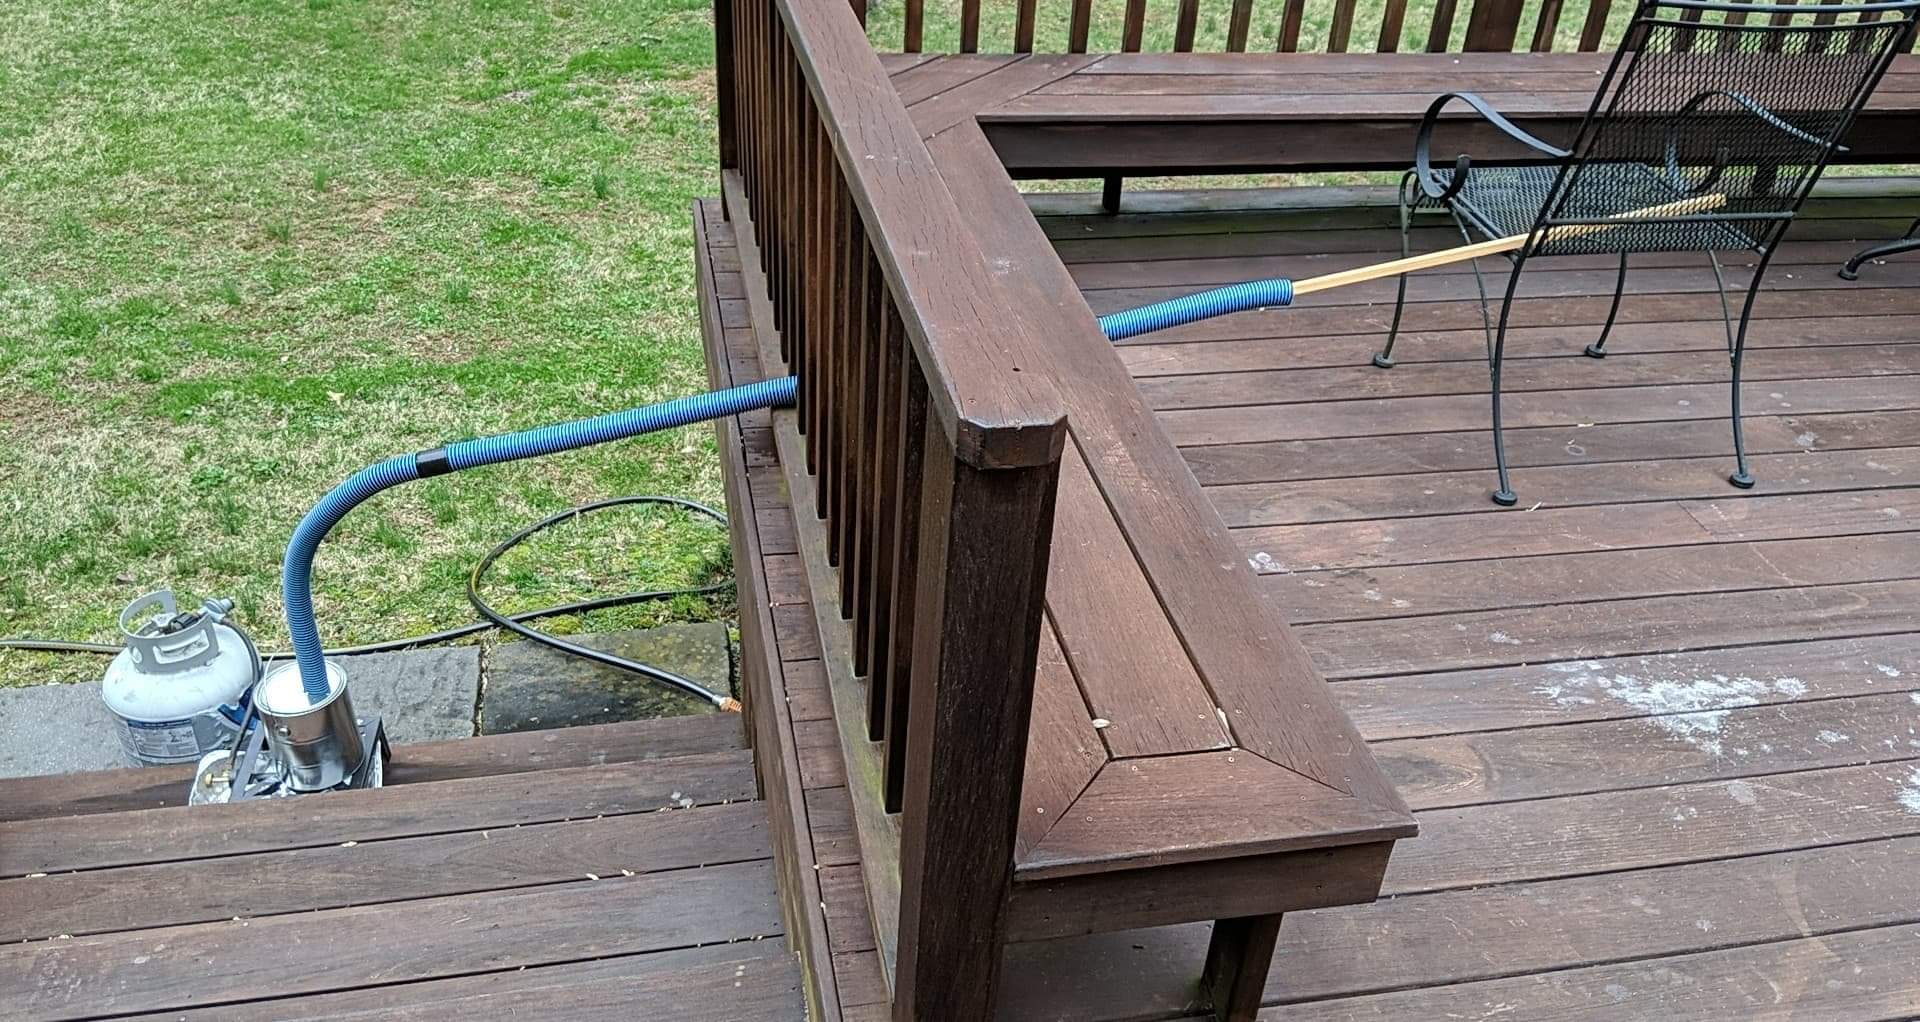
I decided that the forward sheerclamps were too stiff to successfully bend into place, so I decided to steam them first. I made a minimalist steam box from an empty paint can and seven feet of “spa vacuum hose” from Lowe’s. For a heat source, I naturally used the same LP gas burner I got for the lead-melting. After an hour of steaming, each sheerclamp bent easily, and I clamped them to the outside of the hull to dry out for a few days.

Zipping right along on the upper hull!
I did a bunch of filleting, and applied fiberglass tape to the side seams. I also started installing the parts for the seatbacks.


Installing the upper hull pieces


Installing the footwell and main deck
Installing the footwell 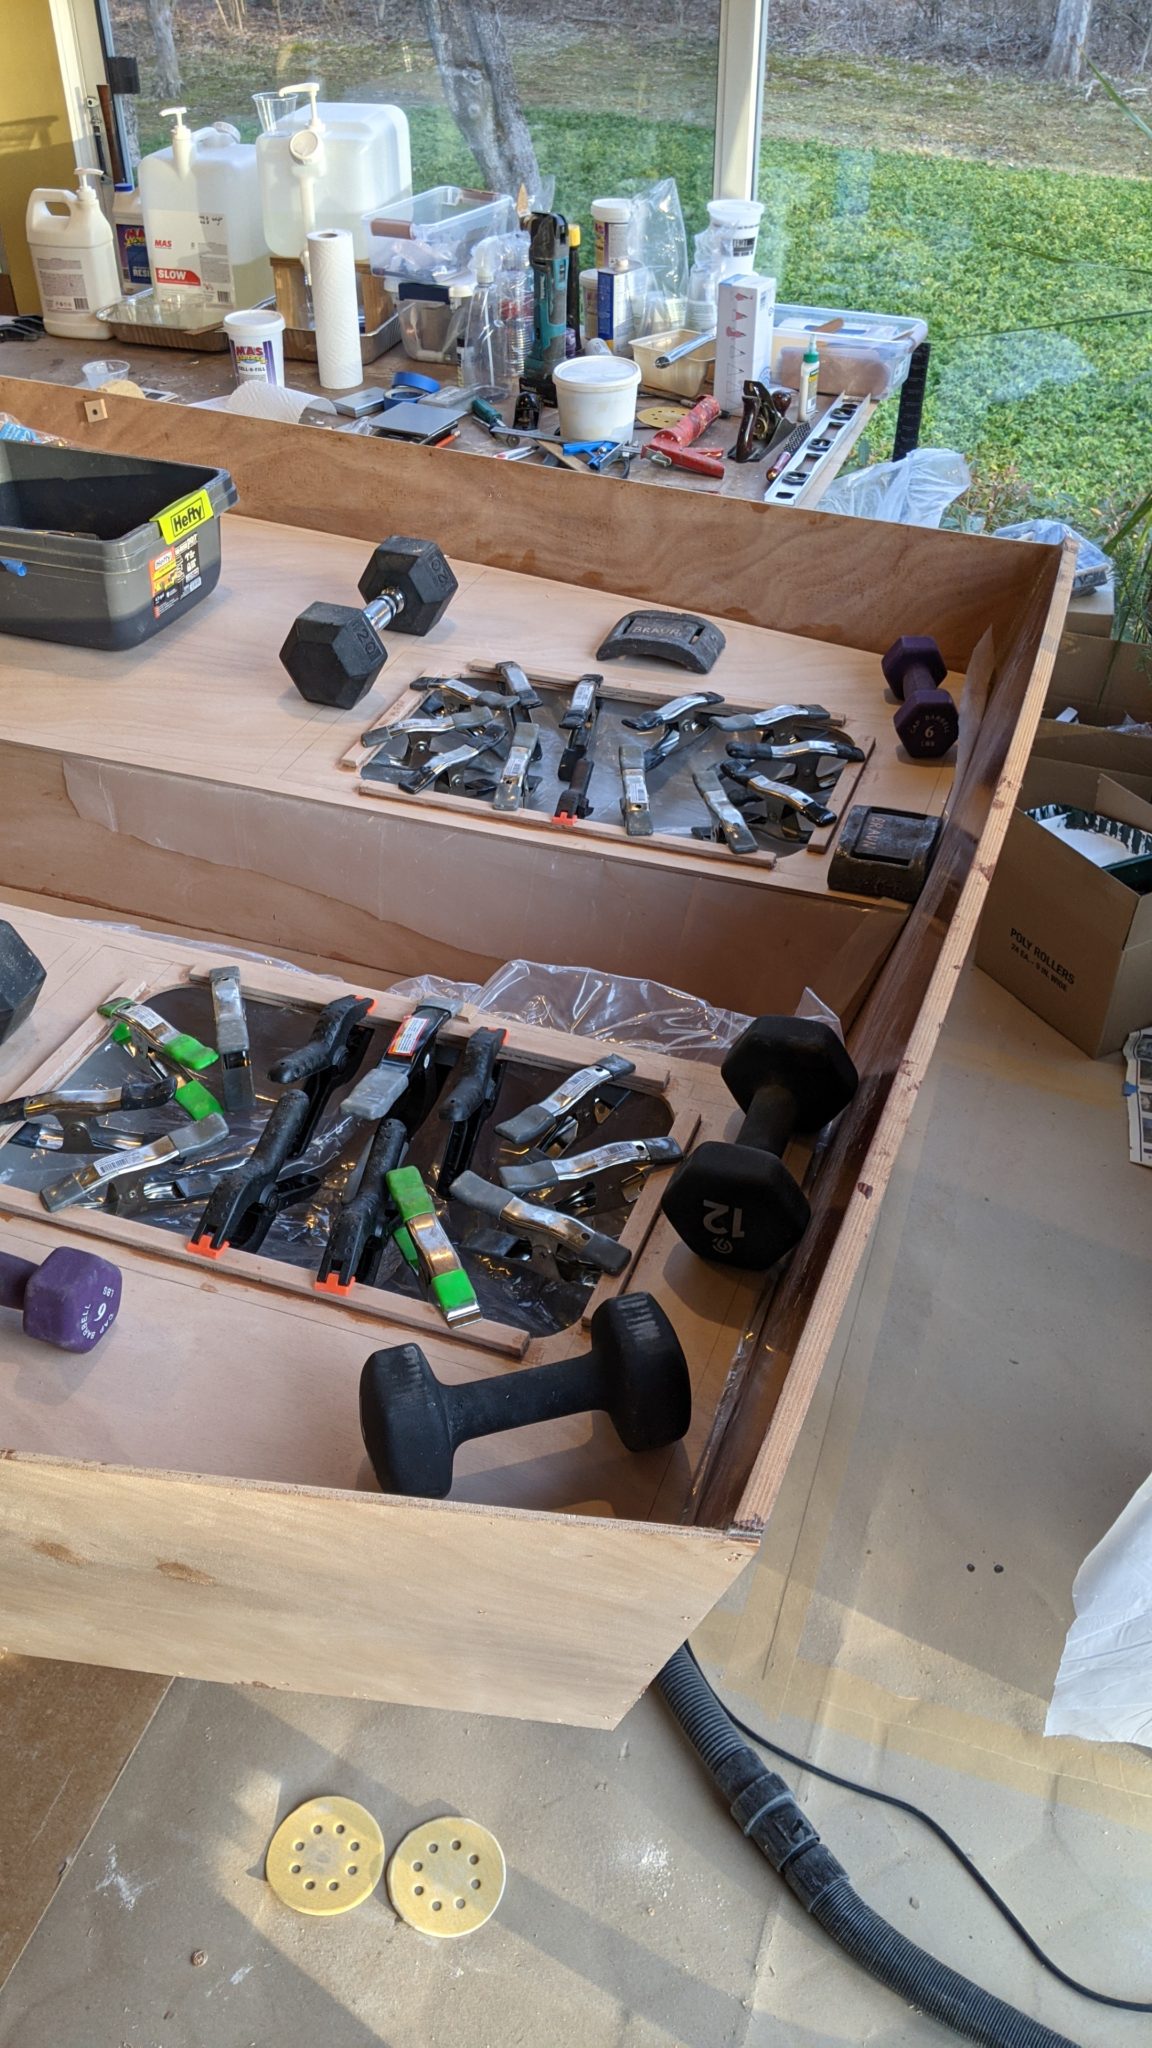
Gluing on backing strips for the lazarette hatch mounting screws (the deck pieces are temporarily upside-down) 
Gluing down one half of the deck 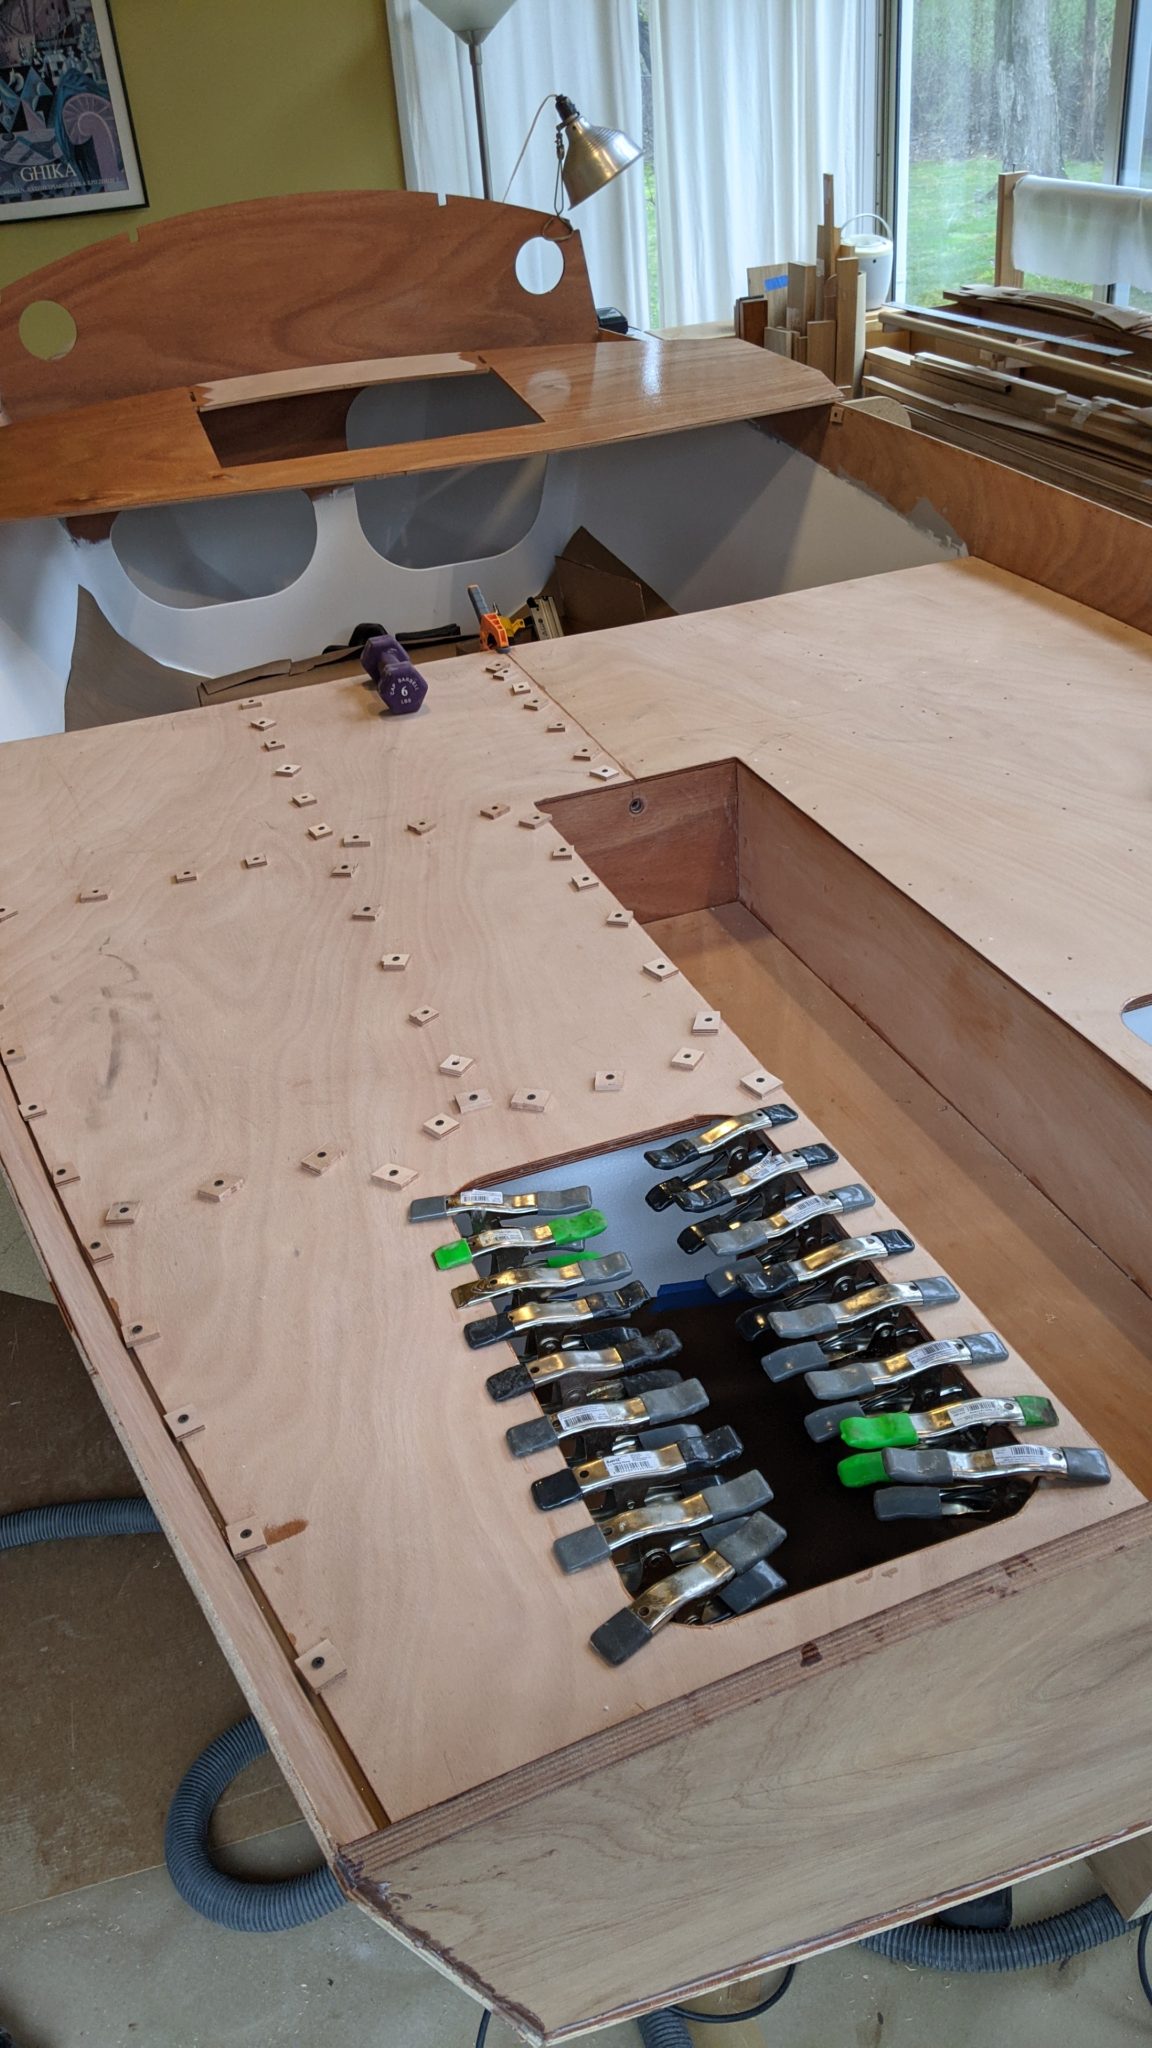
And the other half!


Below is a shot of the centerboard pendant sheave, safely tucked away in the trunk. I 3D-printed the spacers on either side of the sheave.

Floorboards all done!
Actually, I still need to finish the removable sections, but that will happen much later. Now I have to cover them up to continue working on the hull.

Finishing and installing the floorboards
I have been finishing the floorboards with Danish Oil. It is slow work. Because the stuff is stinky I have to work in the cold garage, so the Oil needs a long time to dry. So far about half of the floorboards are installed, and the rest need one more coat of Danish Oil.
I also finished the centerboard trunk with several coats of clear water-based polyurethane. People will be able to look at it and know for sure that this is a wooden boat!
