I have been finishing the floorboards with Danish Oil. It is slow work. Because the stuff is stinky I have to work in the cold garage, so the Oil needs a long time to dry. So far about half of the floorboards are installed, and the rest need one more coat of Danish Oil.
I also finished the centerboard trunk with several coats of clear water-based polyurethane. People will be able to look at it and know for sure that this is a wooden boat!
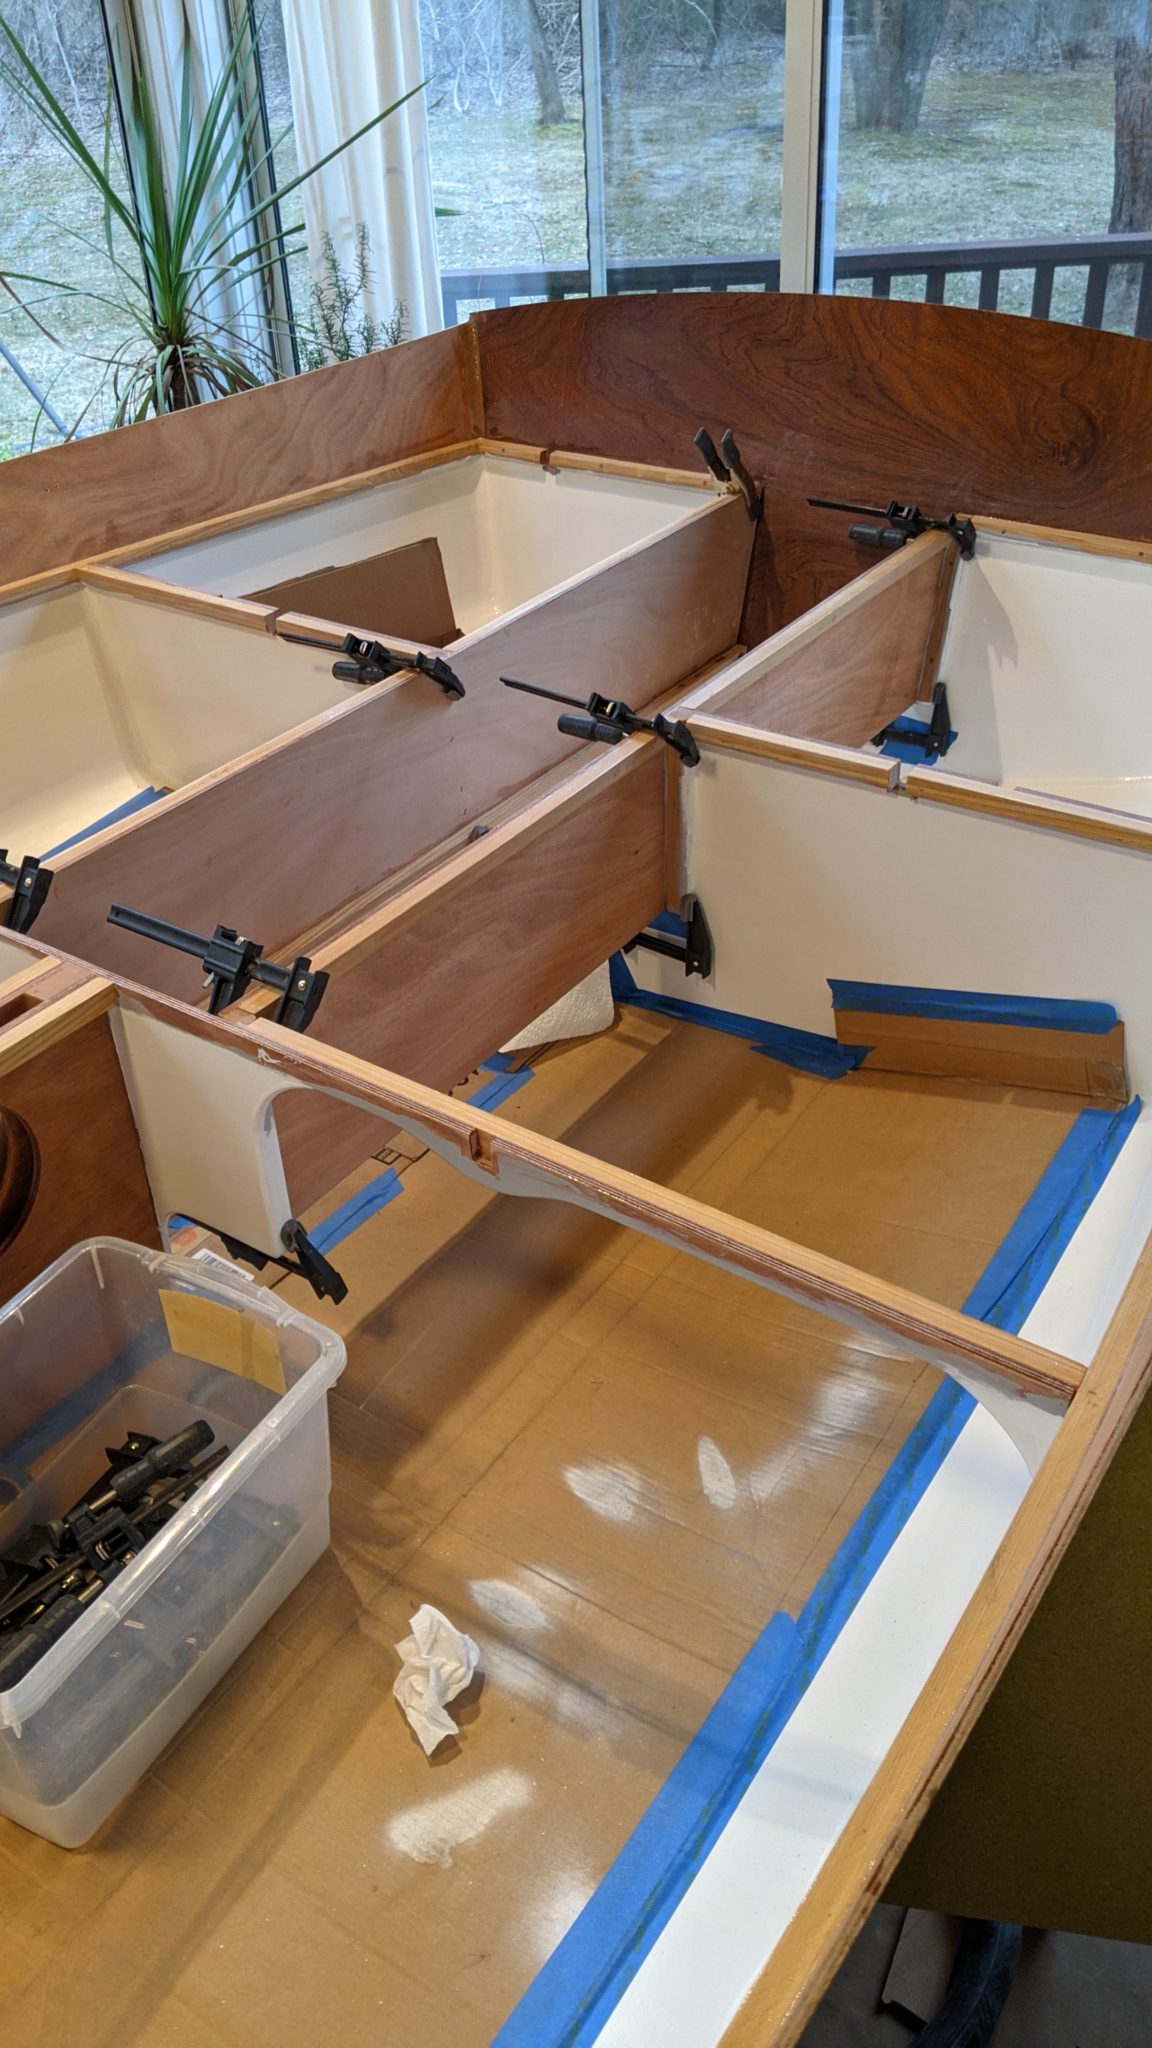
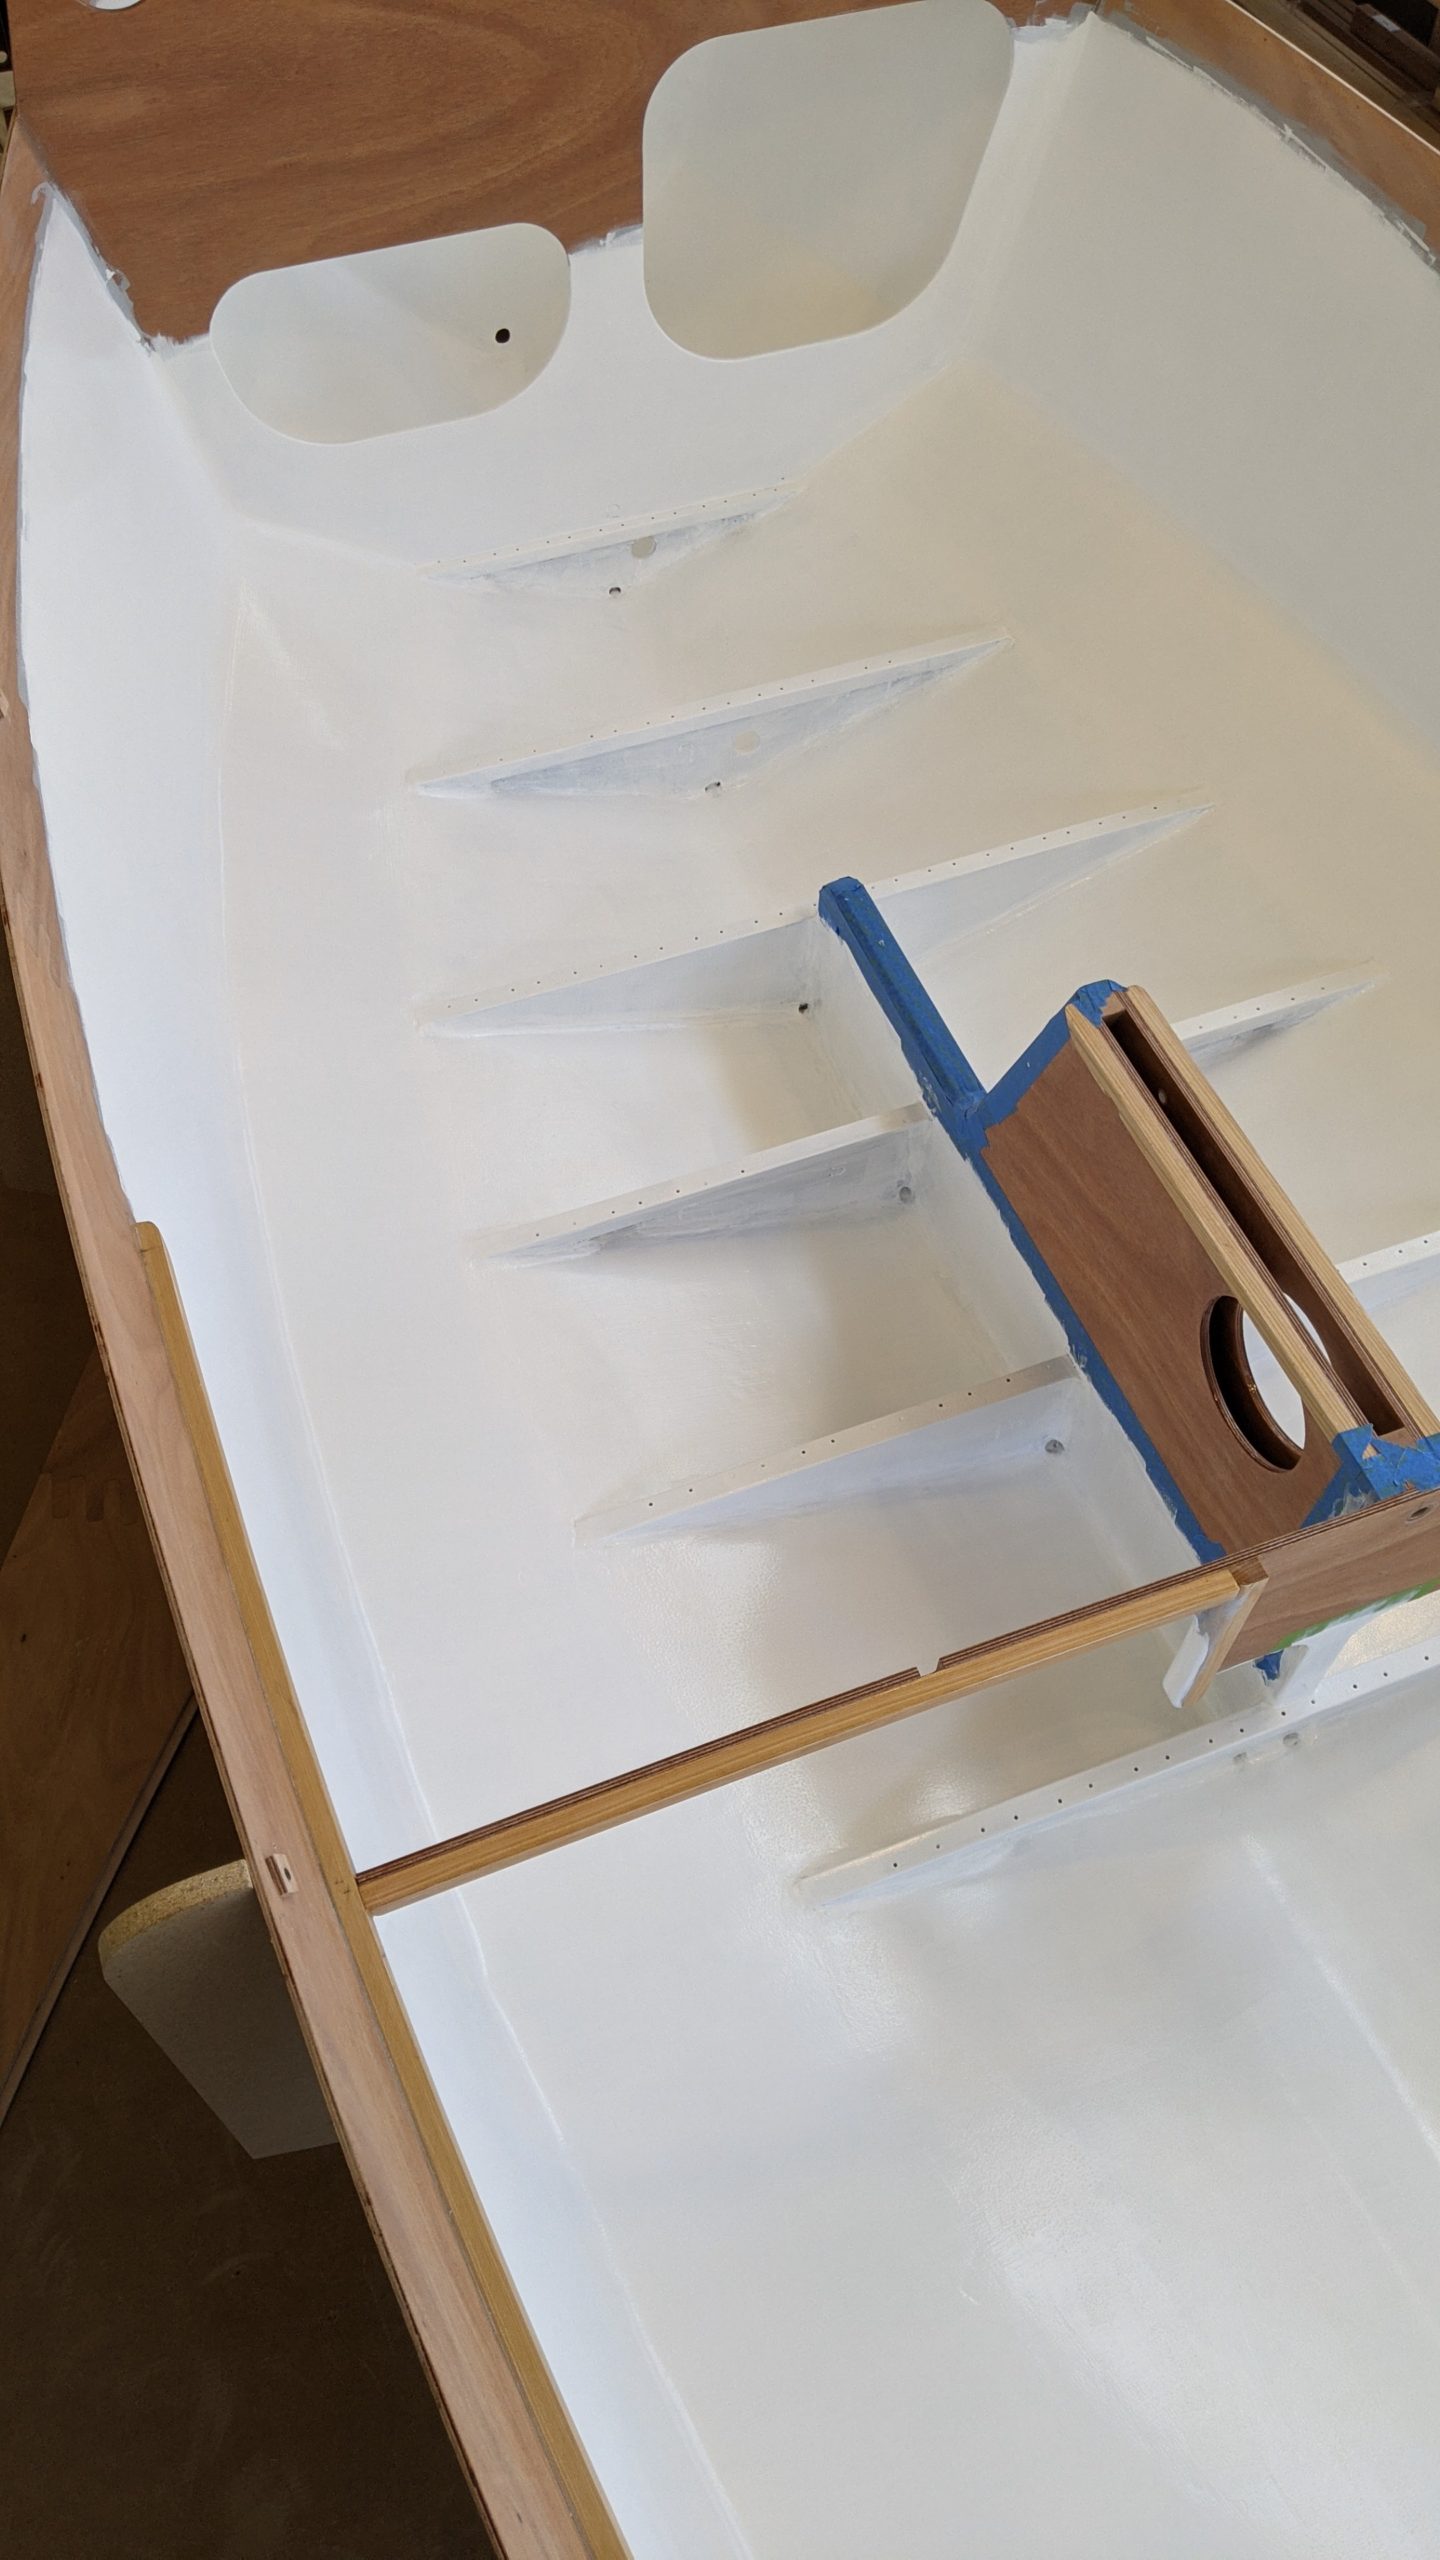
To avoid poisoning everybody in the house, I used water-based paints from System Three: their epoxy primer and polyurethane topcoat.
The primer was nice to use: it goes on smoothly, and is easy to sand if you do it within 12 hours after application. Your tools clean up easily with water, and it doesn’t smell bad.
The top coat was much trickier, and there was a learning curve – I did reduce it the first coat, which ended up blotchy and lumpy. For the subsequent coats I reduced it about 12% with water, and the job went more smoothly. But it took 4 coats to get full coverage in the important areas of the cabin. The bilges are still blotchy, but nobody will ever see them. At least the stuff is mostly odorless (about the same as household latex paint) and it dries quickly – you can recoat after 4 hours, and it’s quite hard after 8 hours.
I’m glad to finally be done with all the fiberglass, epoxy, and paint work for the cabin and bilges.